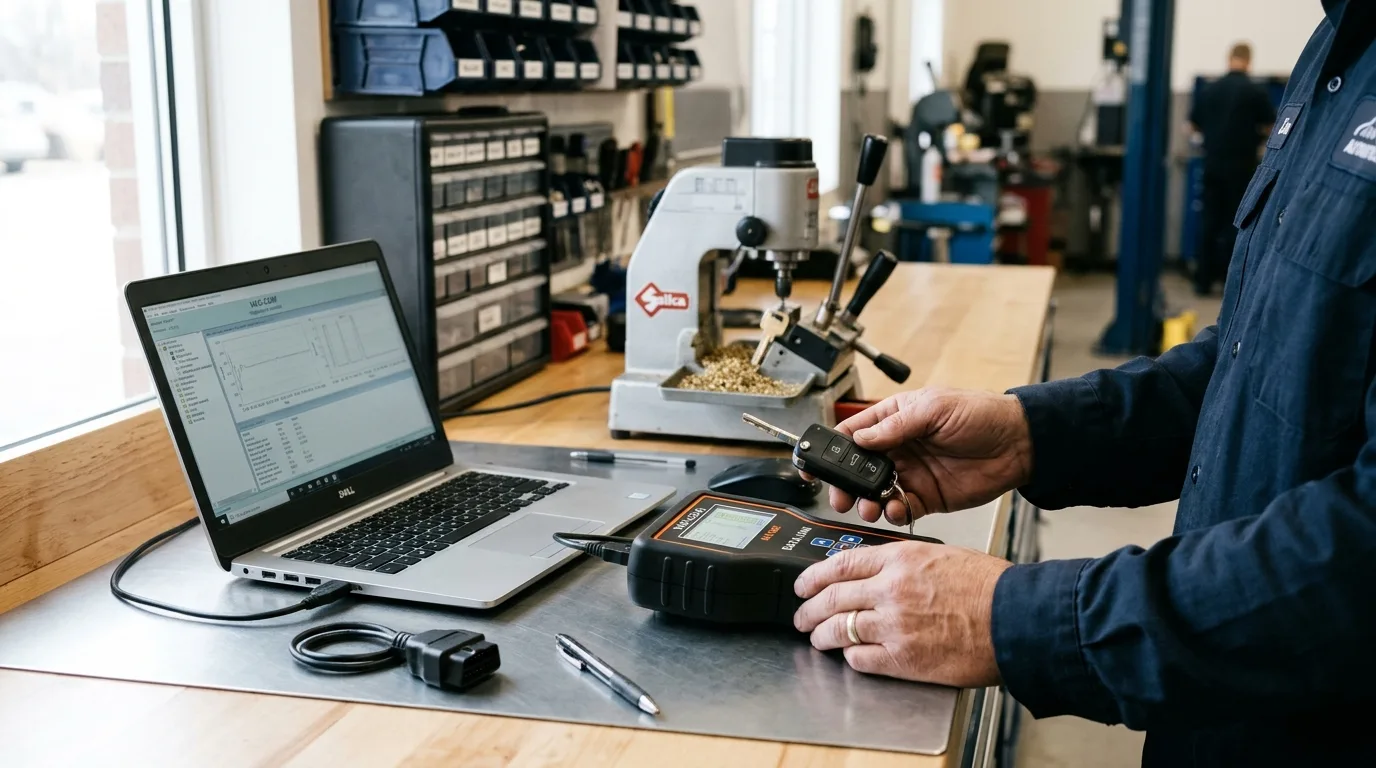
Your customer's car probably left the factory with more than it's using. Heated seats are there but dead. Fog lights are wired but won't fire. The auto-lock setting is off because nobody turned it on at the dealership. Your job is to find out what's dormant and wake it up without breaking anything.
By the end of this guide you'll know how to identify which features are actually present, pick the right tool for the marque, code or configure them safely, and verify the change stuck. For a single feature on a car you know well, budget 20 to 45 minutes. A full session across several modules can eat an afternoon, and some brands will cost you a paid software license on top.
What you need before you start

- A stable battery maintainer or charger. Coding with a sagging battery is how modules get bricked.
- A laptop or tablet that holds a charge, plus the correct interface cable for the brand (OBD-II dongle, ENET cable, VAG-COM style lead, whatever your software requires).
- Manufacturer-level diagnostic software or a reputable third-party tool that supports coding and adaptation for that specific model year. Verify coverage before you promise the customer anything.
- Your factory service information subscription or access to the official coding/adaptation procedures for the vehicle.
- A printed or written record of every original value before you touch it. A phone photo of each screen works.
- Fuses and a test light, because half of "missing features" are blown fuses or unplugged connectors.
Step 1: Confirm the feature physically exists

Before any laptop comes out, verify the hardware is there. Pop the hood and look for the fog light housings and the wiring pigtail behind the bumper. Check the seat for heater elements by finding the connector under the seat. Look for the module the feature depends on in the network.
Why it matters: coding a feature the car doesn't physically have does nothing except waste time and confuse the owner. Plenty of "activation" jobs are really retrofit jobs.
Practical tip: pull up the vehicle's build sheet or VIN decode through your dealer portal or a reputable VIN decoder. It tells you what rolled off the line. Approximate time: 5 to 10 minutes.
Step 2: Scan every module and save the baseline
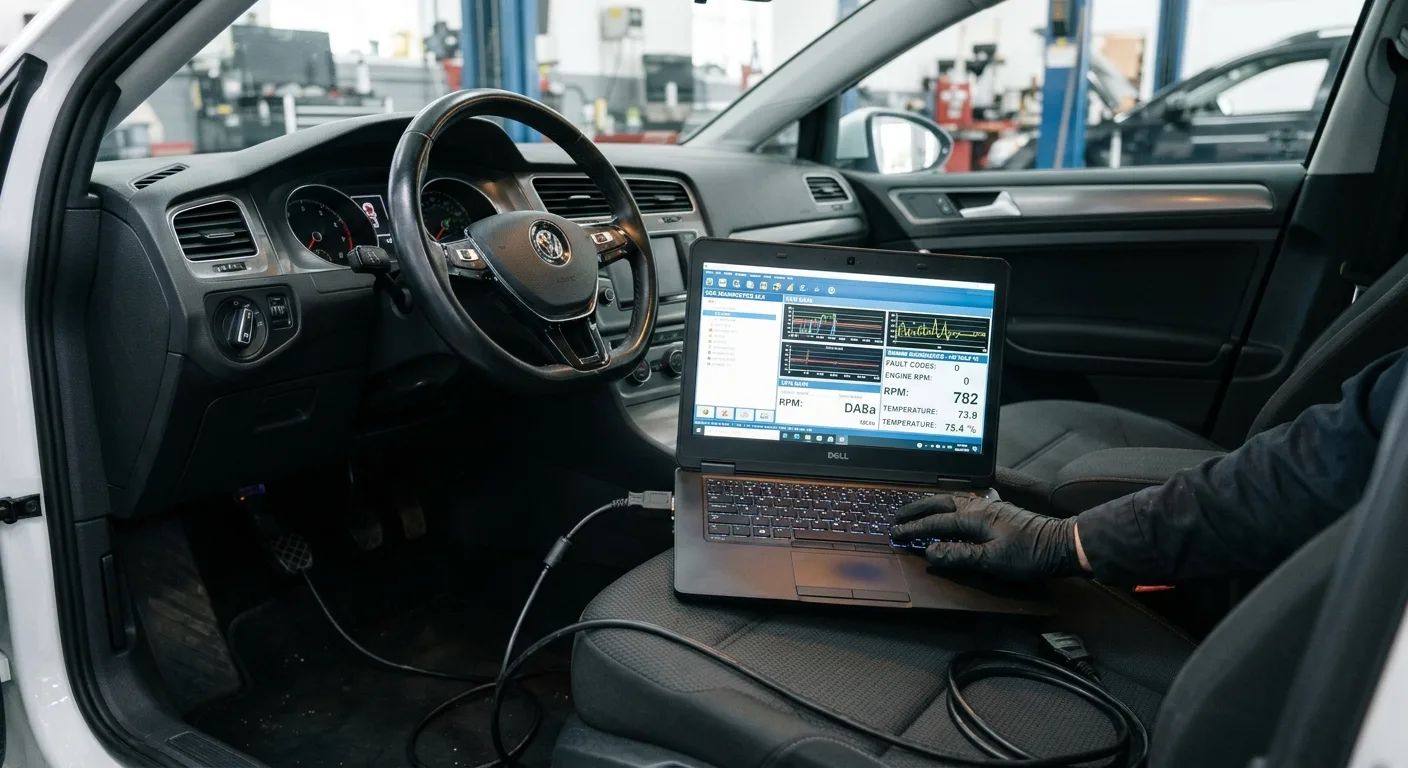
Plug in, run a full network scan, and save the report. Note every stored and pending code before you change a single byte.
Why it matters: you need to know what was already wrong. Otherwise the customer blames your coding for a fault that was there last month. If a code shows up, run it through the free OBD code lookup to see what you're dealing with before you go further.
Practical tip: if you want to watch module behavior live while you work, the OBD live-data tool is handy for confirming a module is communicating after a change. Keep the scan report with the repair order.
Step 3: Back up the long coding and adaptations

Every module you plan to touch, read its current coding string and adaptation values and store them. Screenshot, export, or write them down. Do this for the whole car if the software allows a full backup.
Why it matters: one wrong bit and the module won't accept its configuration, or worse, the car won't start. The backup is your undo button.
Practical tip: name the files with the VIN and date. You will not remember which car "backup_final_2" belongs to in three weeks.
Step 4: Pick the right tool for the brand and year

There's no universal coder. Volkswagen Group cars respond to VCDS-style tools. BMW has its own ecosystem. Ford, GM, and the Japanese brands each have their own paths, and model year matters enormously. A procedure that works on a 2015 car can fail on a 2019 because the module changed.
Why it matters: using the wrong tool or the wrong procedure is the single most common way techs brick a module. Cross-check the procedure against the step-by-step car guides and the mechanical encyclopedia if you're unsure how a system is laid out before you start poking at it.
Practical tip: confirm software version and vehicle coverage in the tool's release notes, not from a forum post from 2018.
Step 5: Make the coding or adaptation change
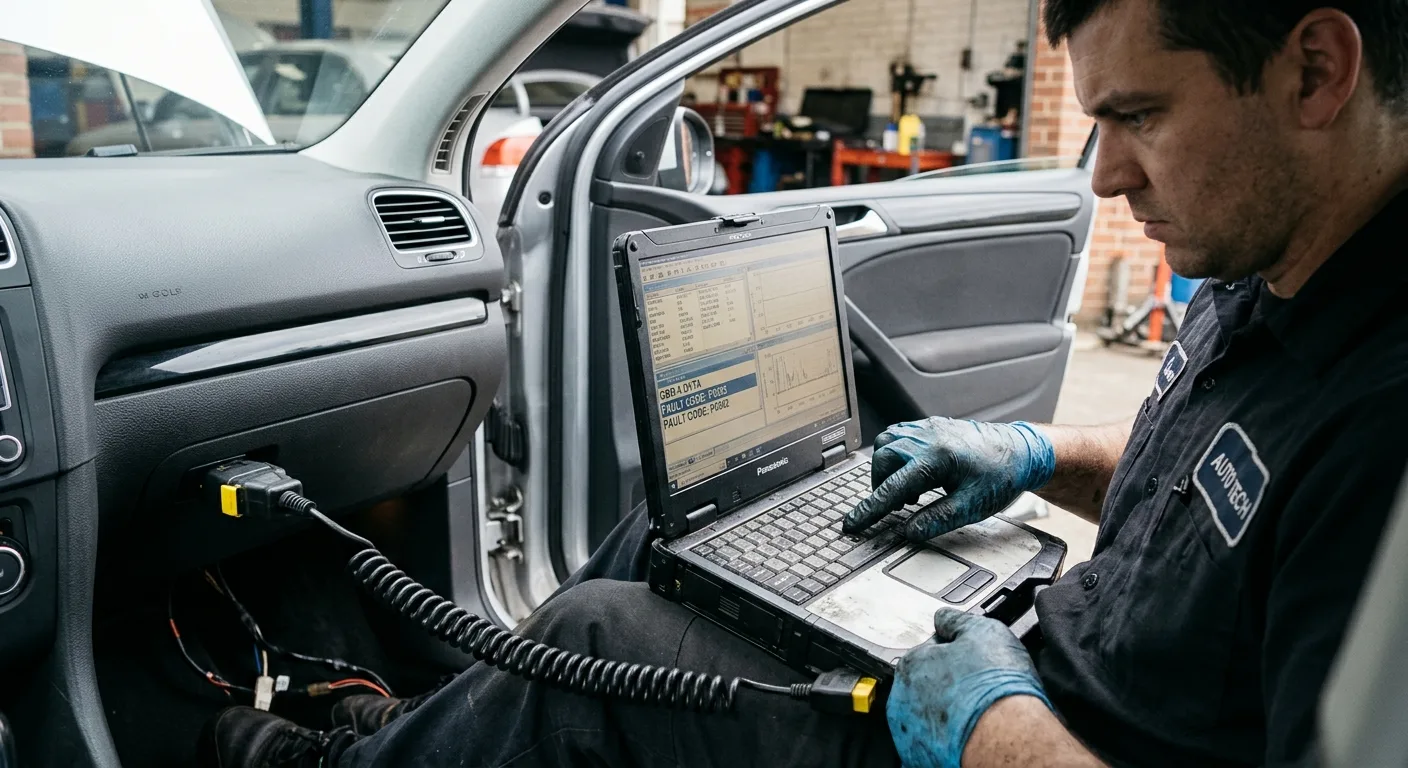
Work one feature at a time. Change the bit or adaptation value, write it to the module, and let the module cycle as the software instructs. Don't batch five changes and hope.
Why it matters: if something goes wrong, you know exactly which change caused it.
Practical tip: keep the ignition on and the maintainer connected. If the software warns you about voltage, believe it. A drop below the module's threshold mid-write is how you get a no-start.
Step 6: Cycle the ignition and clear the codes you created

After the write, turn the ignition off, wait the interval the procedure specifies, then back on. Re-scan and clear the communication or configuration codes your coding session generated.
Why it matters: those codes are noise from the write process, not real faults. Leaving them confuses the next tech and the customer.
Practical tip: don't clear codes you didn't cause. If a new code appears that you can't explain, check it against the car symptom finder before assuming your coding is at fault.
Step 7: Test the feature like a customer would

Sit in the driver's seat and use the feature the way the owner will. Turn the heated seat on and feel it warm. Hit the fog light switch. Lock the doors and watch the auto-lock behave. Don't just trust the software's "success" message.
Why it matters: the module accepted the code, but the switch, relay, or bulb may still be dead. You want to find that now, not when the customer does.
Practical tip: if a feature still won't work after coding, the fault is usually hardware. Trace power and ground at the component before you blame the software.
Step 8: Document and hand back the car

Write down what you activated, what you left alone, and any feature that's present in hardware but not enabled. Give the customer a short note. If a feature needs a paid subscription on their end (connected services, navigation updates), tell them.
Why it matters: clear documentation protects you and makes the customer feel they got real value, not a mystery.
Practical tip: a quick line in the AutoTools blog style, "here's what changed and how to use it," goes a long way.
Pro tips

- Charge the battery first, code second. A maintainer is cheaper than a replacement module.
- Code one feature, test it, then move on. Stacking changes turns a two-minute fix into a two-hour diagnosis.
- Keep a personal log of which tools and procedures worked on which model years. It becomes your most valuable asset.
- When a customer asks "can you turn on X," check the build sheet before quoting. Hardware-first saves everyone time.
- If you're stuck on why a module won't accept a change, describe the symptoms to the AI mechanic assistant as a second opinion before you start guessing.
- Save your backups somewhere off the shop laptop. Laptops die.
Common pitfalls

Coding a feature the car doesn't have. You'll get a success message and nothing will work. Confirm hardware first.
Ignoring battery voltage. A weak battery during a write is the classic bricking scenario. Always use a maintainer.
Skipping the backup. One wrong bit and you're hunting for the original values online at 6pm. Back up before you edit.
Using a forum procedure for the wrong model year. Modules change. Verify against current service information, not a five-year-old thread.
Clearing codes you didn't cause. You erase the evidence of a real fault and hand the customer a car that fails next week. Read first, clear only what you created.
Useful resources

- Your factory service information subscription for the exact model and year.
- The vehicle's build sheet or VIN decode from your dealer portal.
- The free OBD code lookup and the free car tools for quick scans and checks.
- The step-by-step car guides and expert car tips when you need a procedure refresher.
- The tire size comparison tool if a customer's wheel change is affecting a feature tied to tire circumference.
- The mechanic quiz to keep your diagnostic instincts sharp between jobs.
FAQ
Can I activate any feature the car has? No. Only features whose hardware is present and whose software supports it. Some are locked behind paid subscriptions or dealer-only procedures.
Will coding void the warranty? It can, depending on the brand and what you change. Check the manufacturer's policy and get the customer's written approval before you touch anything.
What happens if the battery dies mid-write? The module may need to be reflashed or replaced. That's why a maintainer is non-negotiable.
Do I need the dealer software for every brand? Not always. Reputable third-party tools cover many brands, but verify model-year coverage before you promise a result.
How long does a typical activation take? Twenty to forty-five minutes for a single known feature. Longer if you're diagnosing why it's not working or retrofitting hardware.
Final word
Activating factory features is one of the most satisfying jobs in the bay, when it goes right. Confirm the hardware, back up your data, keep the voltage up, and test like the customer will. Do that and you'll turn dormant features into happy customers, one module at a time.