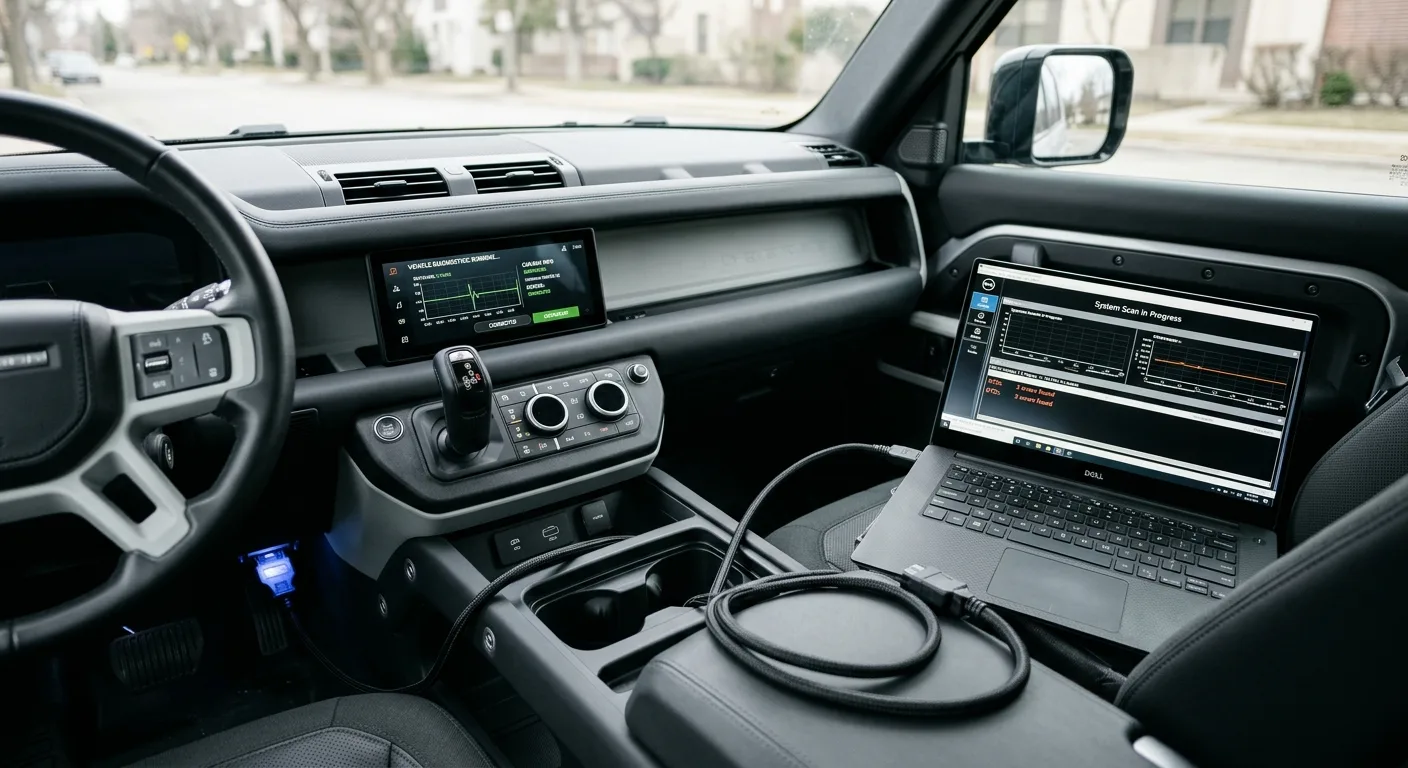
Body control module coding is where a lot of modern car work now lives. The BCM runs the lights, locks, wipers, windows, mirrors and a hundred comfort features, and on most cars built in the last fifteen years those features are switched on or off by a coding value, not by a fuse or a relay. By the end of this guide you will know how to read a BCM's current coding, change a feature safely, verify it works, and back out if it doesn't. A single feature change usually takes 15 to 30 minutes once you have the right tool talking to the car; a full session with backups and testing is closer to an hour.
What you need before you start

- A diagnostic interface that supports the car's BCM coding, not just fault reading. VAG-COM/VCDS, a manufacturer dealer tool, or a reputable multi-brand tool that explicitly lists body module coding for your model. Check compatibility before you buy anything.
- A laptop or tablet with the tool's software installed and updated.
- A stable power supply: a battery charger or a jump pack rated for programming. BCM coding writes to non-volatile memory, and a voltage dip mid-write is how modules get bricked.
- The wiring diagram and coding chart for your exact model and trim.
- Your owner's manual, for the factory feature list and any fuse or battery notes.
- Paper and pen, or a phone camera, for recording the original coding string.
Safety first, right here: never code on a weak battery. Put the charger on before you connect the tool and leave it on until you are done. A BCM that loses power during a write can leave the car with no lights, no locks and a no-start condition. If the battery is more than a few years old or reads low, charge or replace it first.
Step 1: Identify the BCM and confirm you can talk to it
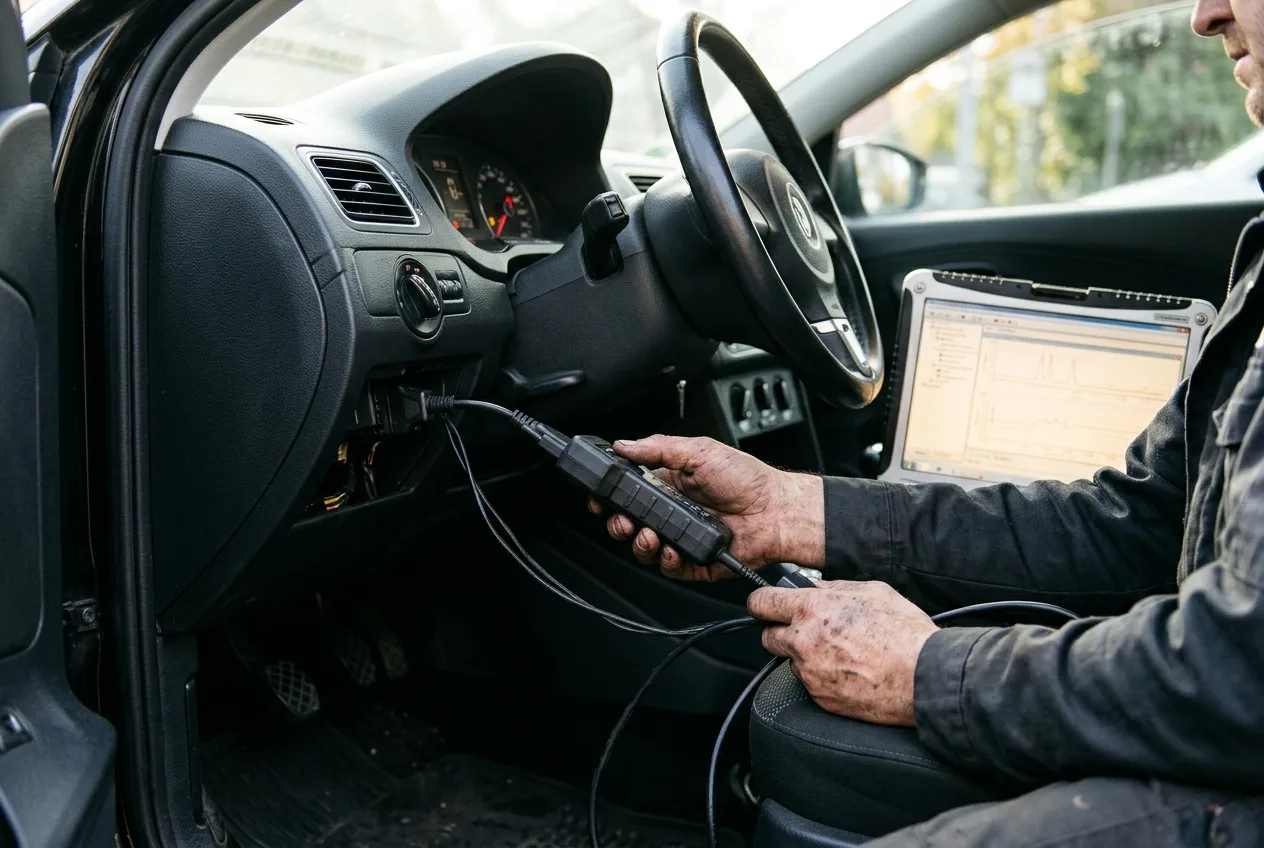
Connect the interface, turn the ignition on (engine off unless the tool says otherwise), and run a full module scan. Confirm the BCM (sometimes labelled body module, comfort module or central electrics) appears and reports a part number and software version. Write those down.
Why it matters: coding values are tied to the exact module part number and software level. A long coding string for a different BCM revision can be rejected or, worse, accepted and cause odd behaviour.
Tip: if the BCM doesn't respond, stop and fix the communication fault before anything else. A free OBD code lookup at /obd helps you interpret the fault codes and decide whether it is a wiring, power or module problem. Coding a module you can't reliably communicate with is asking for trouble.
Step 2: Back up the current coding

Open the BCM's coding or adaptation screen and copy the full current value, character for character, into a text file and onto paper. If the tool has an export or save function, use it. Do this before you change a single bit.
Why it matters: this backup is your undo button. If a feature misbehaves or the car develops a warning light, you restore the original string and you are back to factory.
Tip: name the file with the date, VIN and module part number. Six months later you will not remember which car that random text file belonged to. Approximate time: 5 minutes, and it is the most valuable 5 minutes of the job.
Step 3: Decode the coding chart before you touch anything

Pull up the coding chart for your model. Most BCM long coding is a string of bytes and bits, where each bit switches a feature: coming-home lights, cornering lights, auto-lock, chirp on lock, needle sweep, and so on. Map the bits you want to change.
Why it matters: guessing bits is how people enable features that fight each other, like two lighting modes that share a channel.
Tip: write the bit position and the "before" and "after" value on paper. When you are staring at a hex string at 9pm, that note is what keeps you honest. If you can't find a chart for your exact model, check the mechanical encyclopedia at /encyclopedia for background on how the body module and its outputs are organised, then verify the specifics with a dealer or a specialist forum for your model.
Step 4: Change one feature at a time

Edit only the bit or adaptation value for the feature you are enabling. Save or write the change, then let the tool finish completely before touching anything.
Why it matters: one change per write means one variable to troubleshoot. If you flip five bits and the car misbehaves, you have no idea which one did it.
Tip: a realistic example from the bench: a customer wanted coming-home lighting on a car that didn't have it from the factory. We enabled the bit for the feature, then found the lights still didn't fade because the light sensor adaptation wasn't set. Two separate values, two separate writes. Enable the feature bit first, test, then set the supporting adaptation. Rushing both at once would have left us blaming the wrong setting. Approximate cost if you are paying a shop: often 30 minutes to an hour of labour, though some dealers charge a flat coding fee, so ask first.
Step 5: Cycle the ignition and test the feature properly

Turn the ignition off, wait for the modules to go to sleep (a minute or two), then turn it back on. Test the feature in the conditions it actually operates: doors locked, lights in auto, key out, and so on.
Why it matters: many body features only trigger under specific conditions, and a feature that looks dead in the workshop is often just waiting for the right input.
Tip: test at night or in a dark garage for lighting features so you can actually see the fade or the delay. For anything electrical that misbehaves after coding, the OBD live-data tool at /tools/obd-live-data lets you watch switch inputs and outputs in real time while you operate the feature.
Step 6: Check for new fault codes and clear old ones

Run another full scan. Any new BCM or related module codes that appeared after coding point to a setting the car doesn't support or a missing prerequisite. Clear codes only after you have read and noted them.
Why it matters: a coding change that trips a code is telling you something: a lamp type mismatch, a sensor not fitted, a module that expected a different configuration.
Tip: don't clear codes blindly to make the dash look clean. The code is the clue. If you need help interpreting what you found, the AI mechanic assistant at /tools/ai-assistant is a quick way to sanity-check a fault description before you dig into wiring.
Step 7: Document the change and restore if needed

Record the final coding string, the features changed, and the date. If anything is wrong, paste the original string back and write it.
Why it matters: the next person to work on the car, possibly you, needs to know what was altered. Restoring the backup is a two-minute job if you saved it in Step 2.
Tip: if the car has to go to a dealer for warranty work, know that non-factory coding can be visible in the module history. Restore factory coding first if that matters to you.
Pro tips
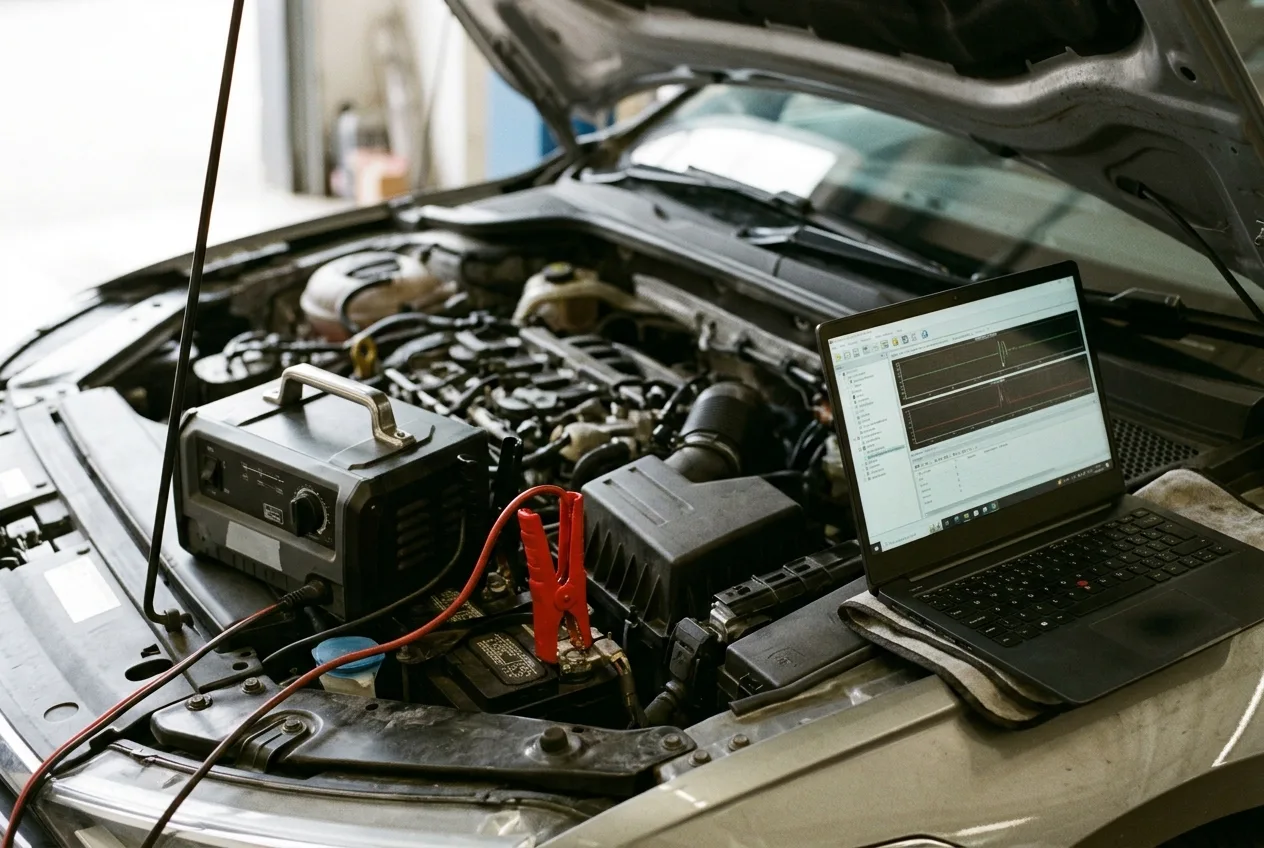
- Do coding jobs with the engine off but the charger connected. Engine running adds electrical noise and heat for no benefit.
- Keep a second, cheap interface as a fallback. When one tool refuses to write a module, a different protocol stack sometimes gets through.
- Learn the BCM's sleep behaviour. Writing while modules are half asleep is a classic cause of failed writes.
- Photograph the screen before every write. Phone photos have saved more coding jobs than any forum thread.
- If a feature needs a hardware part you don't have (a sensor, a different lamp), coding alone won't make it work. Confirm the hardware exists first.
- Log your successful coding strings per model. After a few cars you build a personal library that saves hours. More shortcuts like this live in the expert car tips at /tips.
Common pitfalls
- Coding on a weak battery. The single most expensive mistake. Charge or replace first, every time.
- Copying a coding string from a forum for a different model year. Part numbers and software levels differ. Verify against your own module.
- Changing several bits at once. You lose the ability to isolate the cause. One change, one test.
- Skipping the backup. There is no excuse, and no easy recovery without it.
- Ignoring new fault codes. A code after coding is information, not noise. Read it before clearing it. If you are unsure what a symptom means, the car symptom finder at /symptom helps you match behaviour to likely causes.
Useful resources
- Your owner's manual and the factory wiring diagram for your model.
- The step-by-step car guides at /guides for related electrical and diagnostic procedures.
- The free car tools at /tools for quick calculators and reference utilities.
- The AutoTools blog at /blog for background articles on module and electrical work.
- Reputable model-specific enthusiast forums and specialist coding communities, used with caution and cross-checked.
- A dealer parts desk or specialist to confirm which hardware a feature requires.
FAQ
Can I code features the car didn't come with? Sometimes, if the hardware is already fitted. Many cars share wiring and modules across trims, so a feature may just be switched off. If a sensor or lamp is missing, coding alone won't add it.
Will BCM coding void my warranty? It can affect a warranty claim if a fault is traced to the coding. Restore factory coding before dealer visits if you are concerned, and check your warranty terms.
How long does a coding session take? A single feature is typically 15 to 30 minutes including backup and testing. A full session with several changes and a proper scan is closer to an hour.
What if the module stops responding mid-write? Stop, keep the charger connected, and do not cycle power repeatedly. Try to reconnect and rewrite the original coding. If it won't respond, you may need a specialist with module recovery tools.
Do I need a dealer tool? Not always. Many reputable aftermarket tools support BCM coding on common models. Confirm compatibility for your exact car before relying on one.
Final word
BCM coding rewards patience more than bravery. Back up first, change one thing at a time, test properly, and keep notes. Do that and you will switch on features your customers didn't know their cars had, and you will be the person they call next time. Grab the tools, put the charger on, and start with one small feature.