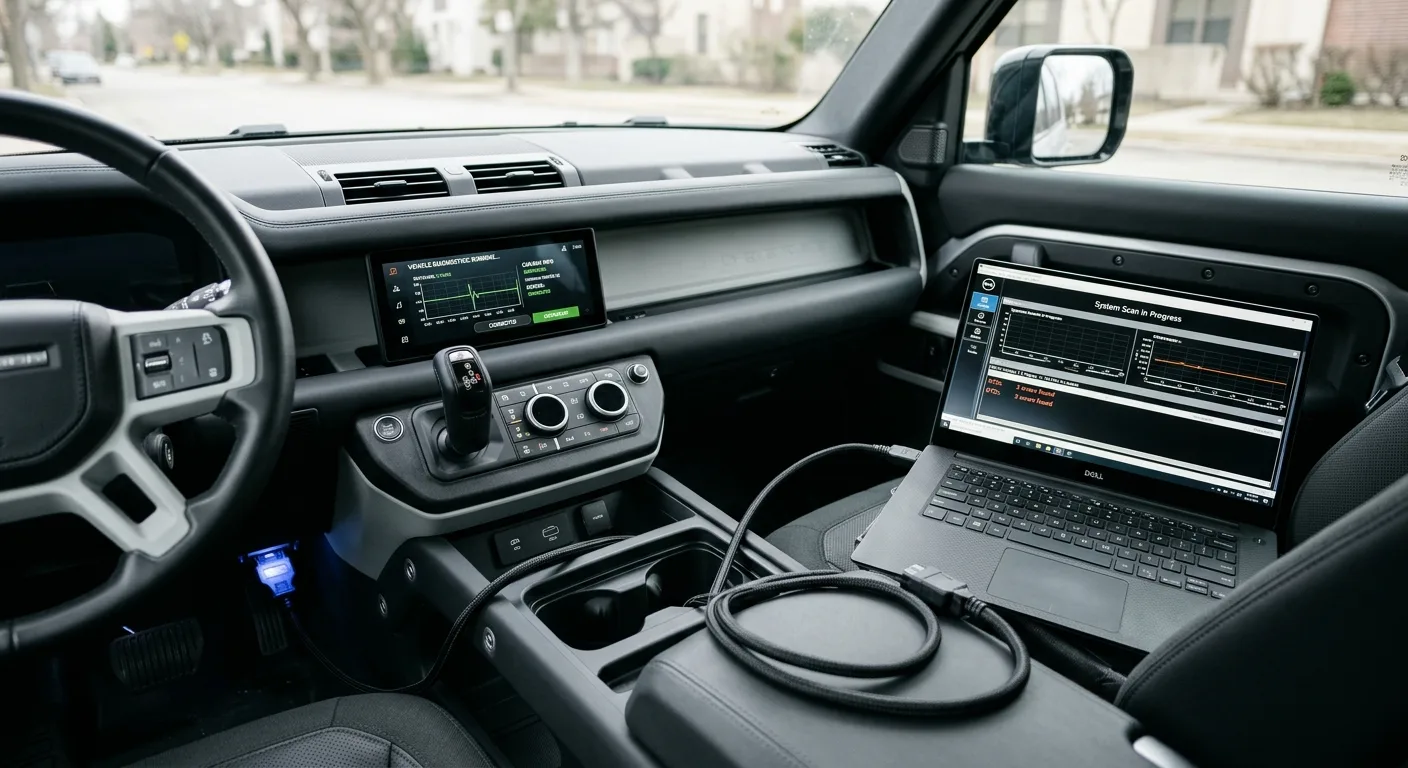
VAG Coding Explained: How to Use VCDS and OBDeleven
VAG coding lets you change how your VW, Audi, SEAT or Škoda behaves, from turning off the seatbelt chime to adding cornering lights. By the end of this guide you'll know how to read your car's original coding, save it, change it safely, and undo a mistake. Set aside an hour for your first session. Most simple tweaks take ten minutes once you've done it once.
The first time I plugged an OBDeleven into my own car, I changed one thing, broke it, and spent an evening figuring out how to get back. That's why this guide starts with saving your original coding before you touch anything. Learn that habit and coding becomes low-risk and genuinely fun.
What you need before you start

- A diagnostic tool. VCDS (a laptop-based system from Ross-Tech with a wired HEX interface) or OBDeleven (a Bluetooth dongle that works with an Android or iOS app). VCDS is the deeper, more professional option. OBDeleven is cheaper and easier for beginners. Rough costs: an OBDeleven dongle plus credits often runs somewhere in the low hundreds, while a genuine VCDS setup costs more. Check current prices yourself, they move.
- A compatible car. Both tools support a wide range of VAG models, but confirm your model and year are covered before buying. Older cars may need a different interface.
- A charged battery or a maintainer. Coding writes to control modules. A voltage dip mid-write is the one way to cause real damage. If you're doing more than a couple of tweaks, put a charger on the battery.
- Your owner's manual and a notebook (or your phone) for writing down original values.
- A quiet place to work where the car won't be disturbed, and you won't accidentally cycle the ignition.
Step 1: Plug in and let the tool find the car
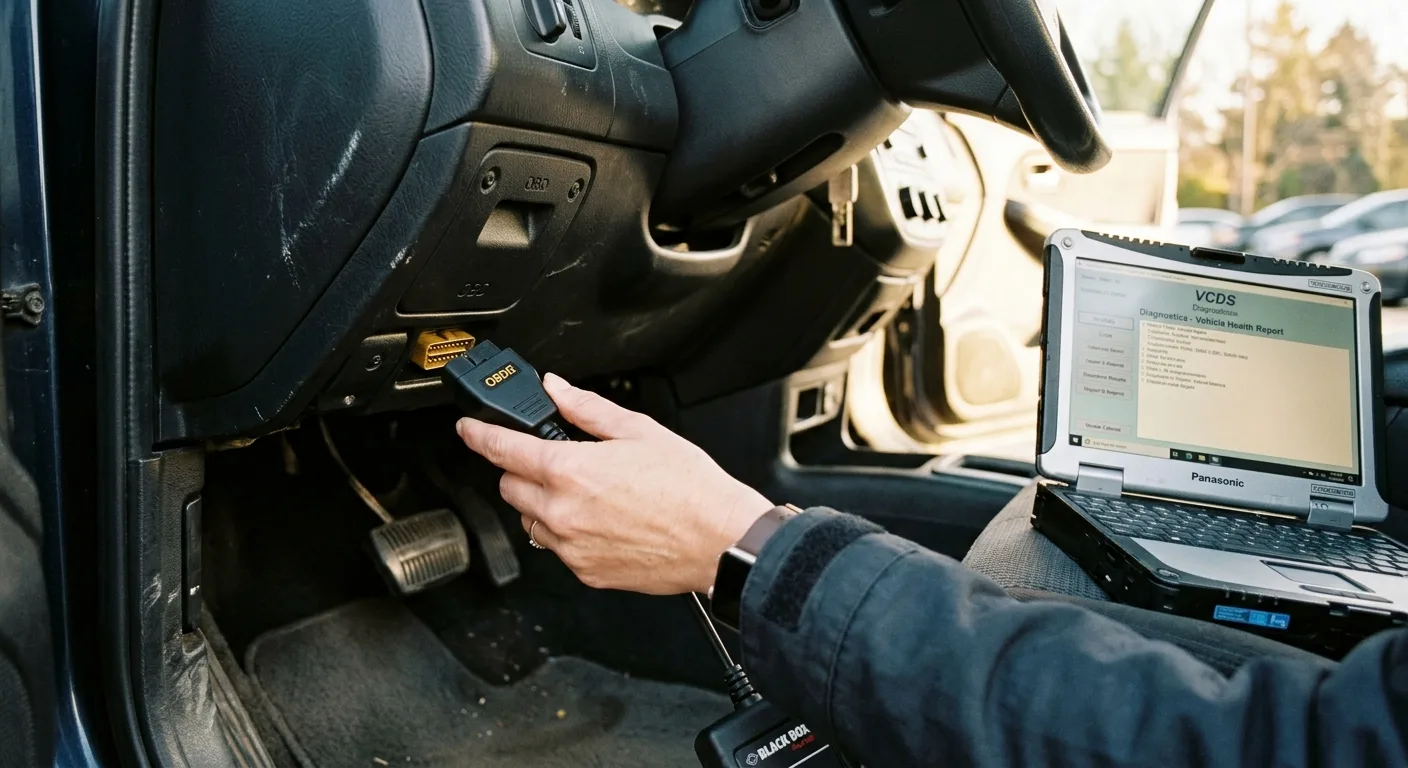
Connect the interface to the OBD port under the dash, then open the software or app. Let it scan and identify the vehicle and its control modules before you change anything.
Why it matters: the tool needs to talk to the right modules, and a clean initial scan tells you whether the car has any existing faults you should know about first. If there's a stored fault, deal with that before you start coding, otherwise you won't know whether a new problem is yours or was already there.
Tip: If the tool won't connect, check the ignition is on and the dongle is fully seated. A weak battery or a dirty port causes most connection failures. For a broader look at fault codes before you dive in, the free OBD code lookup is a quick way to understand what a stored code actually means.
Step 2: Scan for faults and note them down
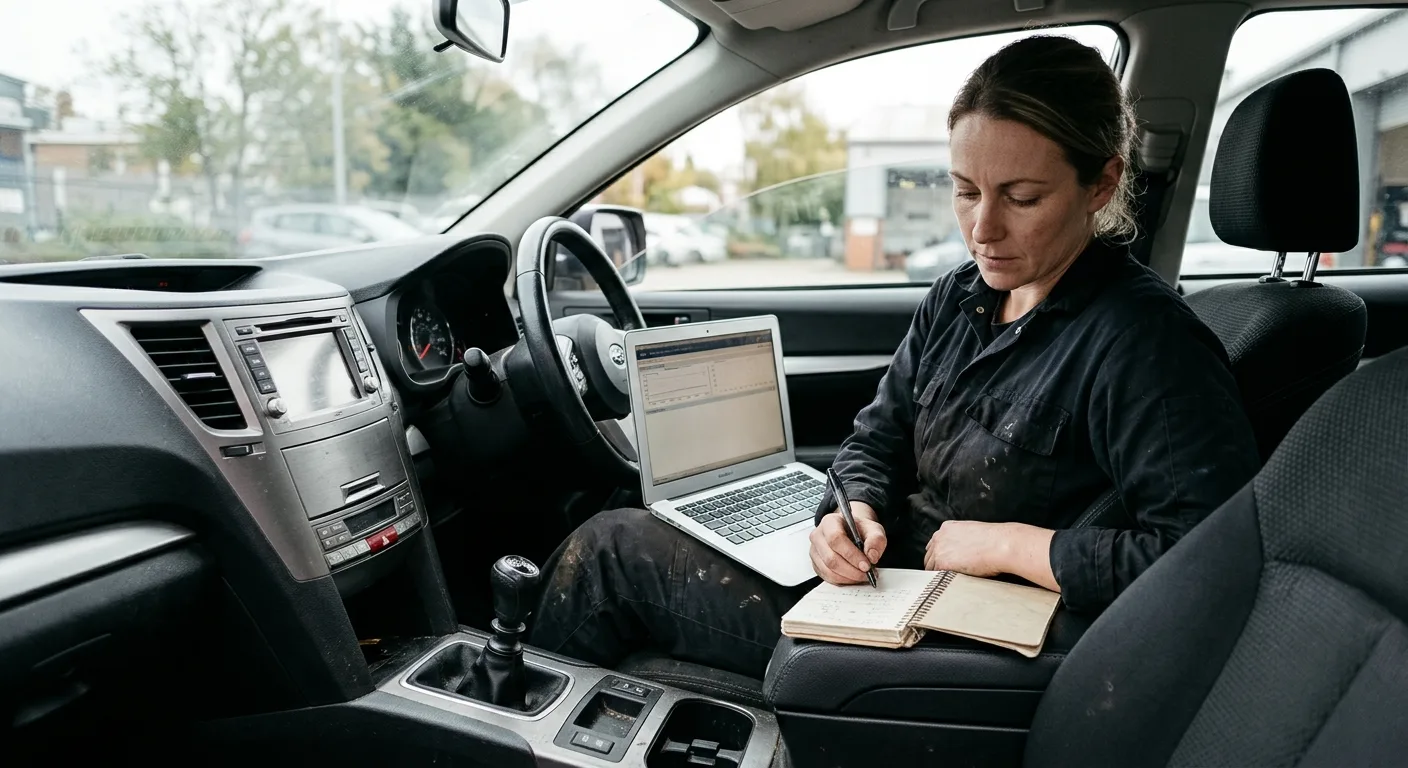
Run a full fault scan and save or screenshot the results. Even if the car feels fine, you want a baseline.
Why it matters: coding changes can trigger temporary fault codes, and knowing what was already there stops you chasing ghosts. It also protects you if a garage later blames your coding for an unrelated issue.
Tip: Save the scan to a file if your tool allows it. A photo of the screen works too. Takes two minutes, saves hours.
Step 3: Read and save your original coding (do not skip this)

Before you change a single byte, open the module you want to edit and copy its current coding. With VCDS, use the coding helper and copy the long coding string. With OBDeleven, the app shows the current value for each setting. Write it all down or screenshot every screen.
Why it matters: this is your undo button. If a change goes wrong, or you simply don't like it, you can paste the original value back and be exactly where you started. Without it, you're guessing.
Here's the part I learned the hard way. On my own car I changed a lighting setting without recording the original byte, the lights behaved strangely, and I had no reference to restore. I ended up comparing against a friend's identical model to find the right value. Save yourself that evening: photograph the original coding and keep it somewhere you'll find it again.
Tip: Name your screenshots with the module and date. "Central electrics, original, March" beats "Screenshot_2024" every time.
Step 4: Pick one change and understand it first

Choose a single, well-documented tweak. Common beginner-friendly ones include disabling the seatbelt chime, enabling cornering lights, changing comfort-blinker cycles, or adjusting how the doors lock. Find a written guide for your exact model and year before you touch anything.
Why it matters: coding is model and year specific. A guide for a Golf Mk7 may not apply to a Mk6 or to a different module layout. Guessing which byte does what is how people break things.
Tip: Cross-check any tweak against at least two sources. Forums, the tool's own documentation, and community guides are your friends. If you're unsure what a setting does, leave it alone. There's no prize for changing everything on day one.
Step 5: Make the change, then verify it

Enter the new value, confirm the write, and wait for the tool to finish. Then turn the ignition off and on, and test the feature in the real world: sit in the car, lock it, unlock it, try the lights, whatever the change affects.
Why it matters: the write completing doesn't mean the car accepted the change. Testing confirms it works before you move on or assume success.
Tip: If the feature doesn't work, don't panic. Re-check that you edited the correct module and byte, then restore your original value and start again. A single wrong digit is far more common than a broken module.
Step 6: If something goes wrong, restore your original coding
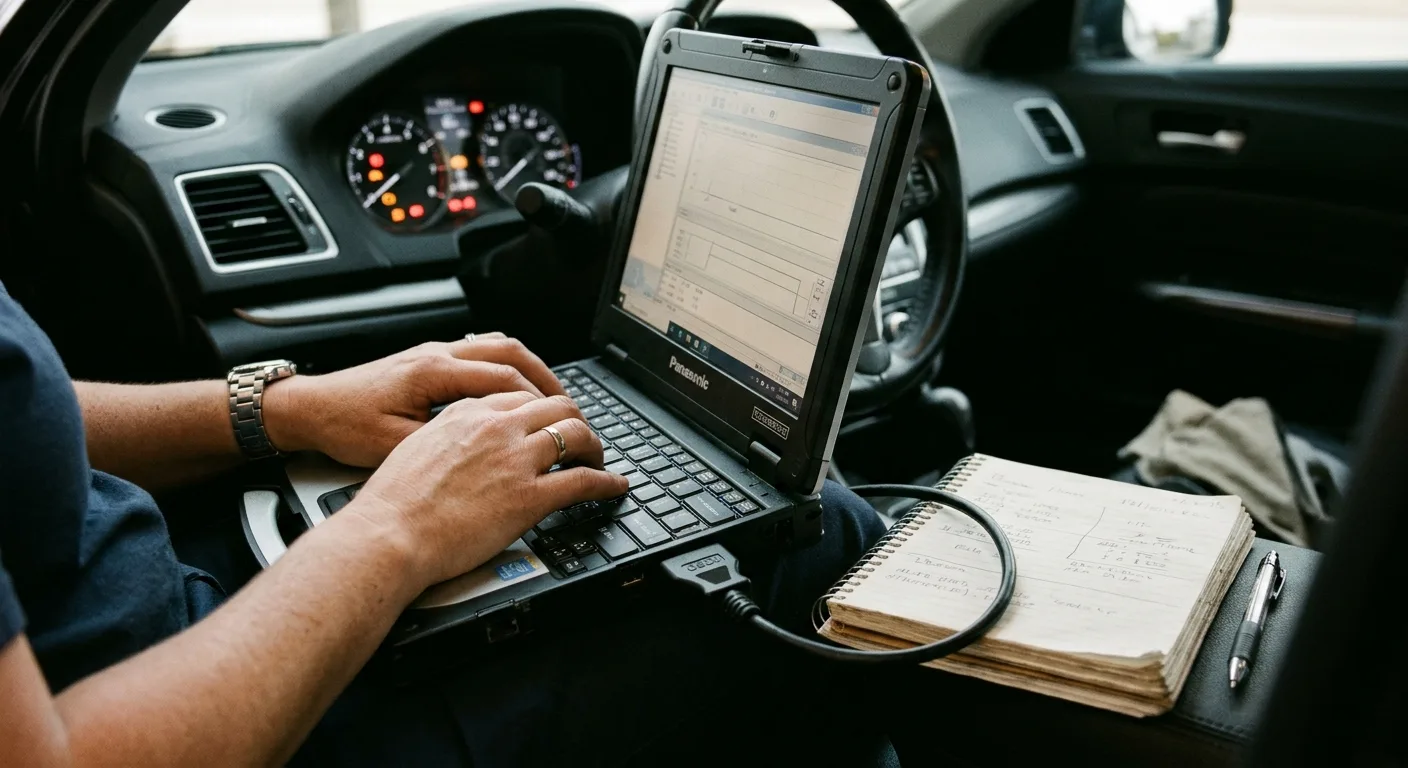
If a change causes odd behaviour, warning lights, or a feature that stops working, go back into the module and paste your saved original value. Re-scan for faults afterwards and clear any codes the coding change created.
Why it matters: restoring the original is the fastest path back to a known-good car. It's also a reminder of why Step 3 exists.
Tip: Warning lights that appear right after coding are usually a side effect of the change, not a new mechanical fault. Restore first, then diagnose. If a light stays on after restoring, a proper scan and the car symptom finder can help you work out what's actually going on.
Step 7: Do one change at a time, then stop

Resist the urge to batch five tweaks in one sitting. Make one change, test it, save the new known-good state, then move to the next.
Why it matters: if you change five things and something breaks, you've got five suspects. One at a time keeps the troubleshooting trivial.
Tip: After a successful change, take a fresh screenshot of the new coding too. Now you have a documented before and after. That's how you build a reliable record of your car.
Pro tips

- Keep a coding log. A simple note with module, date, original value and new value pays off months later when you can't remember what you changed.
- Charge the battery for anything beyond a quick tweak. Cheap insurance against a mid-write voltage dip.
- Do coding with the engine off but the ignition on, unless the procedure you're following says otherwise. Verify against your tool's guidance.
- Check the car's service history for aftermarket retrofits before you code. A previous owner's tow bar or aftermarket radio can change how modules behave.
- Keep the tool updated. App and firmware updates fix bugs and add support for newer models.
Common pitfalls

- Changing coding without saving the original. The single most common mistake, and the easiest to avoid. Save first, always.
- Following a guide for the wrong model year. Bytes and module layouts change between generations. Match the guide to your exact car.
- Ignoring a stored fault before coding. You'll mistake an old problem for a new one. Scan and note faults first.
- Coding on a weak battery. A voltage dip during a write can corrupt a module. Charge up if in doubt.
- Assuming every tweak is reversible or legal everywhere. Some changes affect safety systems or aren't permitted in all regions. When unsure, check with a specialist and your local rules.
Useful resources

- Your owner's manual, for module locations, fuse layouts and battery guidance.
- The official documentation for VCDS and OBDeleven, which lists supported models and procedures.
- Owner forums and community guides for model-specific coding, cross-checked against a second source.
- Our step-by-step car guides and free car tools for the maintenance side of ownership.
- The mechanical encyclopedia when a coding session turns up a term you don't recognise, and the AI mechanic assistant for quick questions.
FAQ
Is VAG coding dangerous? Not if you save your original coding and work one change at a time. The real risks are a flat battery during a write and changing something you don't understand. Both are avoidable.
Do I need VCDS or is OBDeleven enough? For most beginner tweaks, OBDeleven is plenty and easier to use on a phone. VCDS goes deeper and suits people doing diagnostics or complex retrofits. Start with what matches your ambition.
Will coding void my warranty? It can affect a warranty claim if a fault is traced to your change. Restoring original coding before a dealer visit reduces the risk, but check your warranty terms and ask the dealer if you're unsure.
Can I undo a coding change? Yes, if you saved the original value. Paste it back, re-scan, and clear any codes the change created.
Why did a warning light come on after coding? Coding changes often trigger temporary codes. Restore your original value, clear the codes, and re-scan. If a light persists, treat it as a real fault and investigate properly.
Final word
Coding your VAG car is one of the most satisfying things you can do with a laptop and a dongle. It's also completely manageable once you build the habit of saving before you change. Start with one tweak, keep your notes, and let your confidence grow from there. Your car will feel a little more like yours with every change.