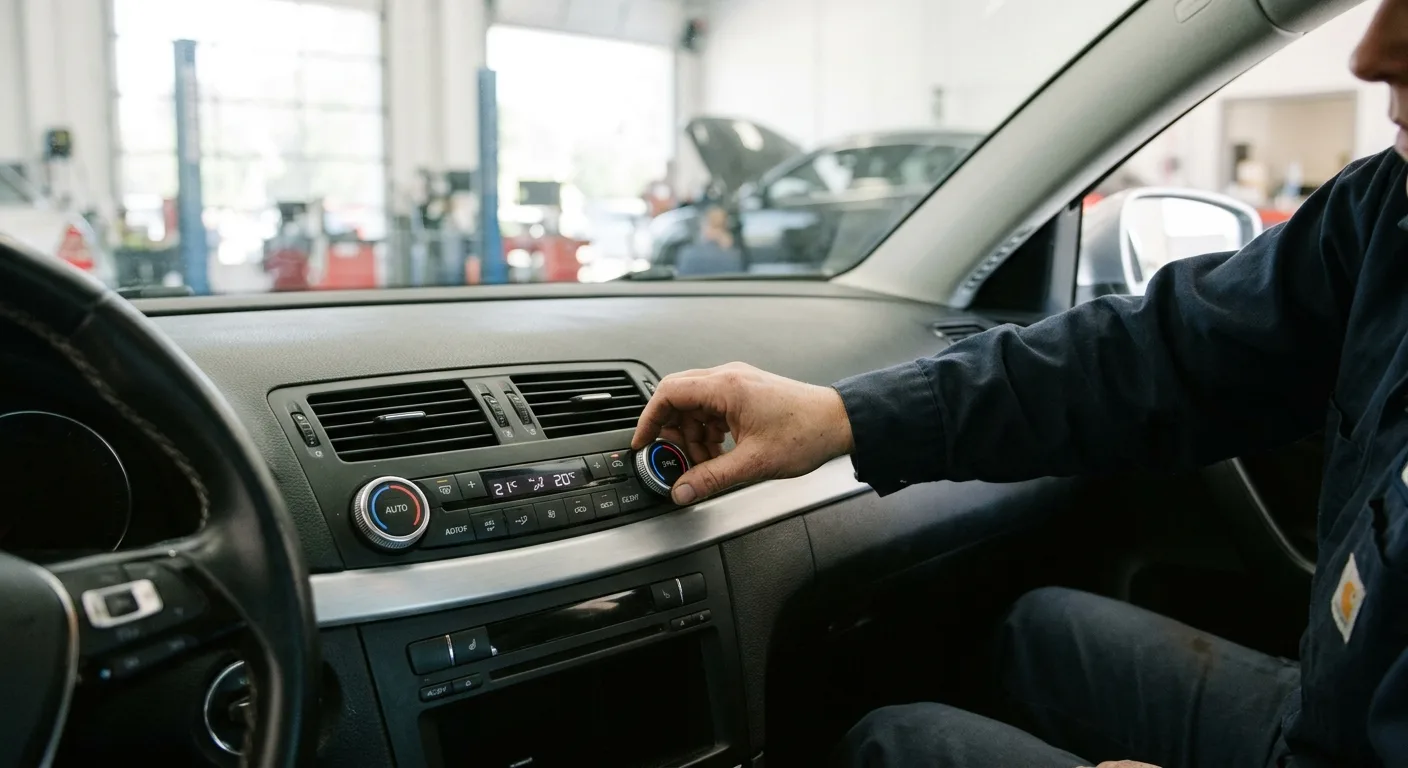
Your seat slid back, the mirrors dropped, and the radio is speaking a language you don't recognize. Nothing is broken. The car simply lost its saved positions when the battery was disconnected, and now it needs to relearn them.
By the end of this guide you'll have your memory seats working again and your saved positions stored properly. For most cars this takes 10 to 20 minutes, and you won't need any special tools. A few vehicles make you jump through extra hoops, so I'll flag those as we go.
What you need before you start
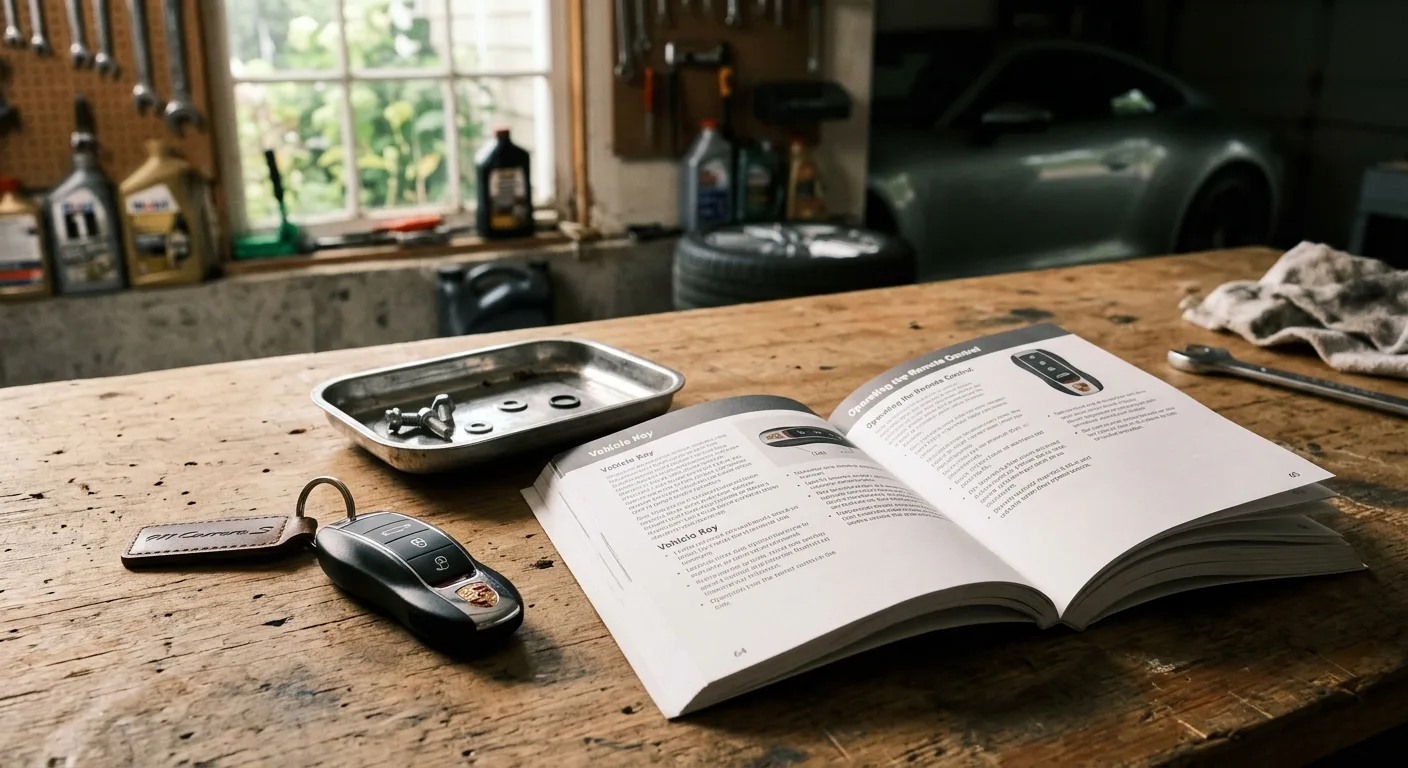
- Your key fob or key, plus any spare fobs you use regularly
- The owner's manual for your car (seriously, the exact button sequence varies by brand)
- About 15 minutes in a quiet spot where you can move the seat freely
- A helper if your car pairs seat memory to individual key fobs
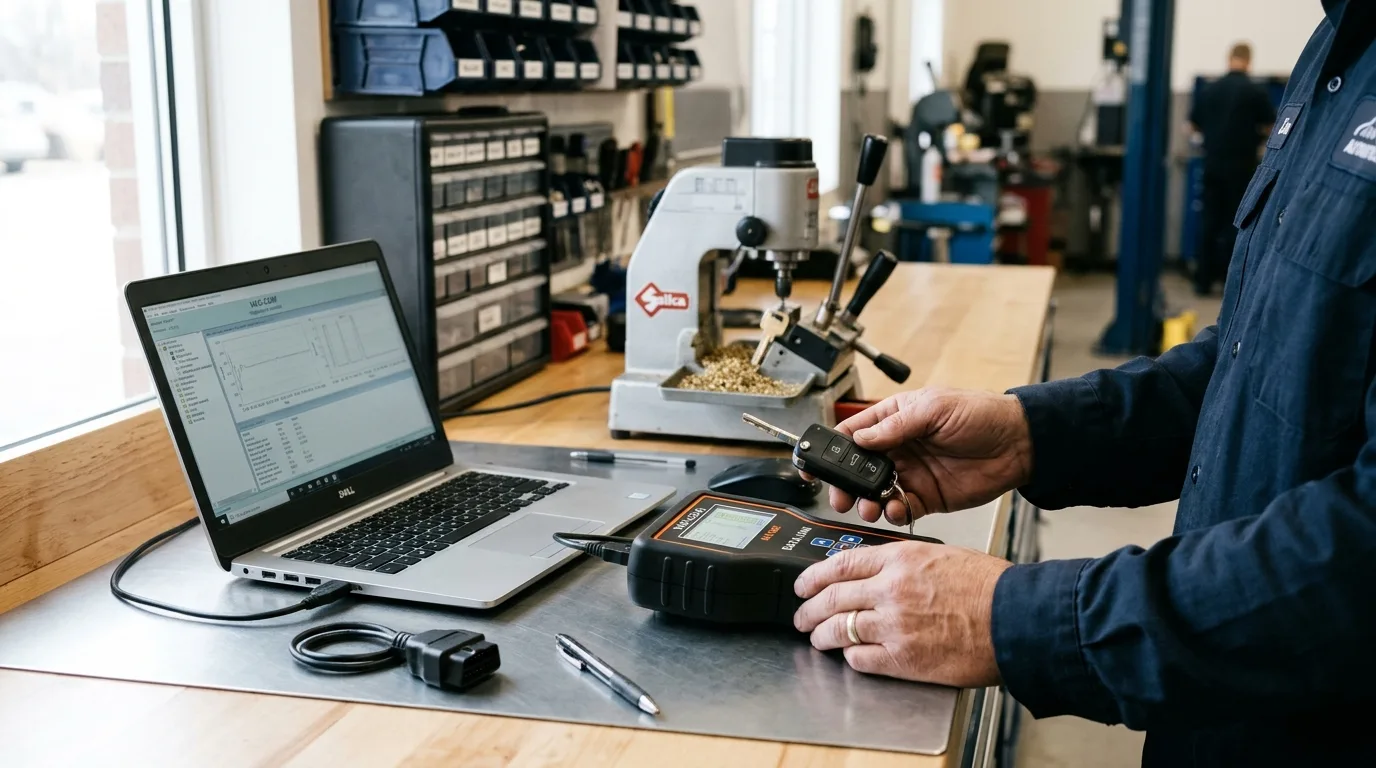
That's it. No scan tool required for a basic reset, though I'll mention when one helps.
Step 1: Confirm the battery and connections are healthy
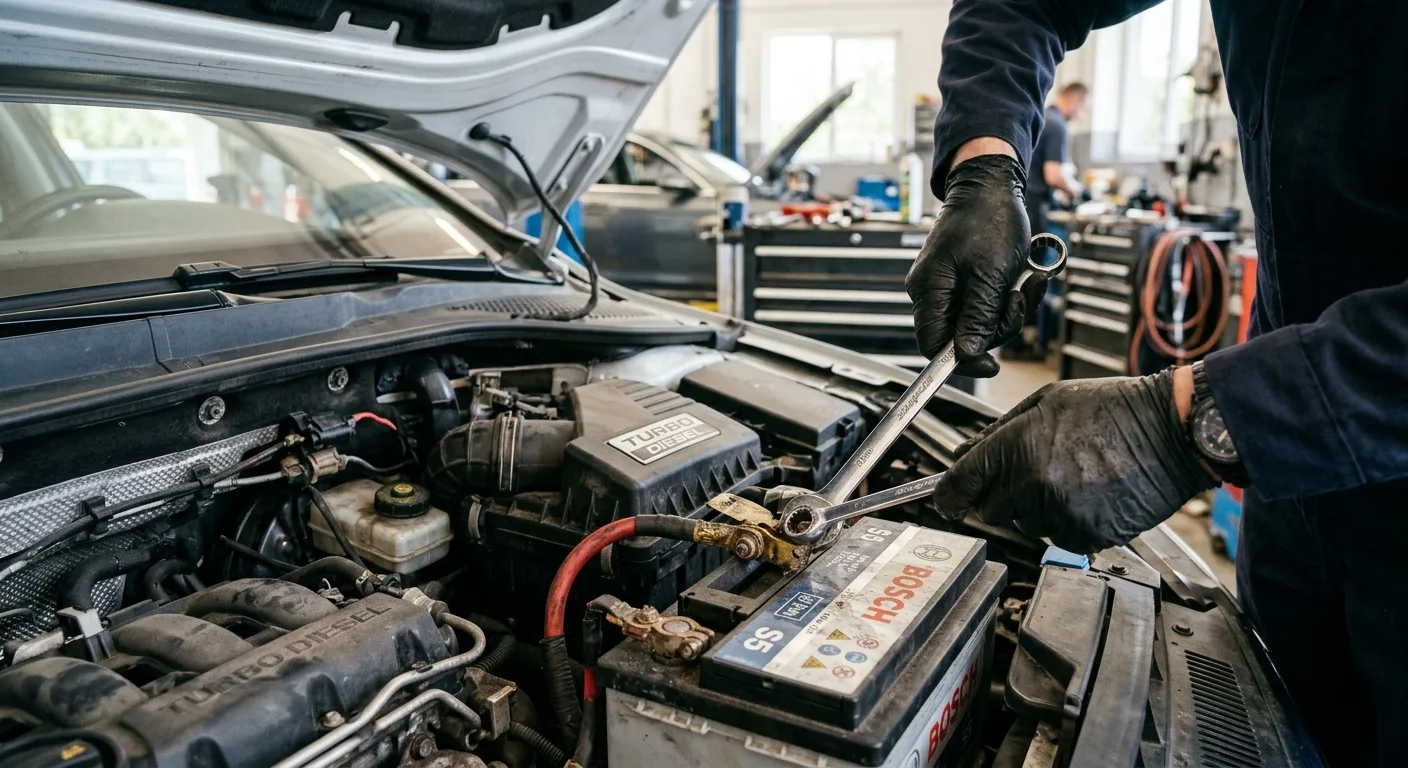
Before you touch any seat buttons, make sure the battery is actually charged and both terminals are tight. A weak battery can make the seat module behave erratically, and you'll waste an hour chasing a problem that's really just low voltage.
Start the car or put it in accessory mode and check that the seats move at all using the manual switches. If the seat won't budge in any direction, stop here: you have a power or fuse problem, not a memory problem. Check the fuse box for the seat circuit, and if you want to understand what the car's computers are reporting, the free OBD code lookup at /obd can point you toward body and comfort-system codes worth investigating.
Tip: If your battery was replaced because it died, give the new one a short drive to charge before programming anything. Memory modules are fussy about voltage.
Step 2: Set the seat, mirrors and steering wheel where you want them
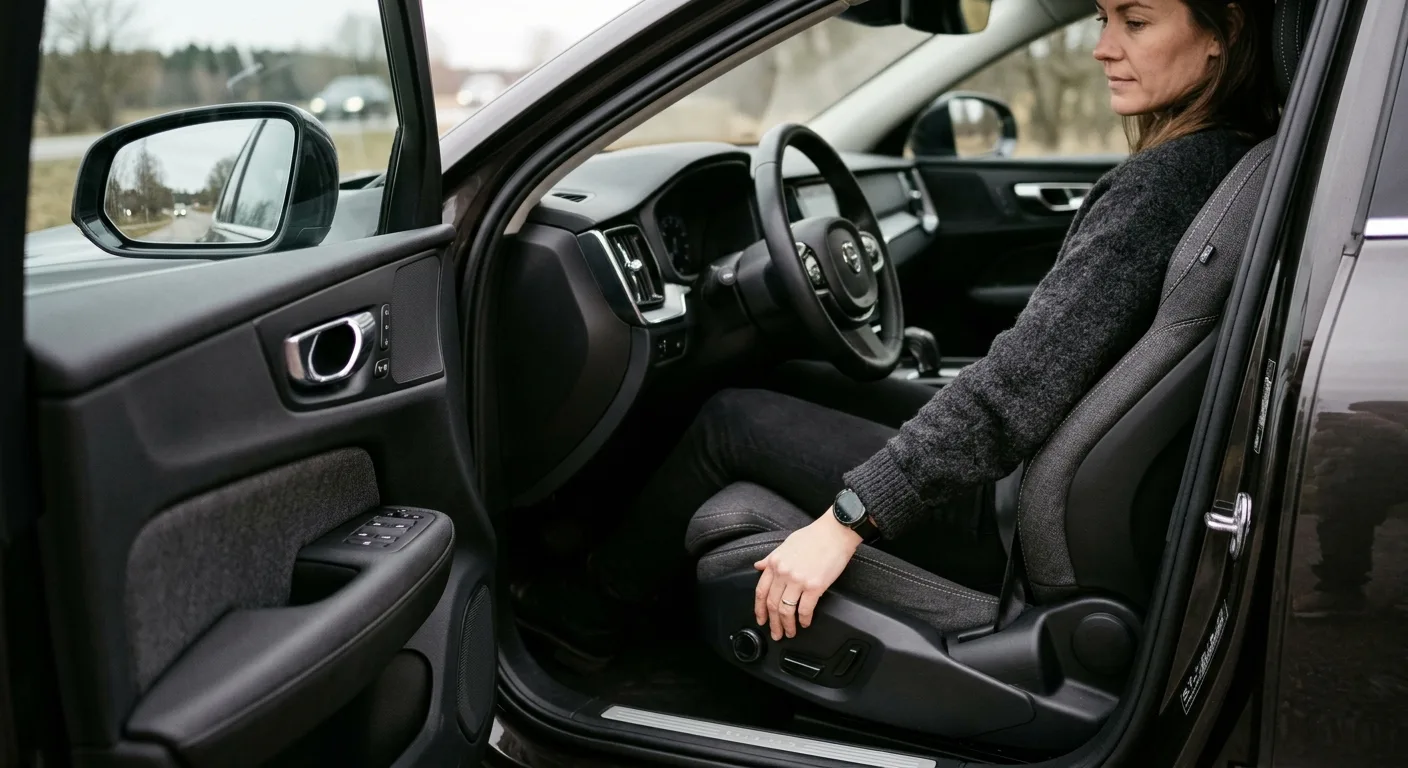
This sounds obvious, but do it slowly and deliberately. Adjust the seat base, backrest, headrest, lumbar, mirrors and (if your car includes it in the memory) the steering column to your ideal driving position.
Why it matters: the memory system stores whatever position is active when you press the set button. If you rush and get it slightly wrong, you'll be redoing the whole process.
Tip: Sit in the seat while you adjust, then buckle your seatbelt and check reach to the pedals and wheel. A position that feels fine in the driveway can be miserable after 30 minutes of driving.
Step 3: Find your car's memory "set" button and learn its sequence
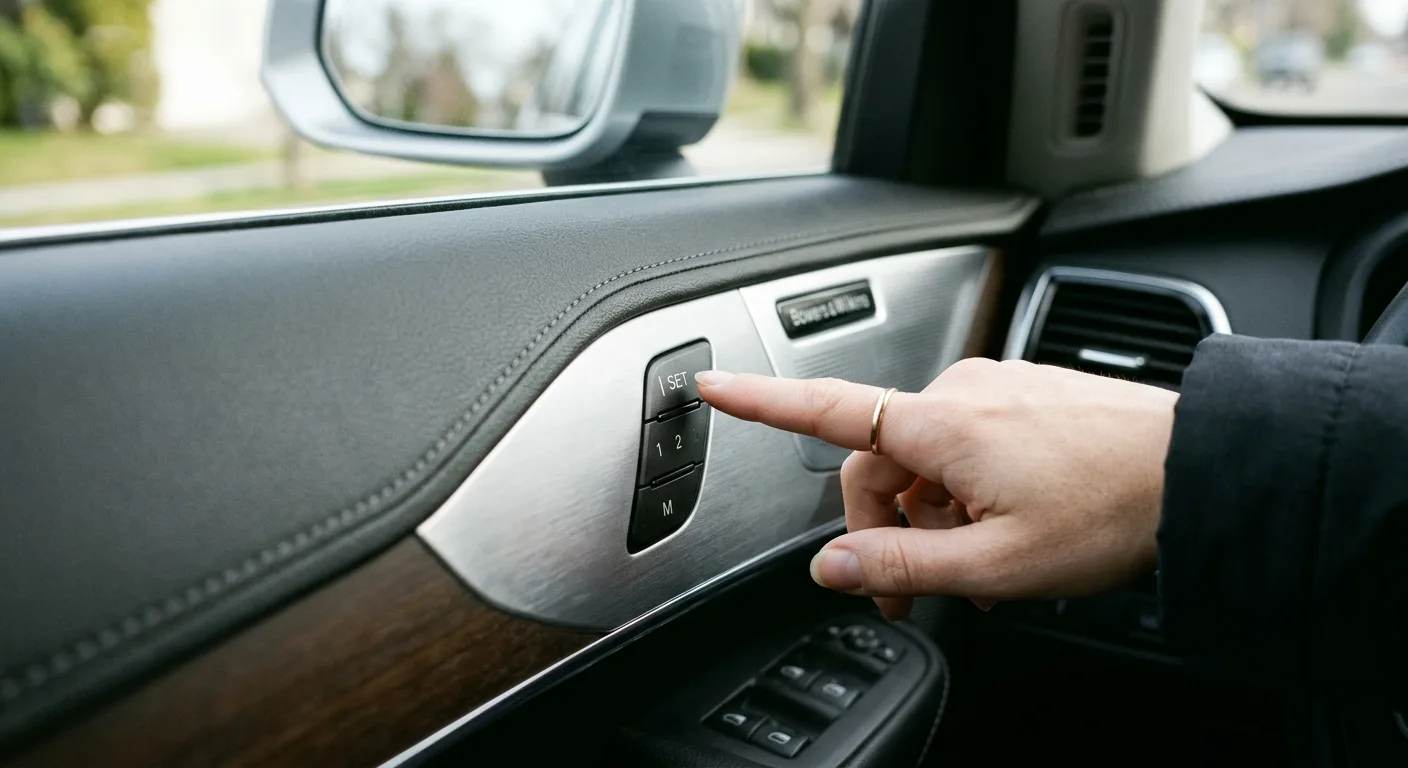
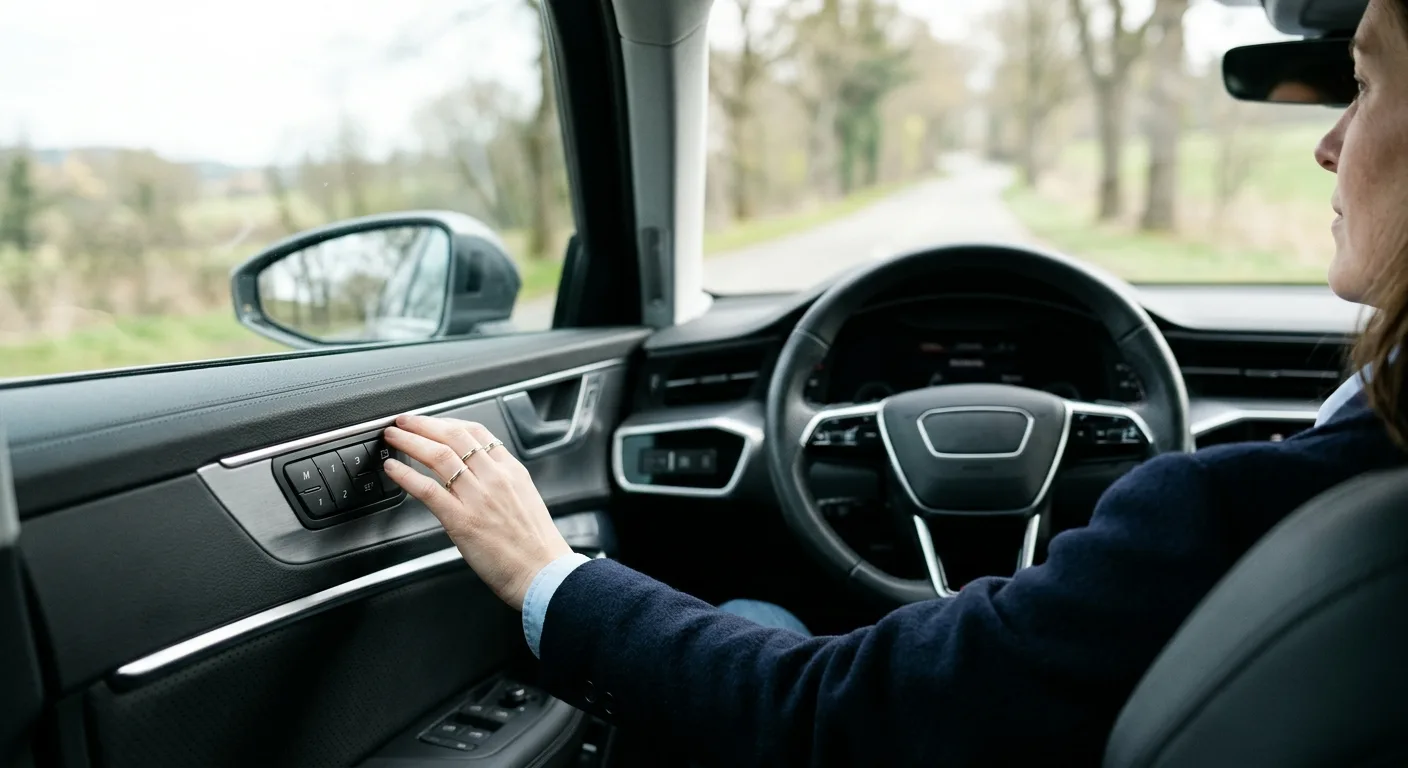
On most cars the memory controls live on the driver's door panel, sometimes on the seat base itself. You'll typically see buttons labeled 1, 2 and 3, plus a Set or M button.
The common patterns are:
- Press and hold Set, then press a number until you hear a chime or see a confirmation
- Press Set once, then press a number within a few seconds
- Press and hold a number for several seconds until it beeps
Look in your owner's manual for the exact sequence. Guessing wastes time, and on some cars a wrong sequence silently does nothing.
Step 4: Save your position to memory button 1
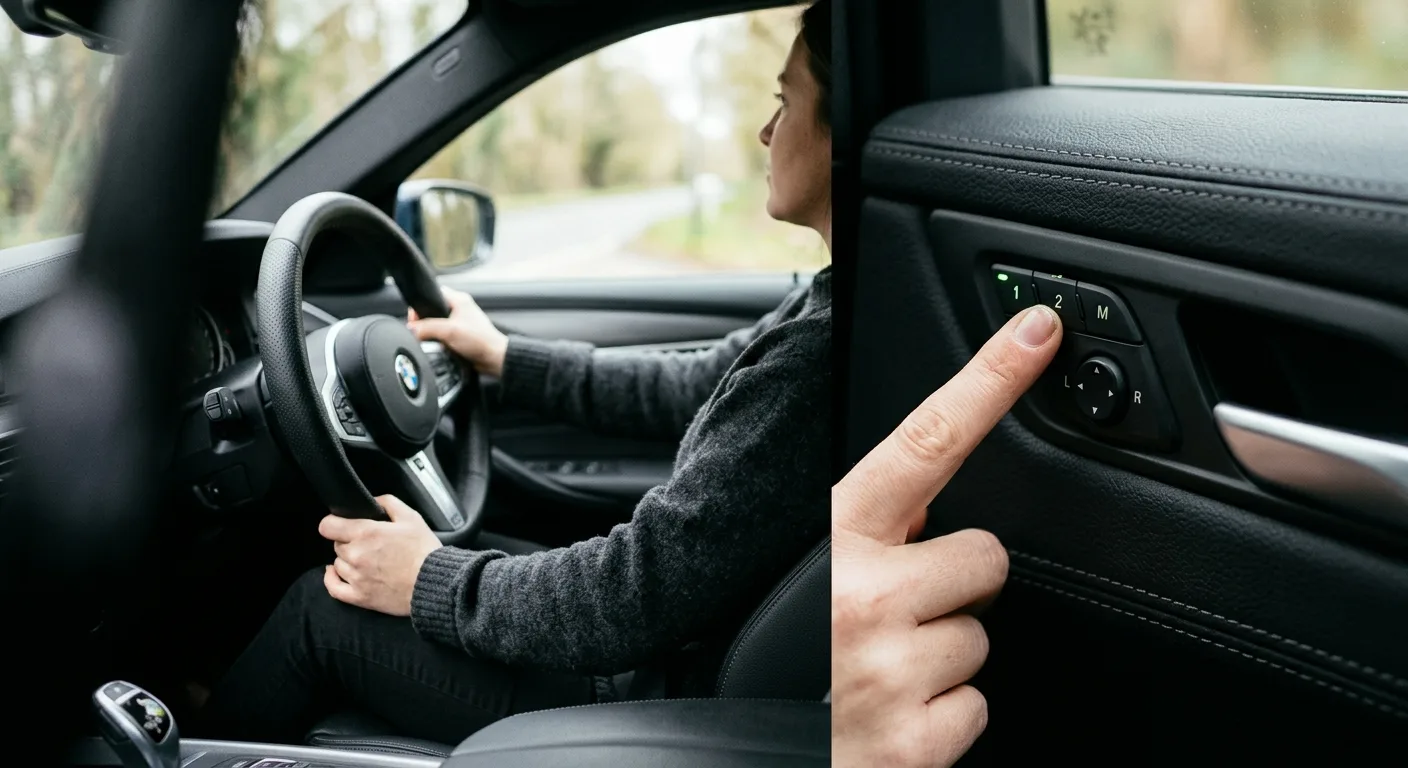
With the seat in place, follow your car's sequence to store position 1. Wait for the confirmation: a chime, a light, or a message on the dash.
Why it matters: this is the actual "reset." You're not erasing old data so much as overwriting it with a fresh, correct position tied to the button.
Tip: If nothing confirms, try the sequence again but hold the buttons a beat longer. Many systems need a firm, deliberate press rather than a quick tap.
Step 5: Save positions 2 and 3 for other drivers
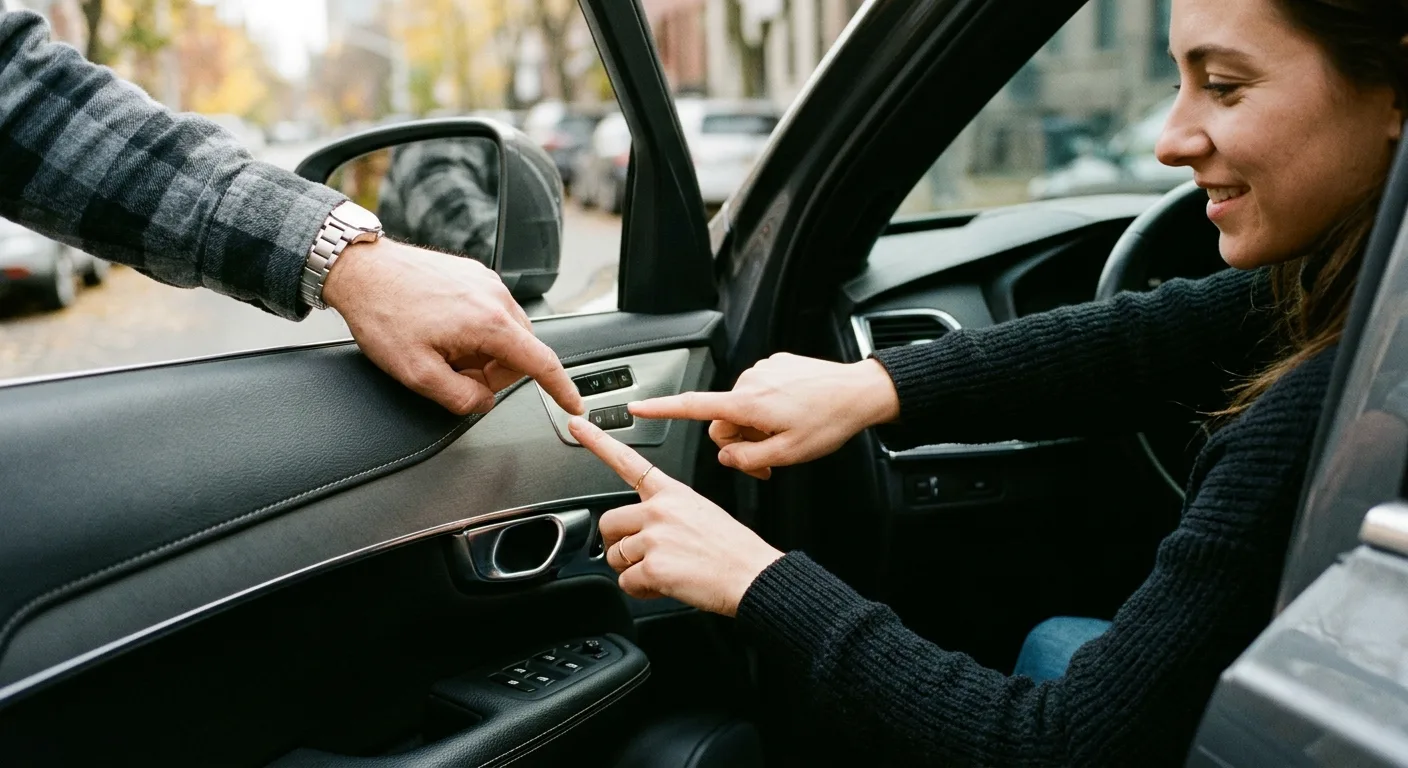
Repeat the process for each memory slot you use. Move the seat to the second driver's position, then store it to button 2, and so on.
This is where a lot of people stop too early. If you only program slot 1, the next driver who presses 2 gets whatever stale position survived, or nothing at all.
Step 6: Pair the memory to your key fob (if your car supports it)
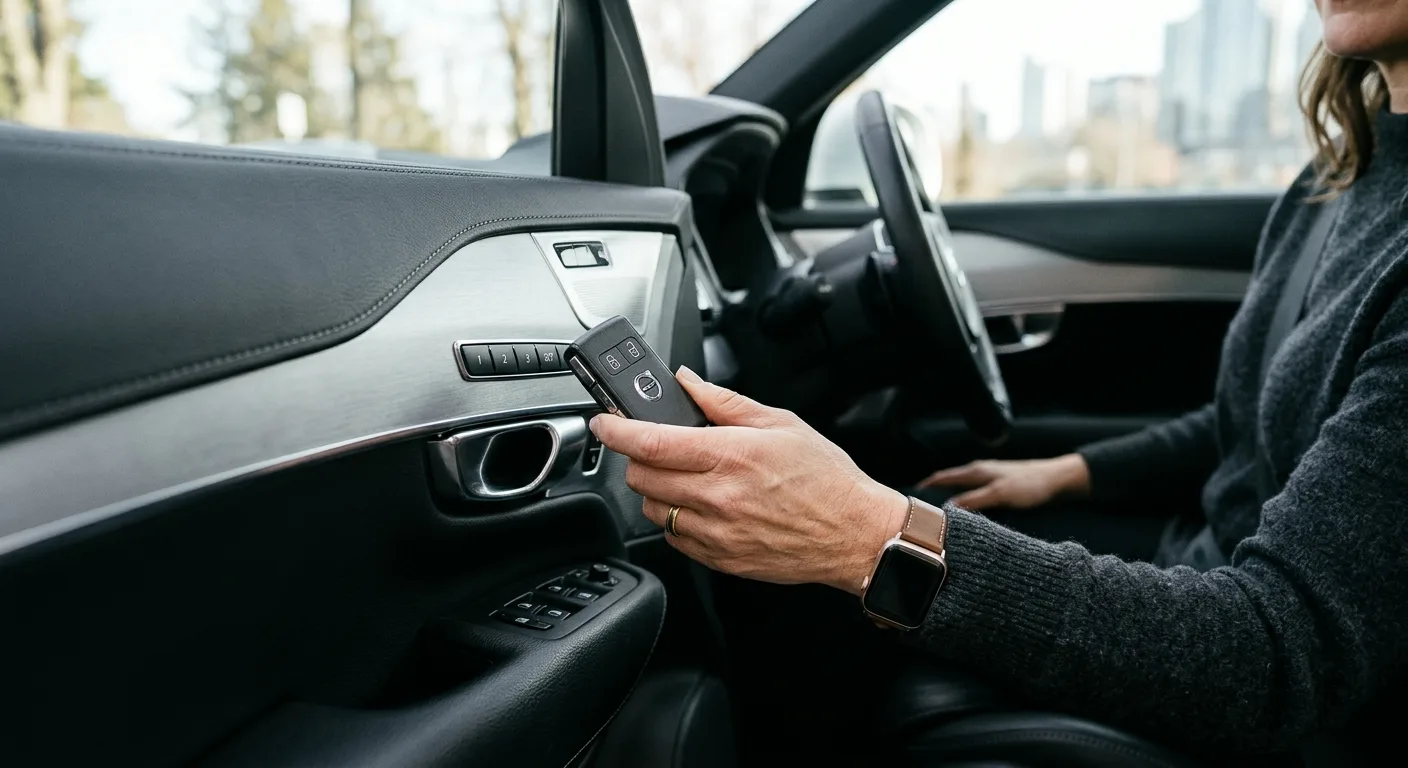
Many cars link a memory position to a specific key fob, so the seat moves automatically when you unlock with that fob. The pairing method varies: some cars do it automatically when you save a position while that fob is present, others need a dedicated sequence.
Check your manual for "key fob memory" or "personalization." If you have two fobs, pair each one to its driver's position.
Tip: Do this with both fobs in the car, one at a time, so you don't confuse which fob is being learned.
Step 7: Test every saved position
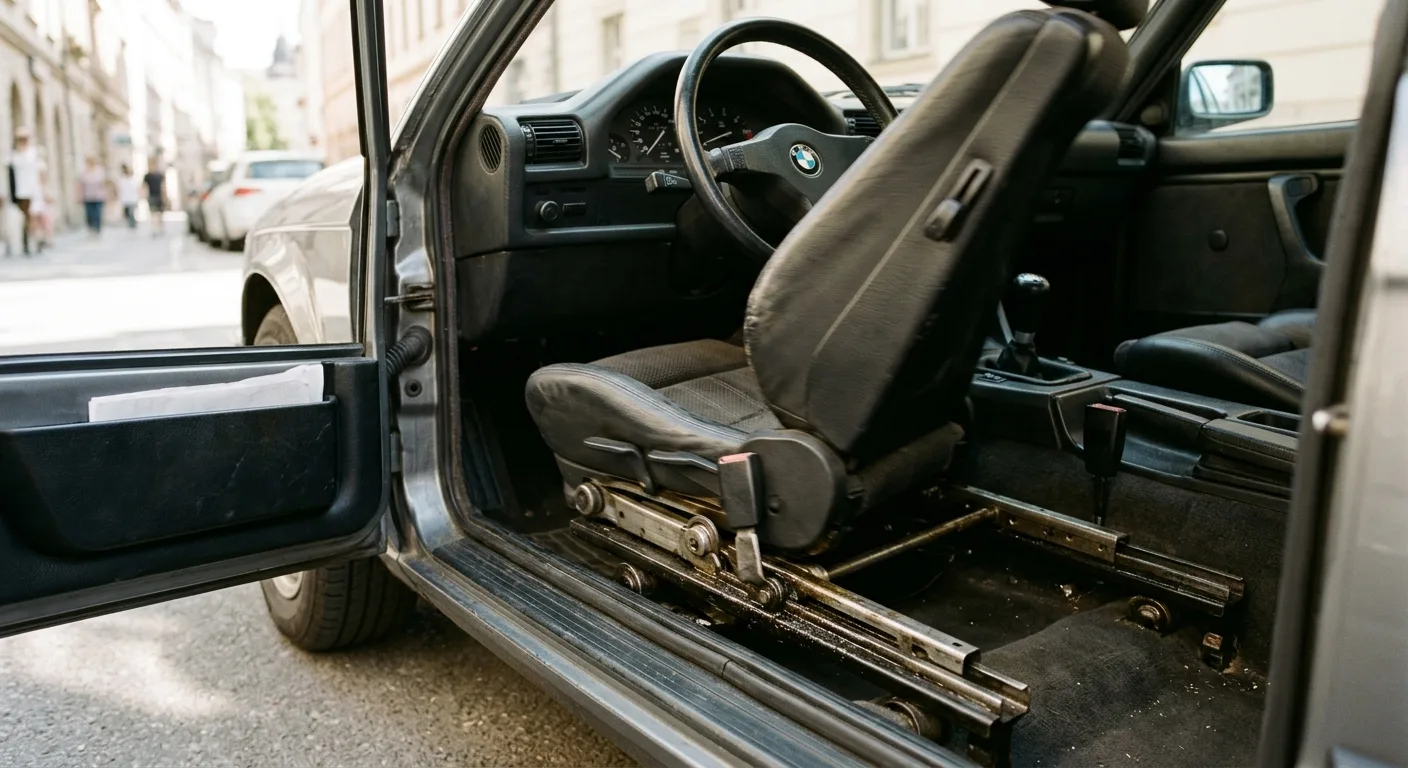
Move the seat far away from your saved position, then press button 1 and watch it return. Test 2 and 3 the same way. Then lock the car, unlock with your fob, and see if the seat moves on its own.
If a position doesn't return correctly, the save didn't take. Go back to Step 3 and try again with a slower, more deliberate sequence.
Step 8: Reset the windows and mirrors if they lost calibration
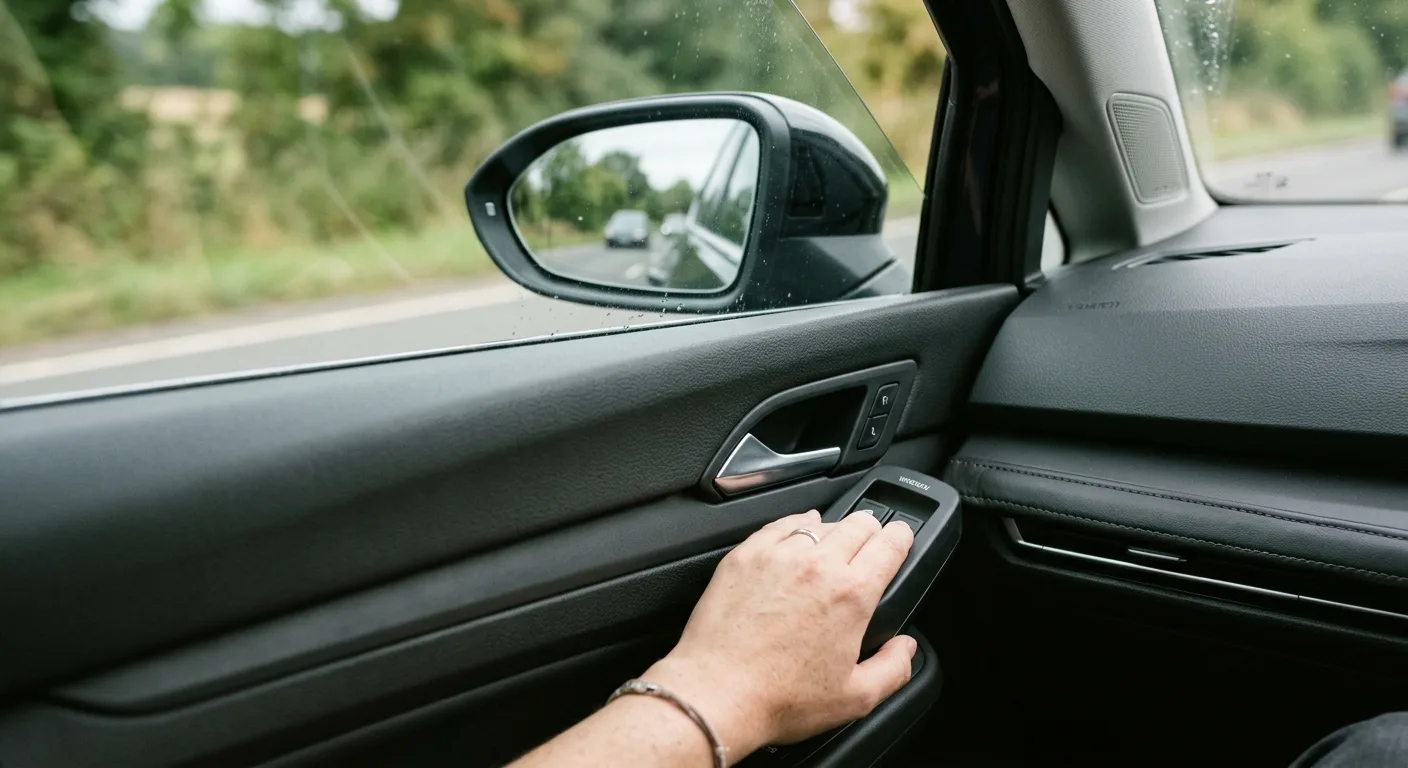
Some cars also lose window auto-up/down and mirror tilt settings after a battery change, and those features can interfere with the seat's "return to position" behavior. The fix is usually a simple relearn: hold the window switch down fully, then up fully, and hold each for a couple of seconds after it stops.
For mirror and other body settings, the step-by-step car guides at /guides cover the common relearn procedures by system.
Safety warnings, where they matter

Battery: Never disconnect or reconnect a battery with the engine running, and always disconnect the negative terminal first. If you're not confident working around the battery, have a shop do it.
Seat movement: Keep hands, feet and children clear of the seat tracks while the seat is moving under memory control. A power seat can pinch fingers surprisingly hard.
Brakes and driving: Don't test memory positions while the car is moving. Set everything up parked, then drive.
Hot fluids: If your battery work involved opening the hood near hot components, let things cool before reaching in.
Pro tips
- Program with the engine off but in accessory mode. It's quieter and less likely to time out mid-sequence.
- Use the manual's index, not the internet. Button sequences differ wildly between model years of the same car.
- Save a "comfort" position in slot 3 for long trips or waiting in the car. It's a small thing that pays off.
- Label your fobs with a sticker so you always grab the one paired to your seat.
- If the seat moves but won't store, the memory module may need a scan tool to clear a fault. The AI mechanic assistant at /tools/ai-assistant can help you interpret what you're seeing before you pay a shop.
- Check for a software update. Some newer cars fix memory glitches with a dealer software update.
Common pitfalls
Skipping the confirmation step. If you don't wait for the chime or light, the save may not register. Slow down.
Programming with a weak battery. Low voltage causes silent failures. Charge first.
Only saving one position. Program every slot you actually use, or the next driver gets a surprise.
Ignoring the key fob pairing. A seat that "forgets" your position on unlock is usually a fob that was never paired.
Assuming it's broken. Most post-battery memory issues are just an unlearned position, not a failed module. Relearn before you replace anything.
Useful resources
For general car maintenance and diagnostic how-tos, the AutoTools blog at /blog has practical write-ups. If you want to understand a specific system or component, the mechanical encyclopedia at /encyclopedia is a solid reference. And when a symptom has you stumped, the car symptom finder at /symptom can help narrow down what's going on before you start throwing parts at it.
FAQ
Why did my memory seats stop working after a battery change? The memory module lost its stored positions when power was cut. Re-saving your positions restores them. It's normal, not a fault.
Do I need a scan tool to reset memory seats? Usually no. Most cars relearn through the buttons. A scan tool helps only if a fault code is preventing the save.
Why won't my seat save to a memory button? Common causes are a weak battery, a wrong button sequence, or a memory module fault. Check voltage and the manual first.
Will my key fob still move the seat automatically? Only if it was paired to a memory position. Some cars lose that pairing with the battery, so re-pair it per the manual.
How long does this take? Typically 10 to 20 minutes once you know your car's sequence. Add time if you're also relearning windows or mirrors.
One last thing
This is one of the easiest DIY fixes on your car, and it costs nothing but a few minutes. Get the sequence right, save every position you use, and your seats will feel normal again before your coffee goes cold. If something still feels off after a couple of tries, that's your cue to check the manual or ask a mechanic rather than keep pressing buttons in frustration.
Ready to act on what you just read? Decode that warning light with the free OBD code lookup, run the matching car tools to check the numbers yourself, or browse more practical car articles for ideas.