Your car won't start, the dash looks like a Christmas tree, and someone has already told you the ECU is shot. Before you hand over four figures for a rebuilt unit, take a breath. The engine control unit is usually the last thing to fail and the first thing to get blamed.
By the end of this guide you'll be able to rule out the cheap, common causes that mimic ECU failure, pull real fault codes and live data, and decide whether you actually have a dead computer or just a bad wire. Set aside an afternoon, roughly two to three hours for a first pass, and bring a multimeter.
What you need before you start
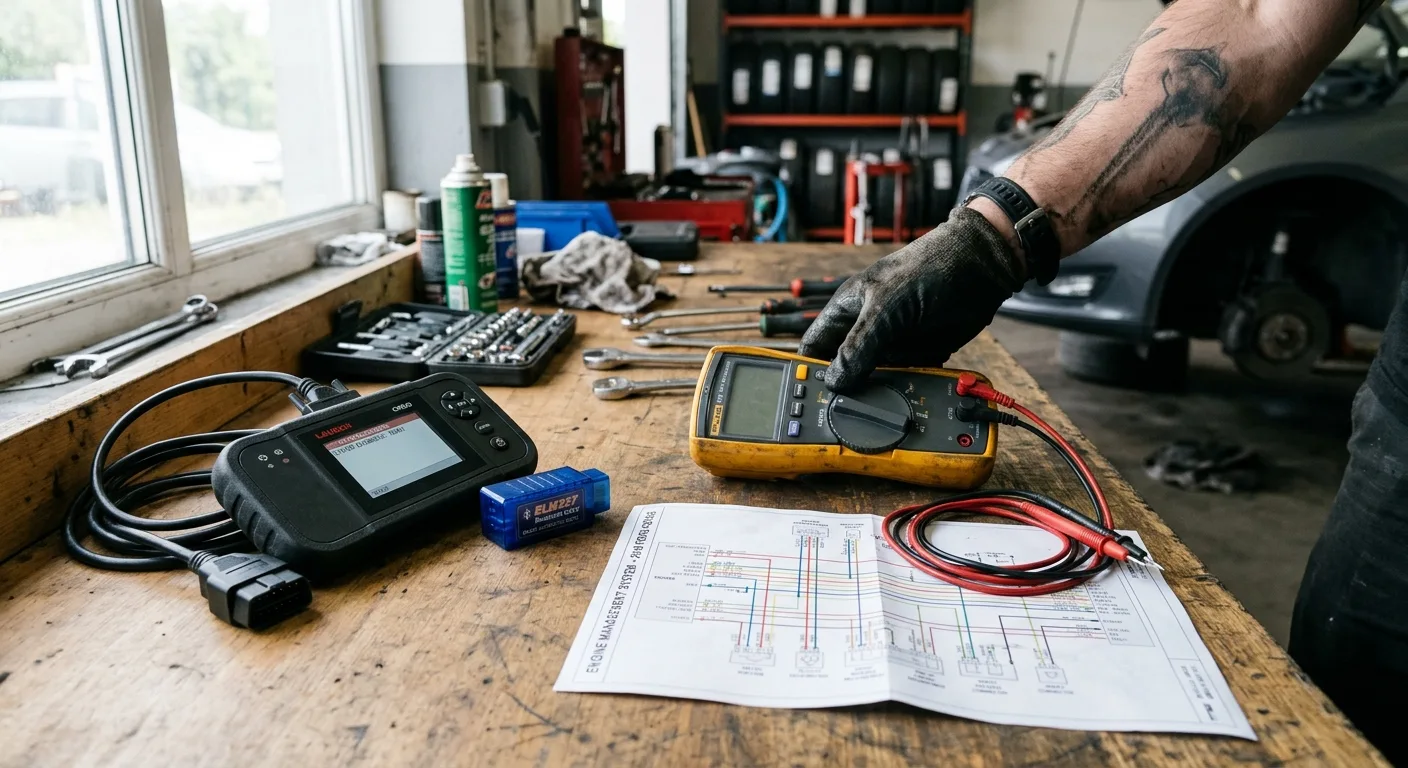
- An OBD2 scanner, ideally one that reads live data and not just codes. A basic code reader is a start; a Bluetooth dongle plus a phone app gives you far more for little money.
- A digital multimeter with a resistance and DC voltage setting. A cheap one is fine.
- The wiring diagram for your car. Factory service manuals, online forums, or a paid subscription to an official repair database all work. Do not guess at wire colors.
- Basic hand tools, plus contact cleaner and a small brush for connectors.
- A notebook or your phone for writing down codes and readings as you go.
- Your owner's manual, for fuse box locations and battery disconnect procedure.
You can run a lot of this diagnosis with a phone and a dongle. If you want to see what live data actually looks like, the free OBD live-data tool is a good place to get familiar with the readings before you're standing in the cold.
Step 1: Write down every symptom before you touch anything

Grab your notebook and list what the car is doing. Hard start when cold? Dies when hot? Random misfire at idle only? Warning lights that come and go? Note when it started and anything that changed beforehand, like a jump start, a car wash, or a recent repair.
Why it matters: ECUs don't fail in a vacuum. A computer that lost power during a jump start behaves very differently from one that's been slowly cooking in a corroded connector. Your symptom list is what separates the two.
Practical tip: Note the weather and engine temperature when the fault appears. Intermittent faults that only show up when hot or damp are almost always wiring or a failing sensor, not a dead computer.
Step 2: Check the battery and charging system first
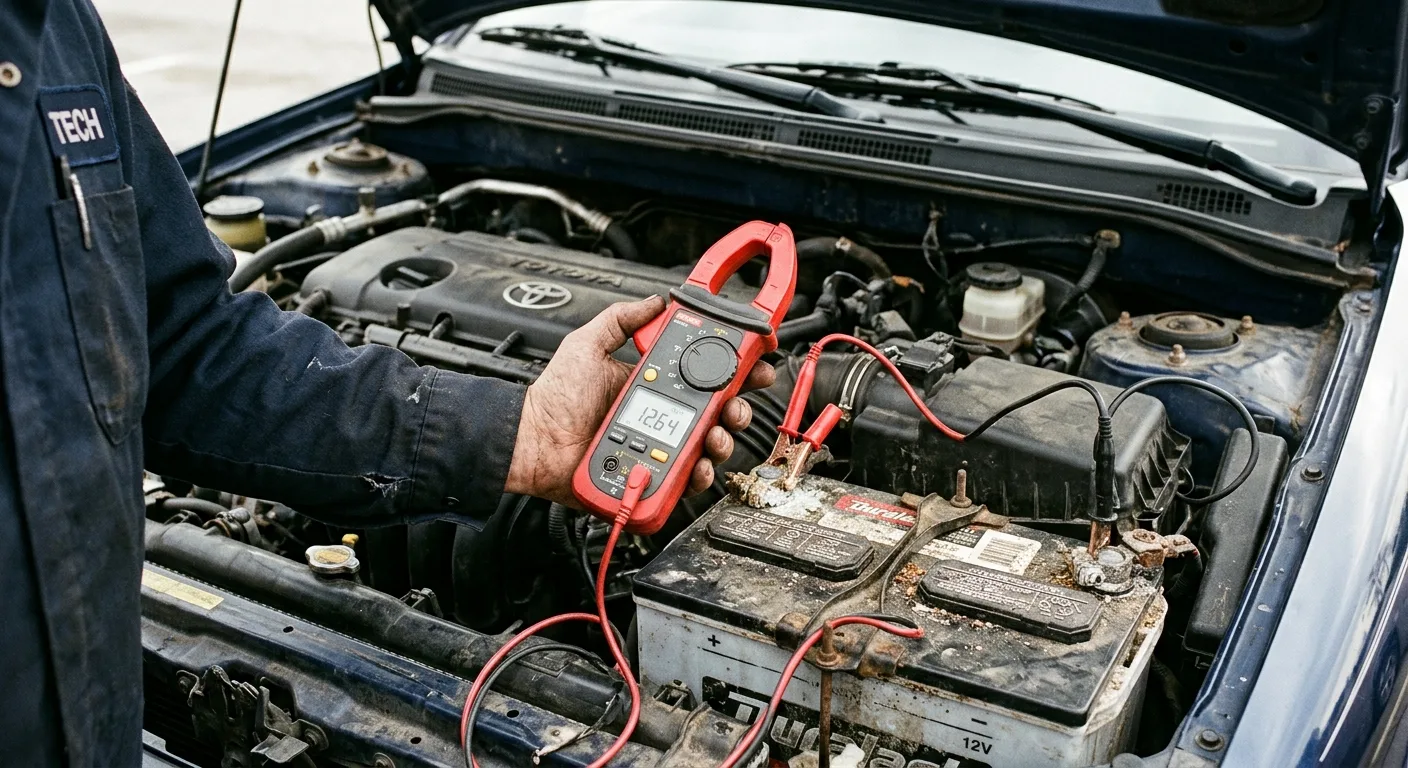
Measure battery voltage at rest with the engine off. Then start the car and measure again at the battery posts. A healthy charging system should read higher than the resting voltage by a noticeable margin. If you're unsure of the exact figures for your car, check the owner's manual or ask a shop. A weak or failing battery, or a tired alternator, causes all kinds of strange electrical gremlins that look exactly like ECU trouble. Low voltage makes modules throw codes and lose communication.
Safety: Remove rings and watches before working near the battery. Never lean over a battery while cranking, and follow your manual's procedure if you disconnect it. Some cars need a battery backup or a relearn after disconnection.
Practical tip: Load test the battery or have it tested free at most parts stores. This costs nothing and rules out the single most common false alarm.
Step 3: Read the codes properly and write them all down

Plug your scanner into the OBD2 port, usually under the dash near the steering column, and turn the ignition on. Read all stored codes, not just the first one. Note whether each is current or pending.
Why it matters: A single bad sensor can drag down a shared reference voltage and set five codes at once. The trick is finding the one that's causing the others. If you want plain-English explanations of what each code means, use the free OBD code lookup and keep the descriptions beside your notes.
Practical tip: Clear the codes only after you've recorded them. Then drive the car through a normal warm-up cycle and see which codes come back first. The one that returns is usually your real lead.
Step 4: Look at live data, not just codes

This is where most DIYers stop too early. Switch your scanner to live data and watch sensor readings while the engine runs. Compare a cold start to a fully warm engine. Watch coolant temperature, intake air temperature, throttle position, and oxygen sensor switching.
Why it matters: A code tells you the ECU noticed a problem. Live data tells you what the ECU is actually seeing. A coolant sensor reading a fixed value, or an oxygen sensor that never switches, points to the sensor or its wiring, not the computer.
A quick way to sanity-check a reading against the real world is the car symptom finder, which helps match what you're seeing to likely culprits. If you're stuck interpreting the numbers, the AI mechanic assistant can help you talk through what a reading means.
Practical tip: Rev the engine slowly and watch whether the readings move smoothly. A sensor that jumps or freezes is suspect even if it hasn't set a code yet.
Safety: Keep hands, loose clothing, and the scanner cable well clear of belts, fans, and the exhaust while the engine is running. Never reach into the engine bay while it's cranking.
Step 5: Inspect the ECU connectors and grounds
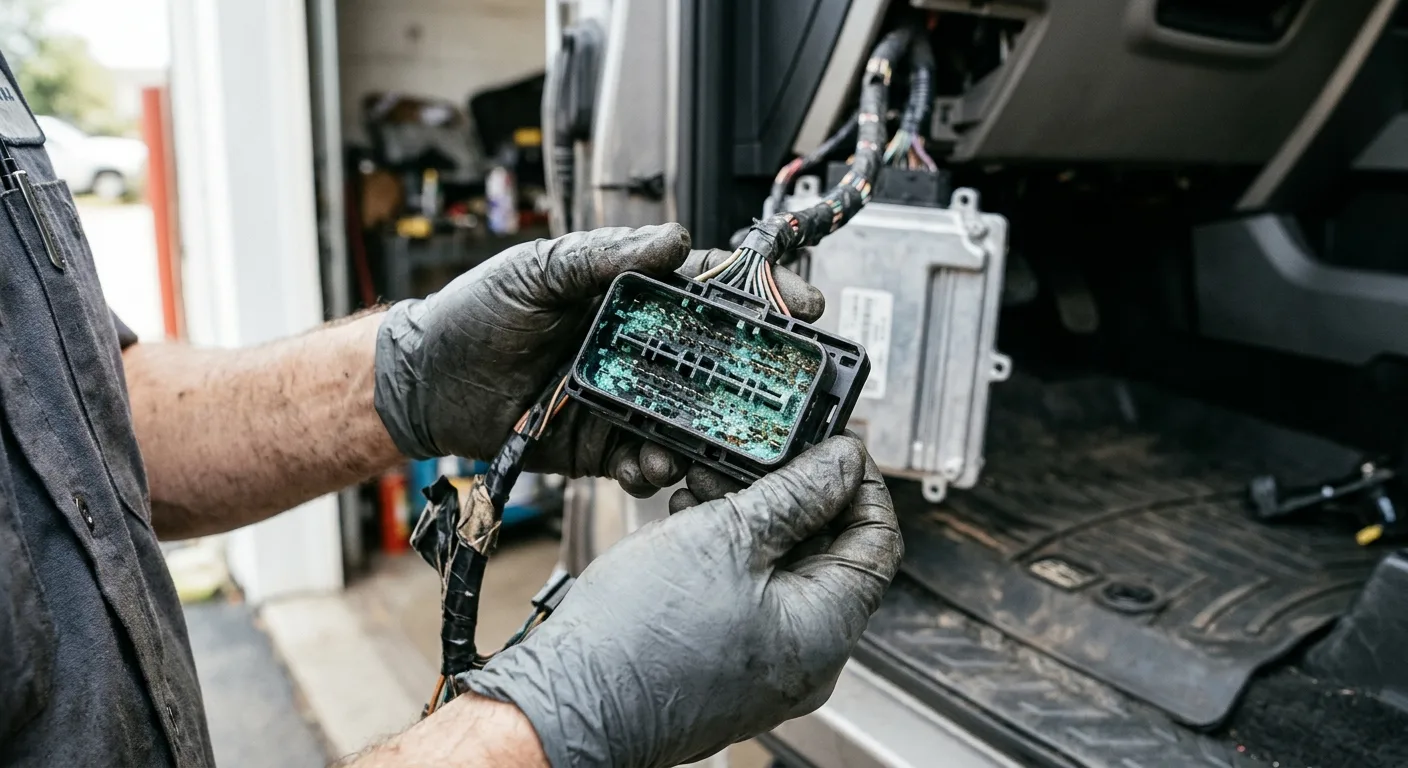
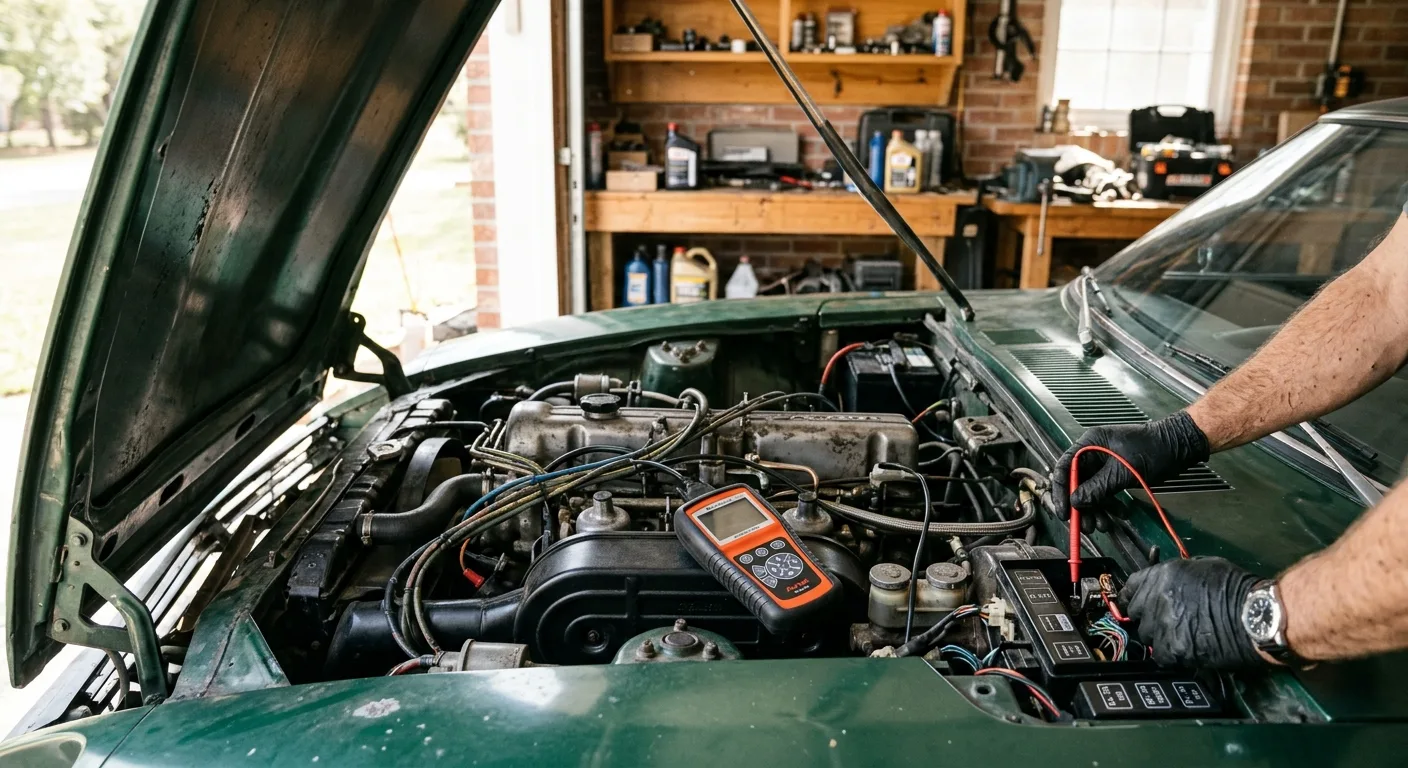
With the ignition off and the battery safely disconnected per your manual, find the ECU. It's often behind a kick panel, under the hood, or under a seat. Unplug the main connectors and look inside. You're hunting for green corrosion, water stains, pushed-back pins, or a connector that wasn't fully seated.
Then check the grounds. Bad grounds are the most underrated cause of "dead ECU" symptoms. Follow the ground straps from the engine block and body and check them for tightness, rust, and fraying.
Why it matters: The ECU decides everything based on voltage it receives across its pins. A corroded pin or a loose ground changes that voltage and confuses the whole system.
Practical tip: Clean contacts with contact cleaner, a soft brush, and a careful reseat. Do not bend pins to force a connection. If a pin is broken, that's a wiring repair, not an ECU replacement.
Step 6: Test the power and ground feeds at the ECU
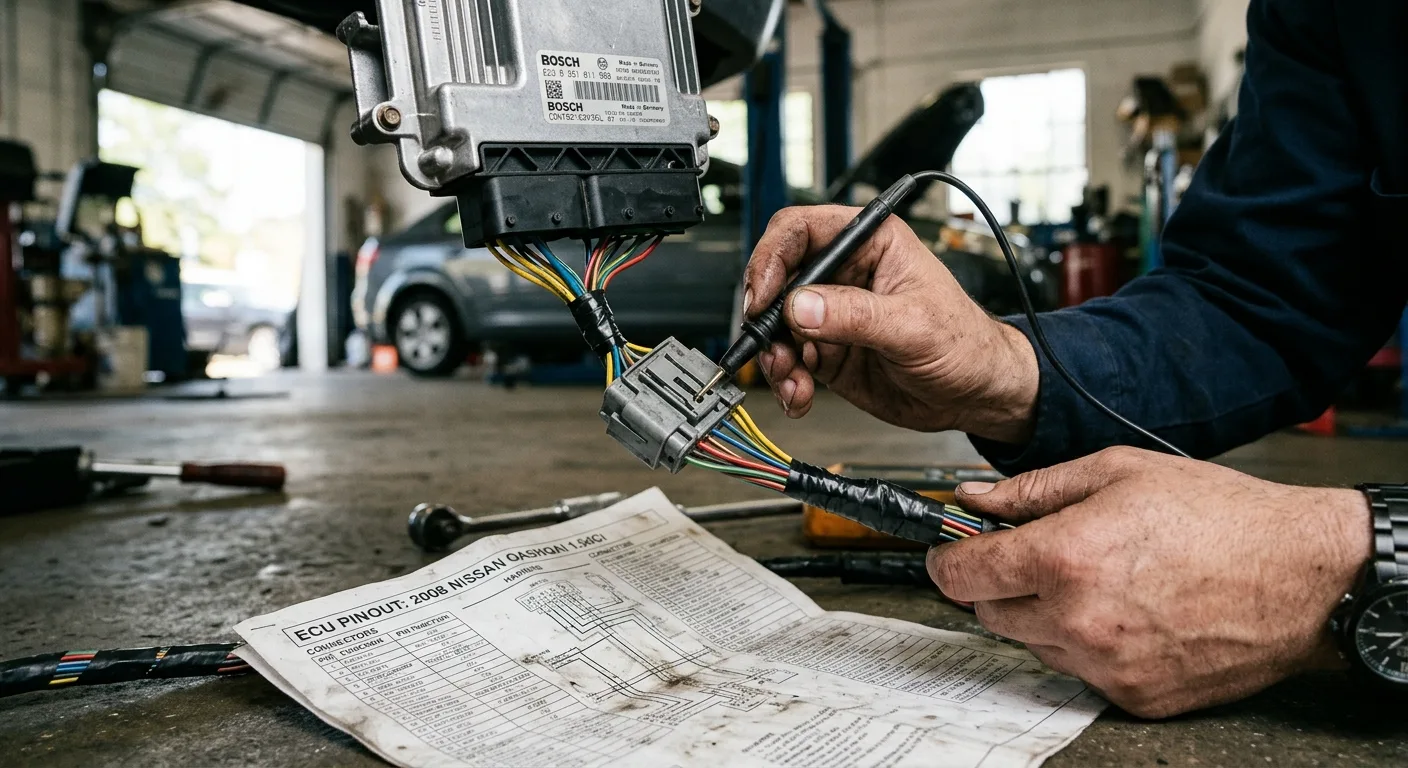
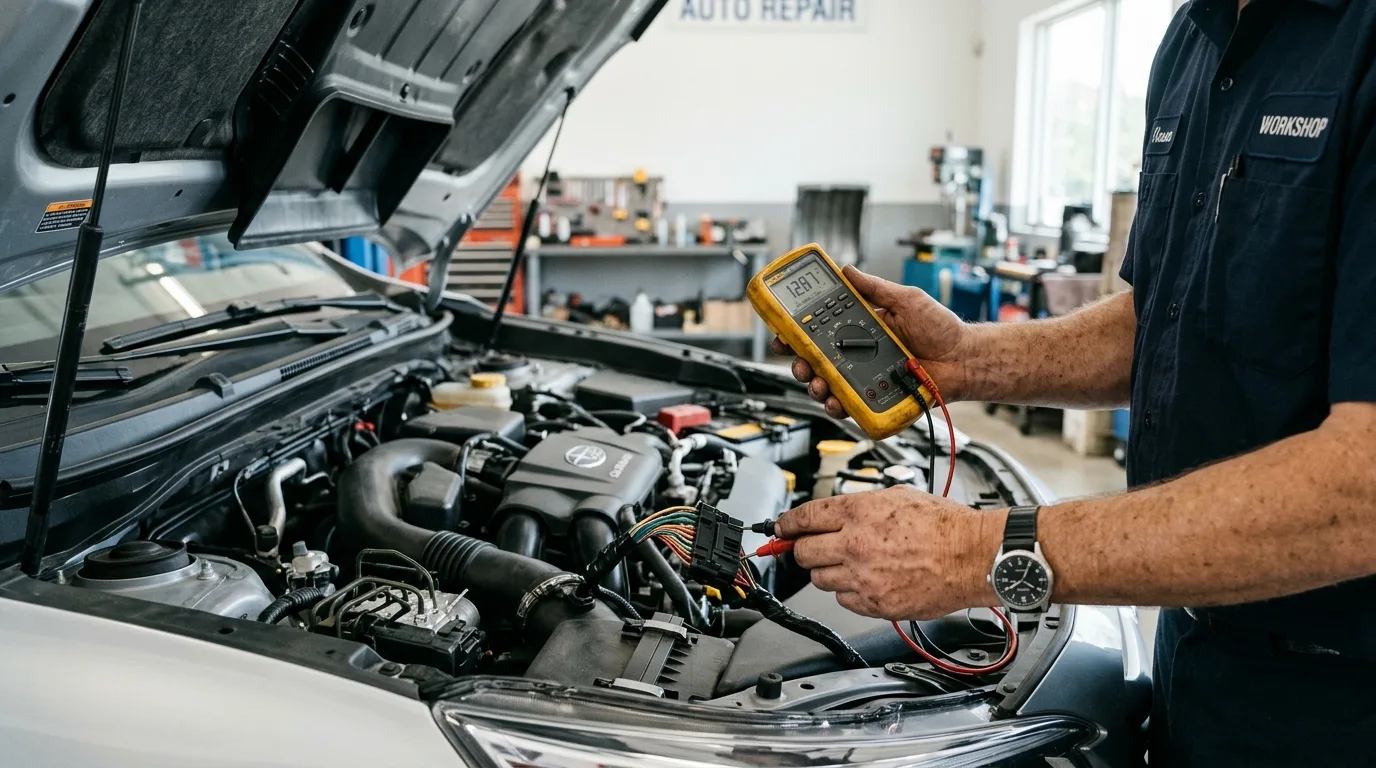
This is the step that separates guessing from diagnosing. With your wiring diagram in hand, identify the ECU's constant power, switched ignition power, and ground pins. Use your multimeter to check for the expected voltage at each with the key on.
Why it matters: If the ECU isn't getting power or ground, it can't work, and it will look dead. That's a $5 fuse or a corroded wire, not a $1,000 computer.
Safety: Turn the ignition off before probing connectors, and never short a probe between two pins. A slipped probe can fry a module.
Practical tip: Check every fuse that feeds the ECU, not just the obvious one. Test fuses with the meter rather than eyeballing them, since a cracked fuse can look fine. Your fuse box map is in the owner's manual.
Step 7: Check for a shorted sensor pulling the system down

Sometimes the ECU is fine, but a sensor on a shared circuit is shorted and dragging the whole thing down. Disconnect suspect sensors one at a time and see if the fault clears or the live data returns to normal.
Why it matters: Common culprits are crank and cam sensors, oxygen sensors, and throttle body wiring. A shorted sensor can pull a reference voltage low and make the ECU look broken.
Practical tip: Do this with the key on and the engine off first, so you can hear and see changes without the noise and heat. Change one thing at a time.
Step 8: Look for water damage and heat damage
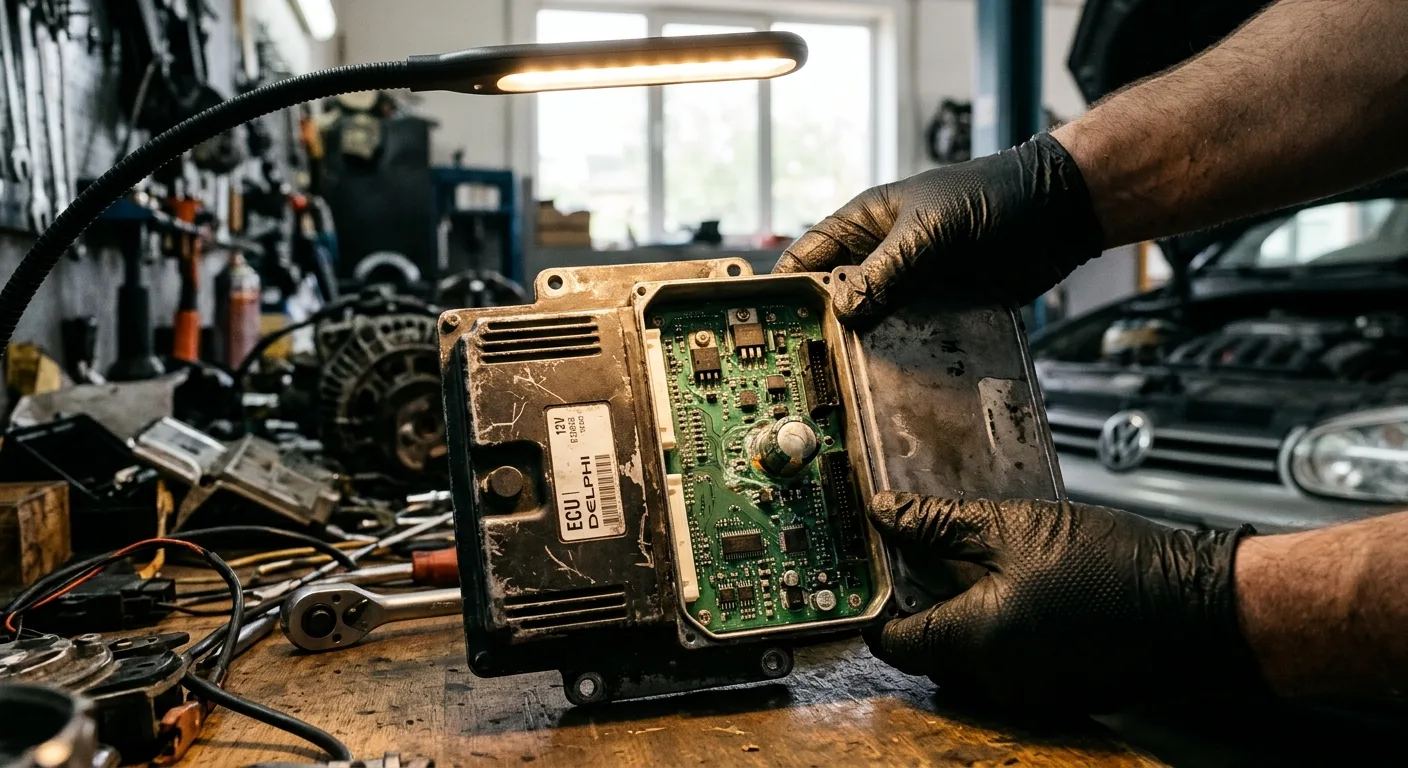
ECUs live in tough places. Check the casing for cracks, look for water tracks around the connector, and sniff for that burnt electronics smell. Remove the cover only if you're comfortable doing so, and look for bulging capacitors, scorch marks, or corrosion on the board.
Why it matters: Water ingress through a blocked drain or a leaking windshield can kill an ECU. If you find moisture, fixing the leak matters as much as the module.
Practical tip: A used ECU from a matching car is often far cheaper than new, but it usually needs coding to your vehicle. Confirm that with a shop before buying.
Step 9: Do the wiggle test
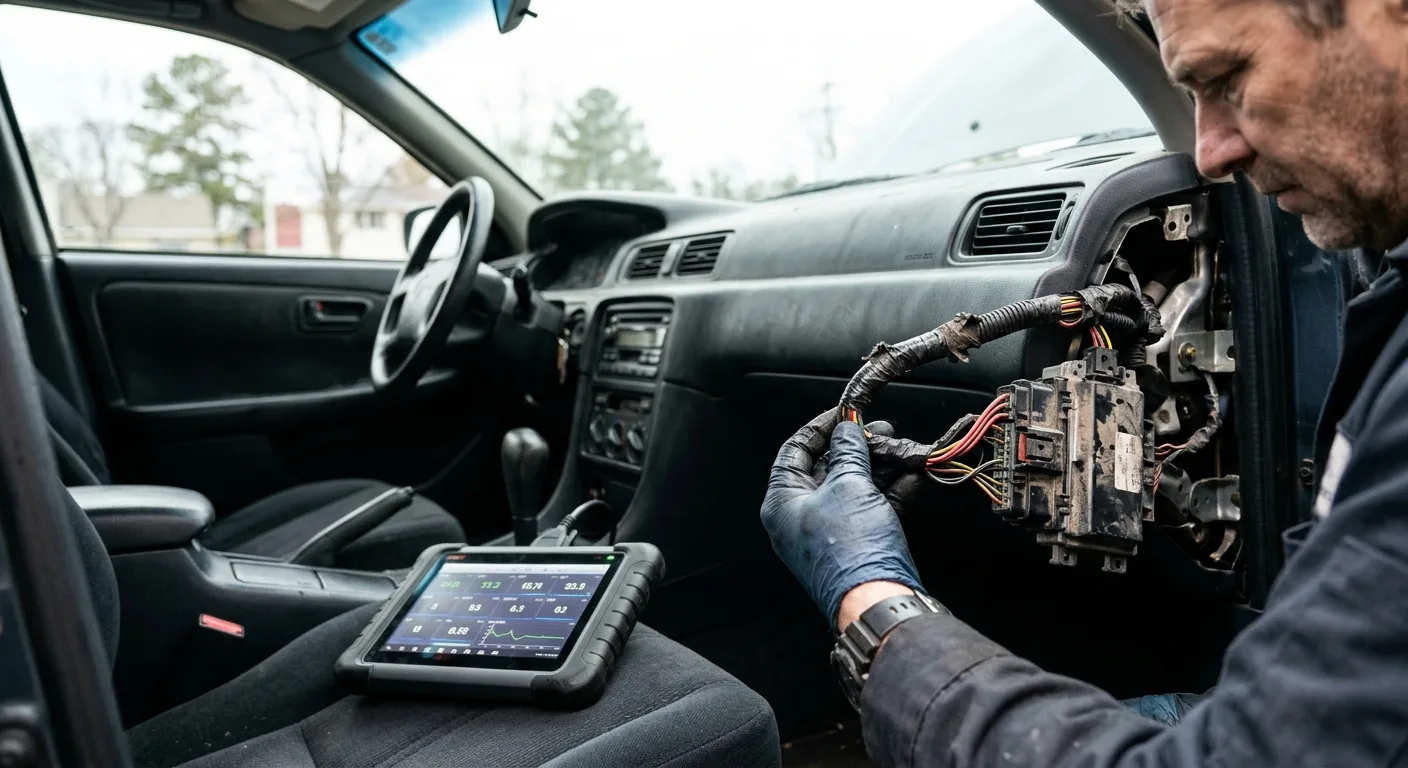
With the engine running and the scanner connected in live-data mode, gently wiggle the harness near the ECU and the sensors. Watch for the readings to jump or the engine to stumble.
Why it matters: A broken wire inside intact insulation is invisible to the eye but obvious to a wiggle test. This catches intermittent faults that no code reader will find.
Safety: Keep hands away from moving parts. Wiggle wires only, never connections under load, and stop if anything sparks.
Practical tip: If a wiggle changes the readings, you've found your fault. Repair that section of harness properly with solder and heat shrink, not a twist and tape.
Step 10: Make your call with evidence, not hope

Now review your notes. If power, ground, and connections are good, codes point to a sensor, and live data is sane once the sensor is disconnected, the ECU is probably fine. If power and ground are missing, fix the wiring first.
Why it matters: Replacing the ECU without proving it's faulty is how people end up paying twice. A rebuilt or used ECU also needs programming, which costs money on top.
Practical tip: If you're still unsure, a shop can do a bench test or a full diagnostic for a modest fee. The free car tools page has a few quick helpers, but a proper scan tool session with a mechanic is worth the money before you commit to a module.
Pro tips

- Write it down. Every code, every voltage, every wiggle result. Memory lies after an hour under the hood.
- One change at a time. Make one repair, then retest. Changing three things at once means you'll never know what fixed it.
- Compare cold to warm. Many sensor faults only show up at one temperature.
- Check the simple stuff twice. Battery, grounds, fuses, and connectors cause more "ECU failures" than actual ECU failures.
- Keep the old module. If you do end up replacing it, keep the original. Some shops can repair or reprogram it, and it's useful proof later.
Common pitfalls
- Replacing the ECU based on one code. Codes describe symptoms, not causes. Always trace the circuit before condemning a module.
- Ignoring voltage problems. A weak battery or bad alternator sets off a chain of false faults. Test the charging system before anything else.
- Assuming a dead dash means a dead computer. Check fuses, grounds, and the ignition switch first.
- Buying a used ECU without checking compatibility. A used module often needs coding, an immobilizer match, or both. Confirm with a shop before you buy.
- Skipping the wiring diagram. Guessing at wire colors usually ends in a blown fuse or a damaged module. Get the diagram.
Useful resources
Your owner's manual for fuse layouts and battery procedure. A manufacturer or third-party service manual for wiring diagrams. A good OBD2 scanner app with live-data logging. And for reading codes in plain English, the free OBD code lookup on this site pairs well with your scanner notes.
FAQ
How do I know if my ECU is actually bad? Usually by elimination. If power and ground reach the ECU, connections are clean, and codes still point to internal failure after you've tested sensors, then suspect the module. A proper bench test from a shop settles it.
Can a bad battery cause ECU codes? Yes. Low or unstable voltage makes modules behave strangely and can set multiple codes at once. Always check the battery and charging system first.
Will a used ECU just plug in and work? Not usually. Many cars require the replacement module to be coded or matched to the immobilizer. Ask a shop about your specific model before buying.
Do I need an expensive scanner? No. A basic reader gets you codes, and a Bluetooth dongle with a phone app gives live data for far less. What matters more is using it properly and writing down what you see.
How long should this take? Plan two to three hours for a first pass. Intermittent faults can take longer because you have to catch them in the act.
A final word
Most "dead ECU" stories end with a corroded ground or a bad battery, not a new computer. Work slowly, write everything down, and let the evidence make the call. Your wallet will thank you.