How to Test a Car Relay With a Multimeter: Step-by-Step Guide
A relay is one of the cheapest parts in your car and one of the most common reasons a fan, fuel pump, horn or headlight stops working. By the end of this guide you will be able to pull a suspect relay, test it on the bench with a multimeter, and know for certain whether it is dead or fine. Plan on…
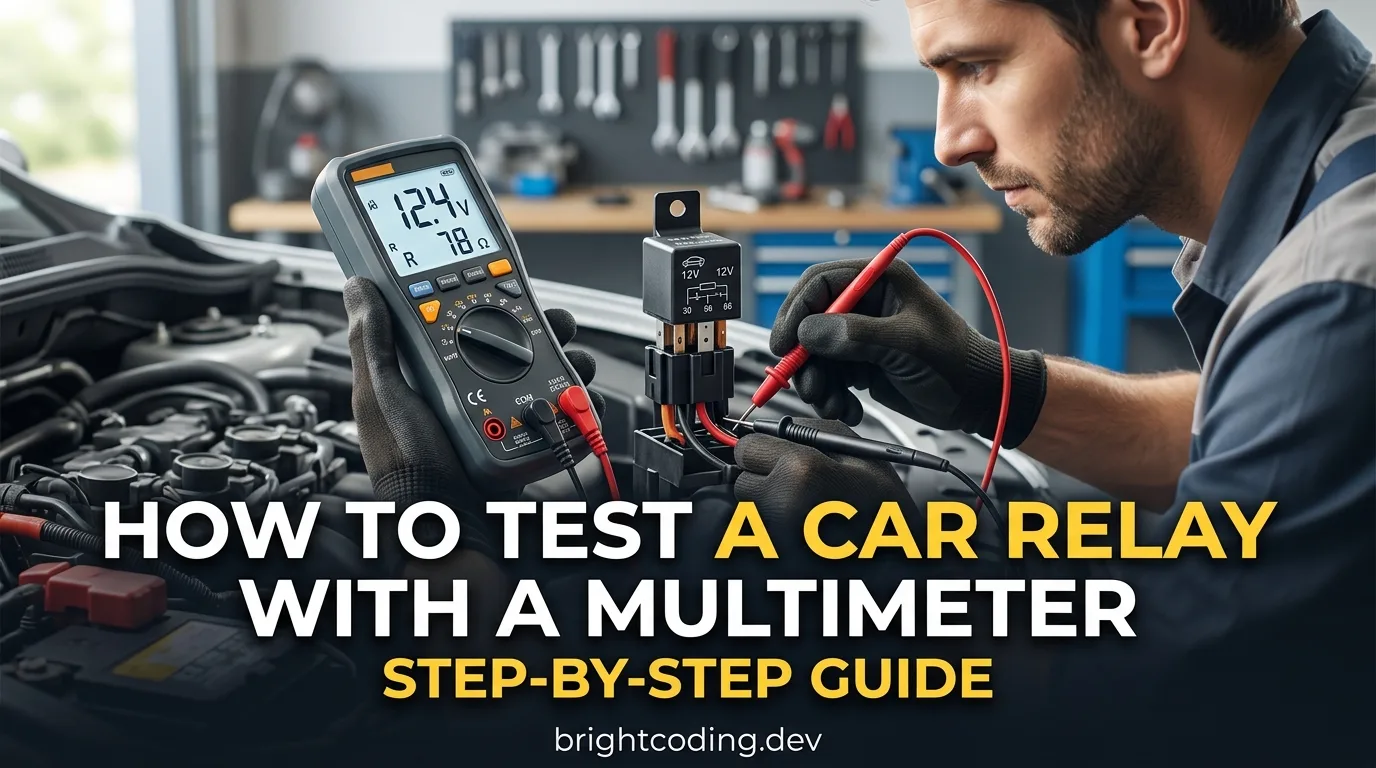
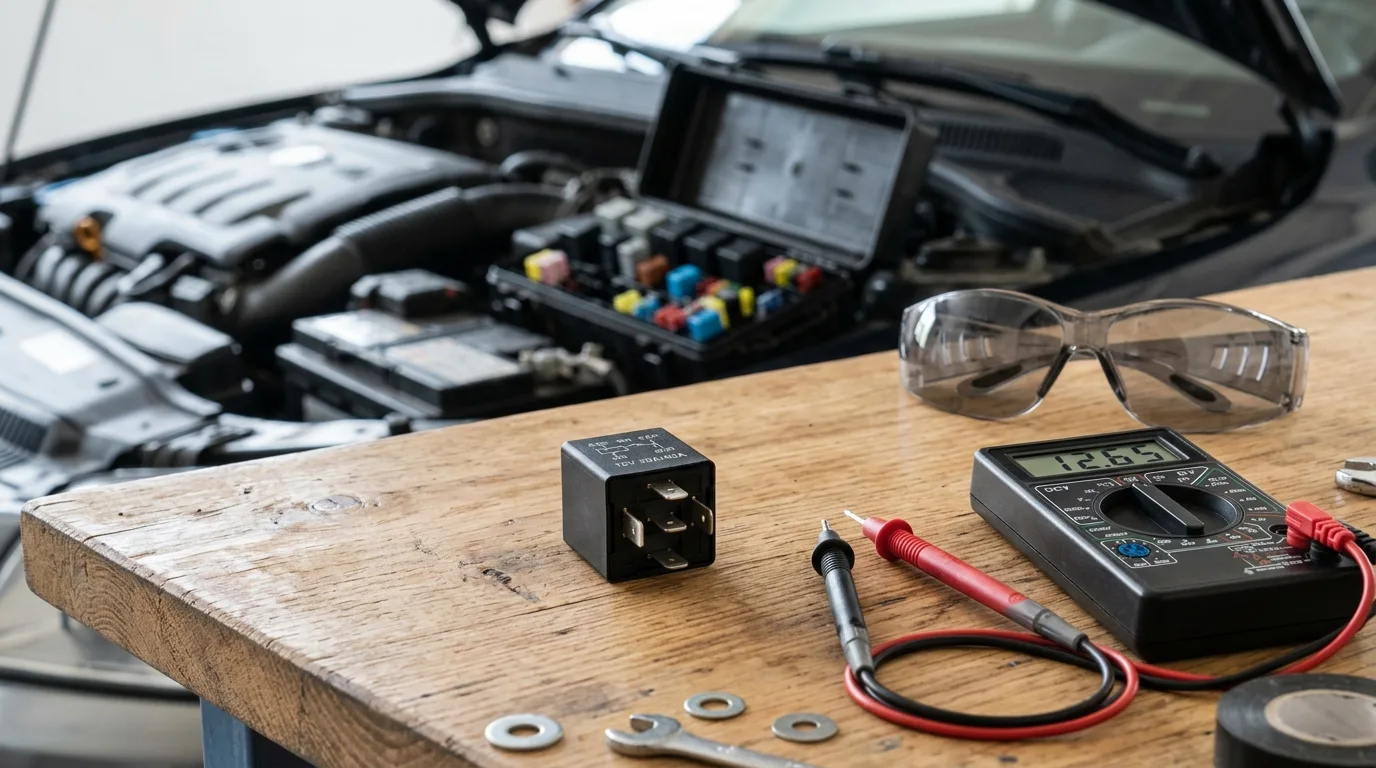
A relay is one of the cheapest parts in your car and one of the most common reasons a fan, fuel pump, horn or headlight stops working. By the end of this guide you will be able to pull a suspect relay, test it on the bench with a multimeter, and know for certain whether it is dead or fine. Plan on 20 to 40 minutes for your first one, and about five minutes once you have done it a couple of times.
What you need before you start
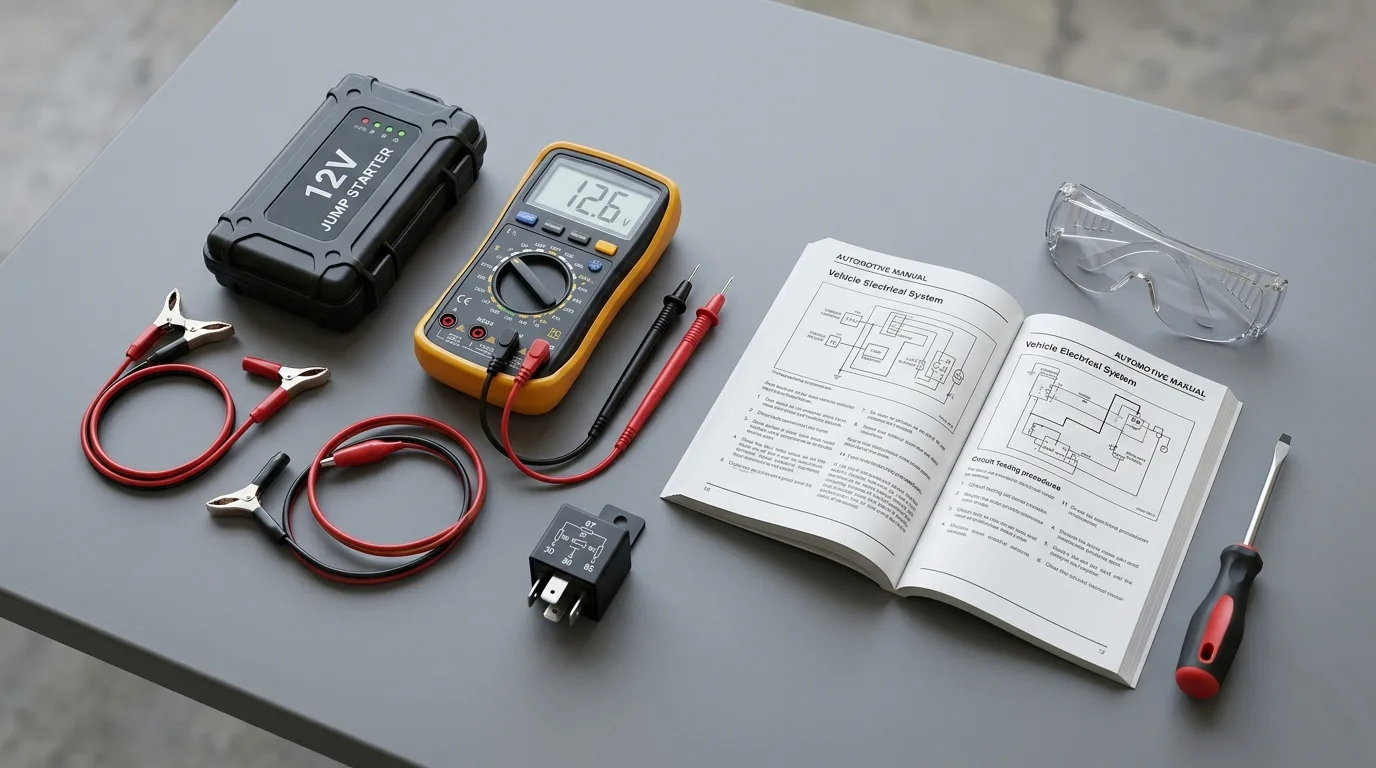
- A digital multimeter with a continuity or resistance setting (most cheap ones are fine)
- A 12V power source to energize the coil. A spare car battery, a jump pack, or a bench power supply all work. Some relays can be tested in the car with the ignition on, but bench testing is cleaner
- Two short jumper wires with small alligator clips
- The relay itself, plus a known-good spare of the same type if you have one
- Your owner's manual or a wiring diagram for your car
- A small flathead screwdriver or pick for releasing the relay from its socket
- Safety glasses. Nothing dramatic happens when a relay fails, but a slipped jumper on a live battery can spark
A basic digital multimeter runs roughly $15 to $40. If you do not own one yet, it pays for itself the first time you avoid throwing parts at a problem. The free car tools section has calculators and reference pages that pair well with a multimeter when you are chasing electrical faults.
Step 1: Find the right relay and confirm the symptom
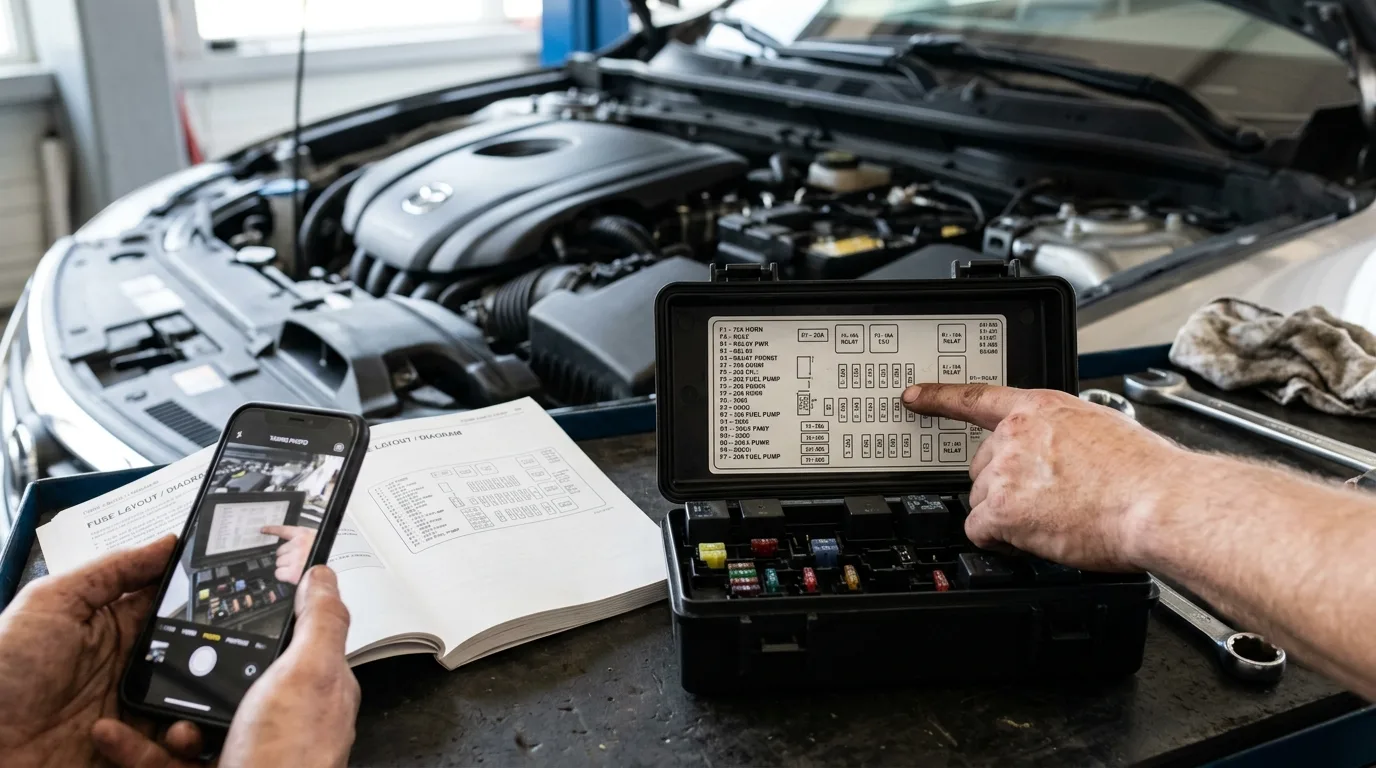
Relays live in fuse and relay boxes: under the hood, under the dash, sometimes in the trunk. The lid usually has a map. If yours does not, the owner's manual will.
Before you pull anything, write down what is actually broken. A horn that does not work, a cooling fan that never spins, a fuel pump that stays silent at key-on. That single symptom tells you which relay to test and keeps you from pulling every relay in the box.
Tip: take a phone photo of the fuse box layout before you touch a thing. Relays all look alike, and putting one back in the wrong slot creates a new problem you did not have before.
Step 2: Pull the relay safely
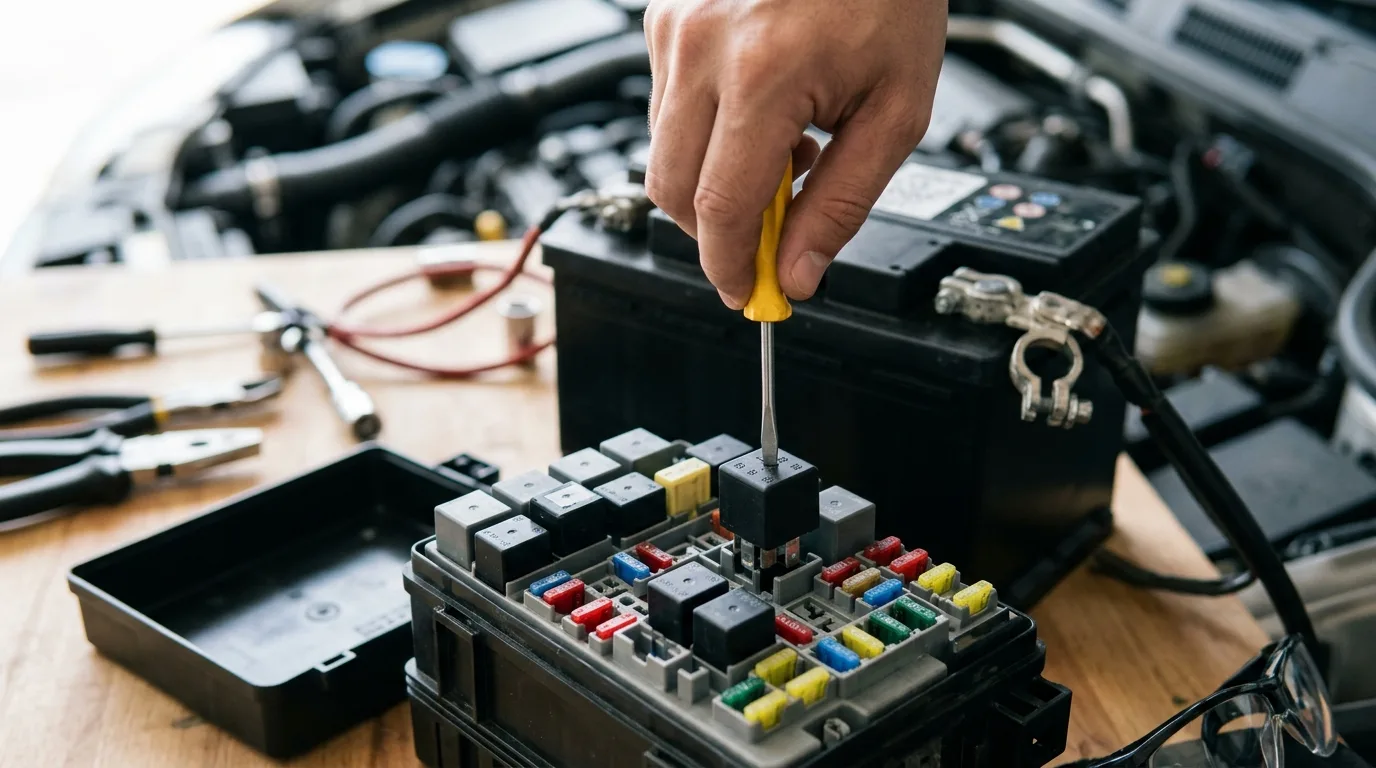
Key off, and if you are working near the battery, disconnect the negative terminal first. Relays are keyed, so they only fit one way, but the plastic can be brittle on older cars. Wiggle gently, do not lever hard against the box.
Look at the relay body. You will see four or five numbered terminals. A standard four-pin relay has two coil pins (usually 85 and 86) and two switch pins (30 and 87). A five-pin adds 87a, the normally closed contact. Those numbers matter in the next steps.
If the relay is hot, let it cool. It should never be hot enough to burn you, but a stuck relay running a fan or pump can get warm.
Step 3: Identify the coil pins
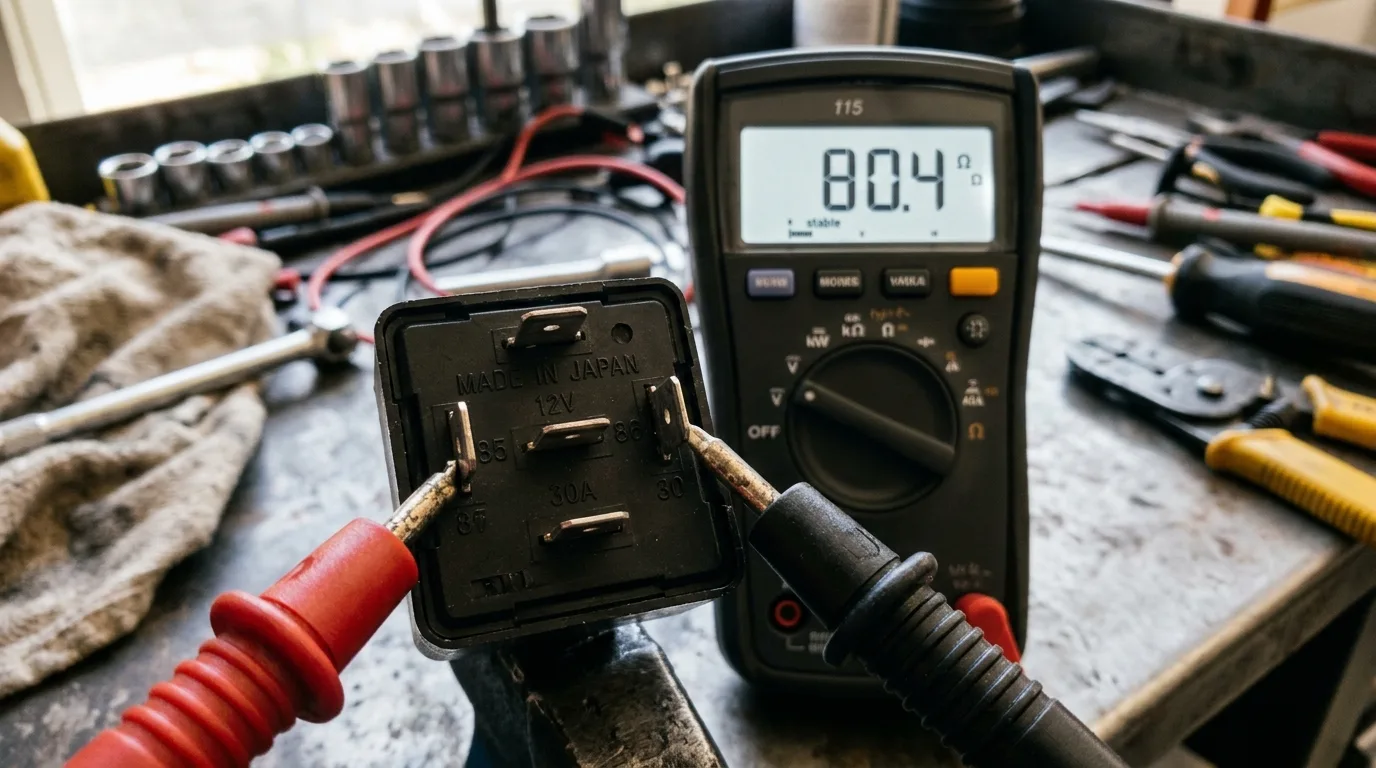
Set your multimeter to resistance (ohms). Touch the probes to the two coil pins, 85 and 86. You are measuring the relay's electromagnet.
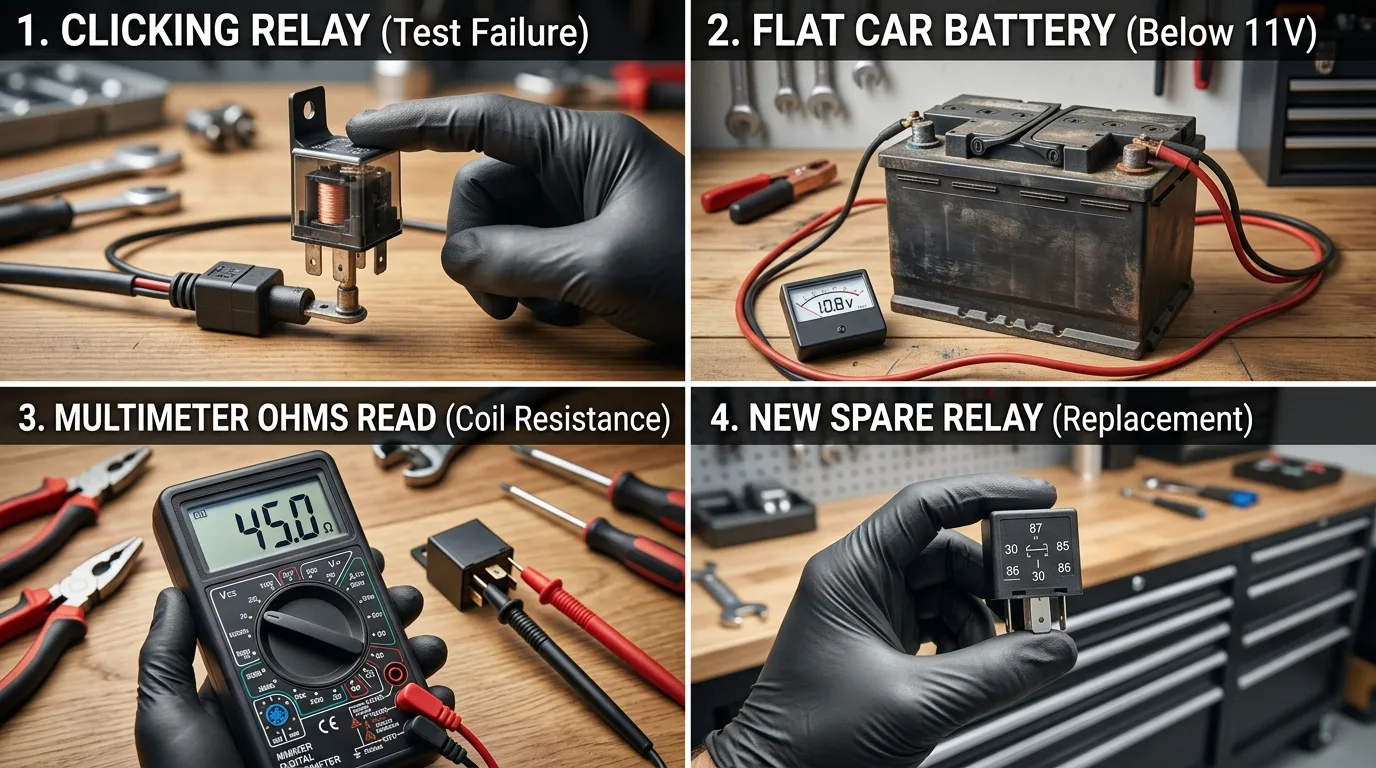
You should read somewhere in the range of 50 to 120 ohms on most automotive relays. That is a rough range, not a spec, so check your relay's datasheet or a known-good unit if you can. What matters more is that you get a steady reading and not zero or infinite.
- Zero ohms (or very close): the coil is shorted, replace the relay
- Infinite or OL: the coil is open, replace the relay
- Any sensible reading in the tens to low hundreds: the coil is probably fine, move on
Step 4: Check the switch contacts
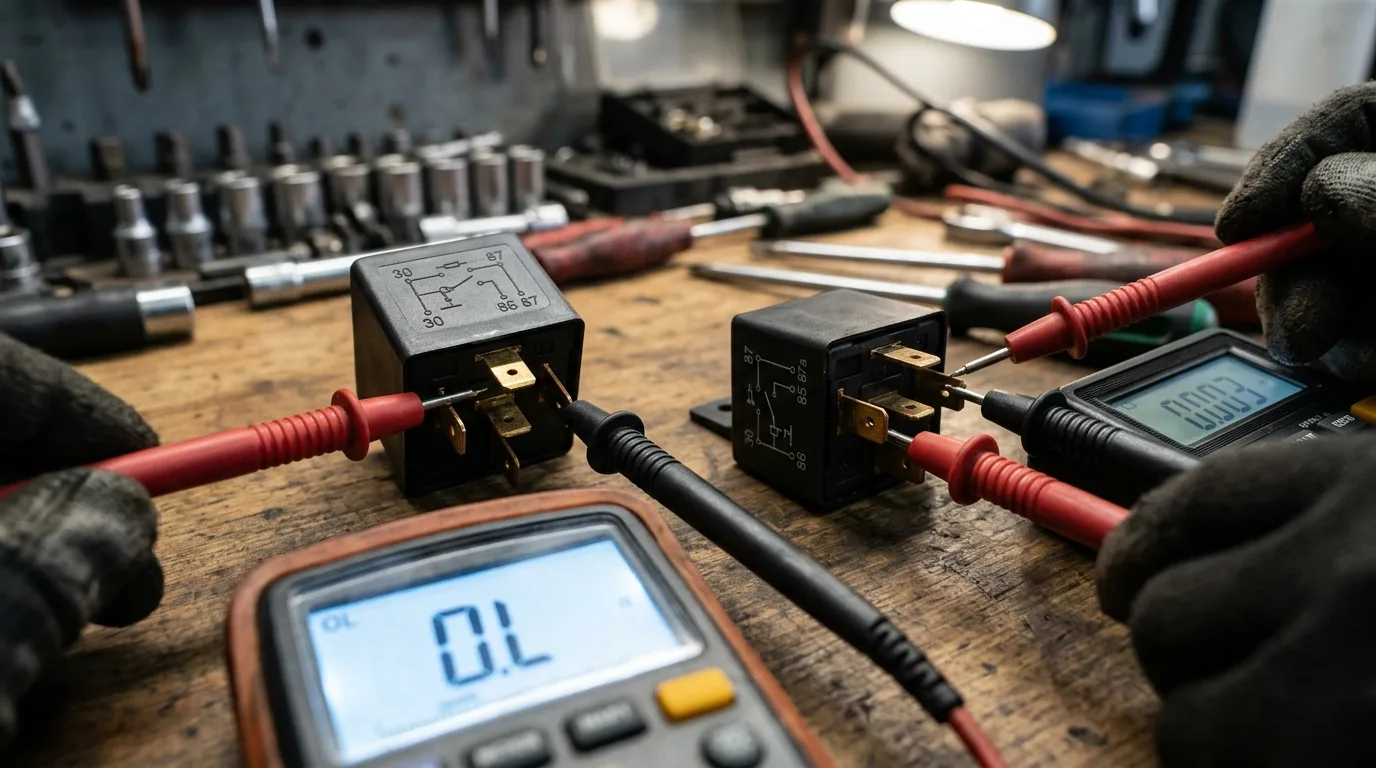
Now test the switch side. With no power applied, a four-pin relay should read infinite (OL) between pins 30 and 87. The contacts are open. On a five-pin relay, 30 and 87a should read near zero ohms, because that pair is normally closed.
If a four-pin relay reads zero between 30 and 87 with no power, the contacts are welded shut. That is a relay stuck on, which can drain your battery overnight or run a pump when it should be off.
Step 5: Energize the coil and watch the click
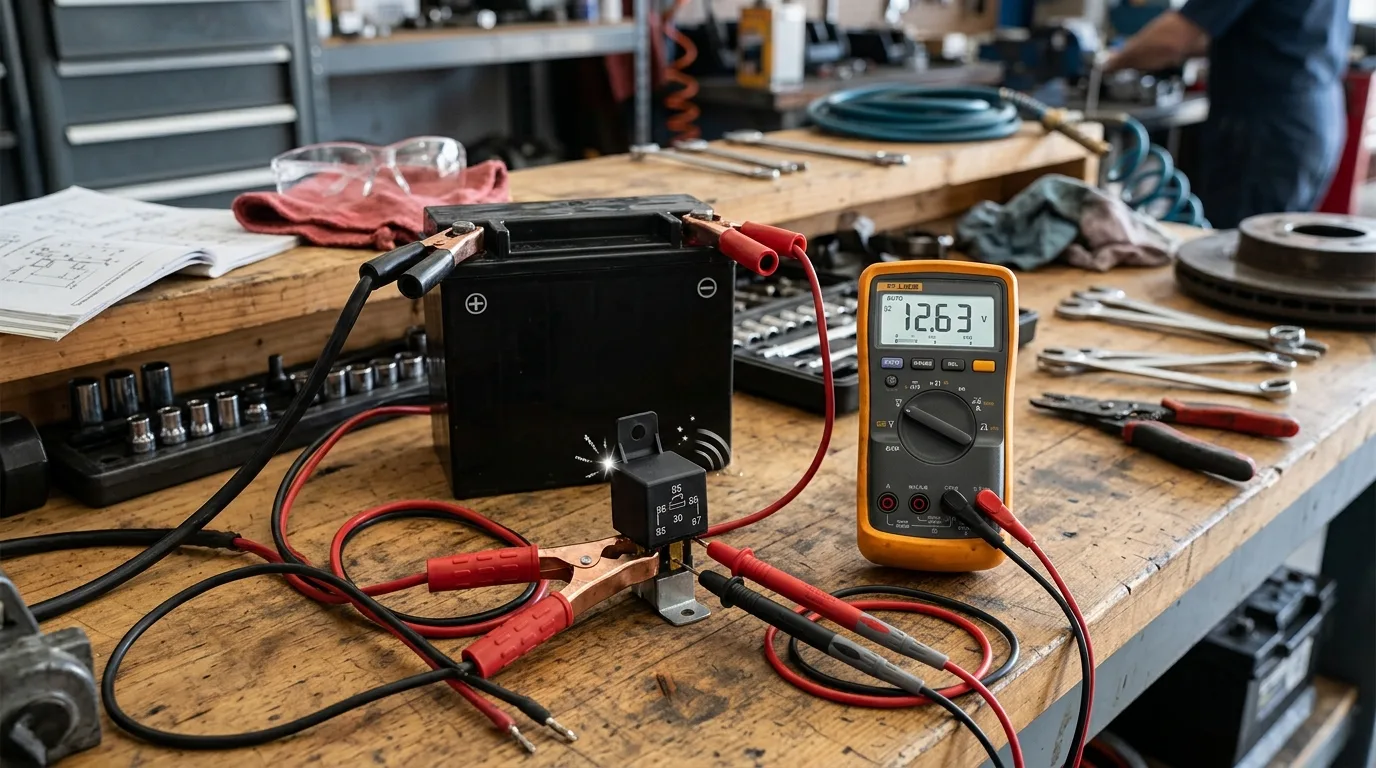
This is the step that separates a real test from a guess. Connect your 12V source to pins 85 and 86 with the jumper wires. You should hear a clear click as the armature moves.
With the coil energized, measure resistance between 30 and 87 again. It should now read very close to zero, usually under 1 ohm on a healthy relay. If it stays infinite, the coil may be pulling but the contacts are not closing. The relay is bad.
Keep the test short. Ten or fifteen seconds is plenty. Holding a coil energized for a minute or more heats it up and can give you a false failure.
Safety note: if you are using a car battery as your 12V source, keep the jumper clips from touching each other or any metal. A dead short across a car battery can spit sparks and melt wire insulation in seconds. Wear the glasses.
Step 6: Test it in the car if you want a second opinion
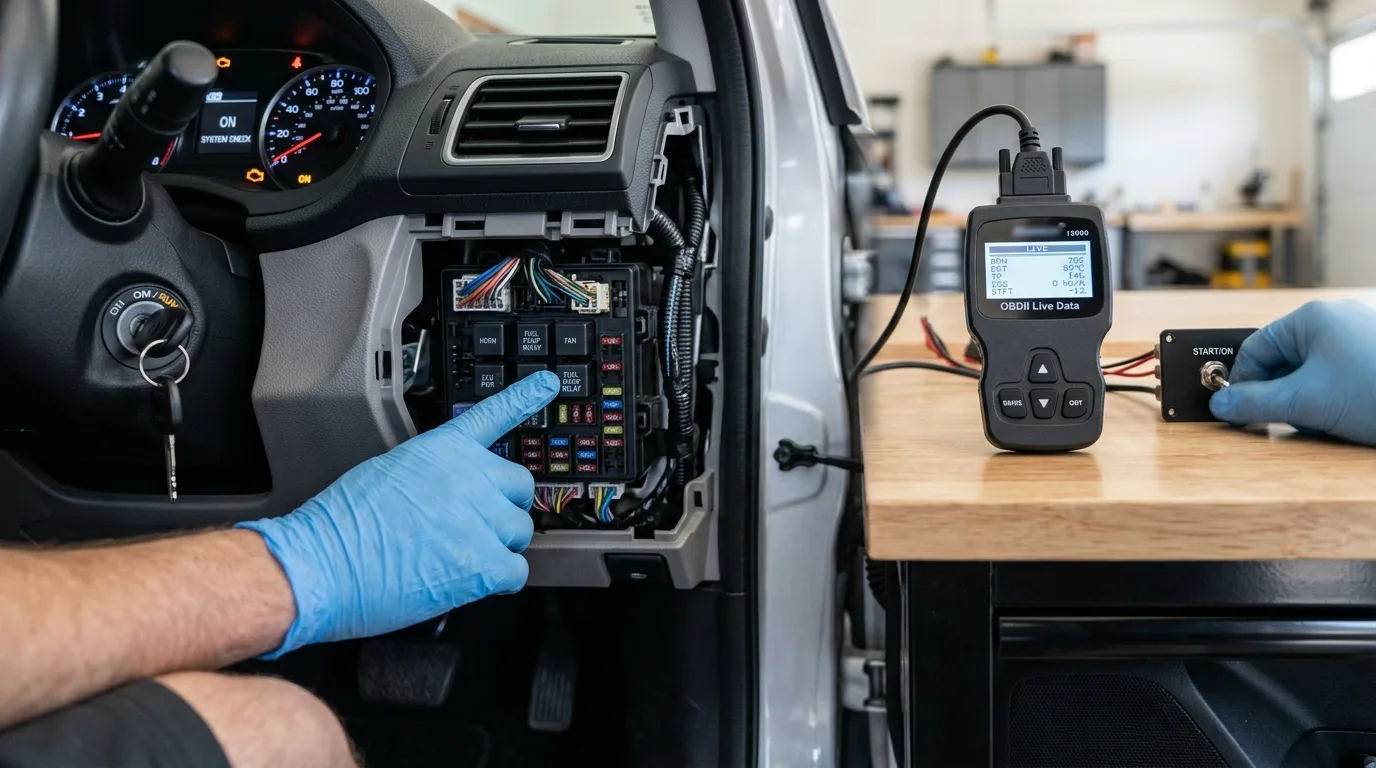
Bench testing is reliable, but the relay socket itself can be the problem. Corroded terminals, a backed-out pin or a cracked solder joint inside the box will make a good relay look bad.
Plug the relay back in, key on, and listen for the click when the circuit should activate. If you have a helper, have them work the switch while you hold a hand on the relay. No click where there should be one points back at the relay or its trigger circuit.
If a circuit is dead and the relay tests good, the fault may be upstream. Scan for stored codes and check live sensor data before you buy more parts. The OBD code lookup will translate any trouble codes into plain English, and the OBD live-data tool helps you see whether a control module is actually commanding the circuit on.
Step 7: Swap in a known-good relay
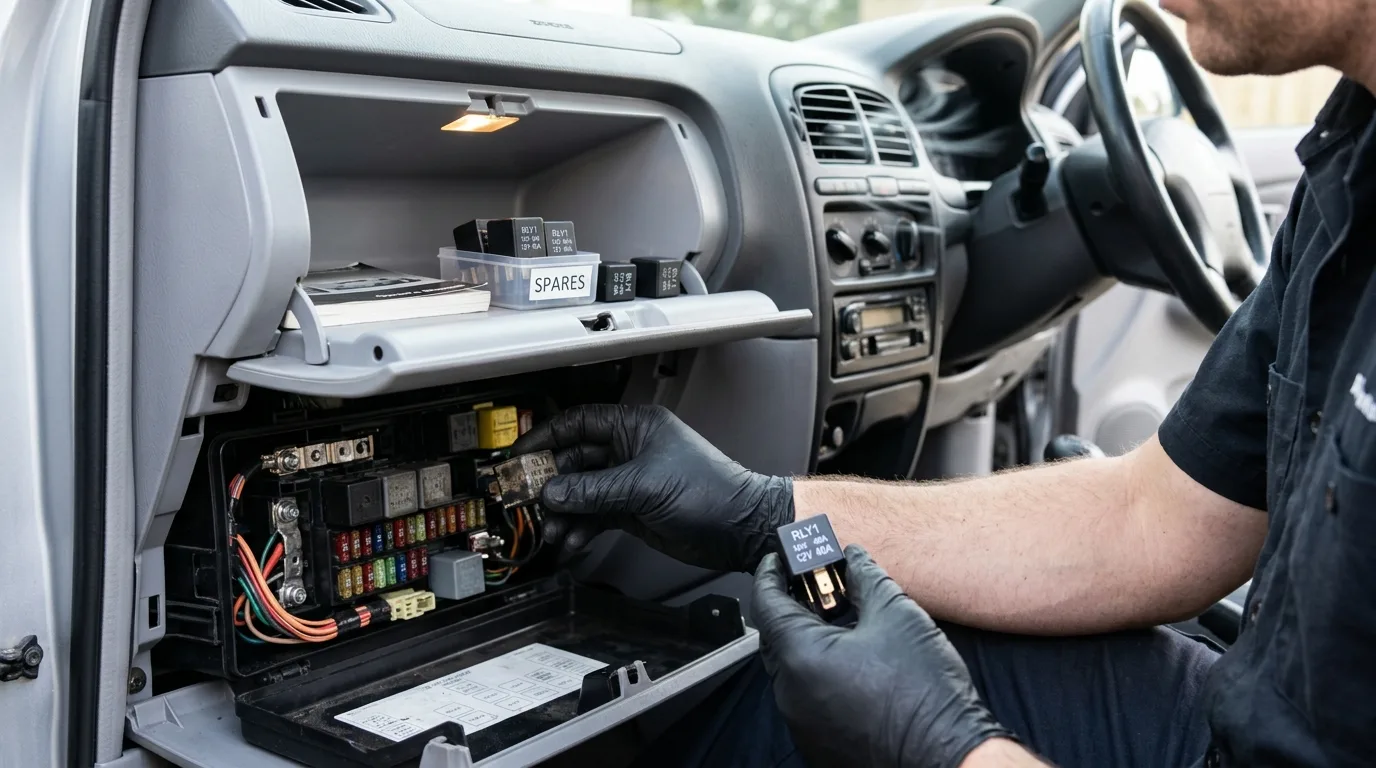
The fastest confirmation is substitution. If you have a spare of the same type, drop it in. If the circuit works, the old relay is your problem. If nothing changes, the relay was never the issue.
Do not swap relays between unrelated circuits just to test. Pulling the fuel pump relay to test the horn can leave you cranking a car that will not start, or worse, priming a fuel line while you are poking around with a multimeter.
Pro tips
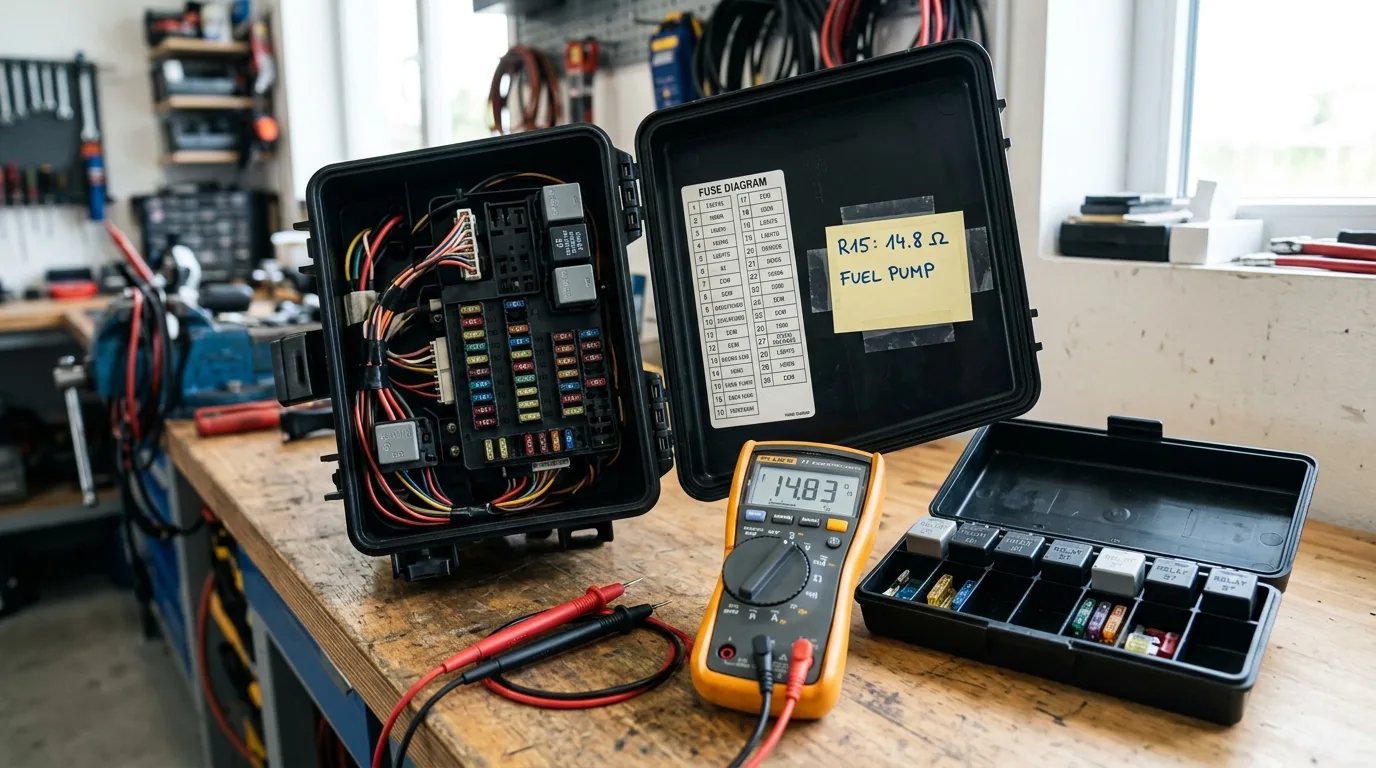
- Write the resistance reading on a sticky note and tape it inside the fuse box lid. Next time you test that circuit you have a baseline.
- Bench test every relay you pull, even the ones you suspect are fine. It takes 30 seconds and builds a mental library of what good looks like.
- A relay that clicks is not automatically good. The click proves the coil works, not the contacts. Always check the switch side with power applied.
- Cold solder joints inside the relay can pass a bench test and fail when hot. If the problem only shows up after the car warms up, test the relay warm.
- Keep one spare of each common relay type in your glovebox. They are small, cheap, and swap in seconds on the side of the road. Look up your relay types in the car symptom finder if you are not sure which circuits share a part.
- If you are stuck on a wiring diagram, describe the symptom to the AI mechanic assistant and let it walk you through the circuit logic.
Common pitfalls
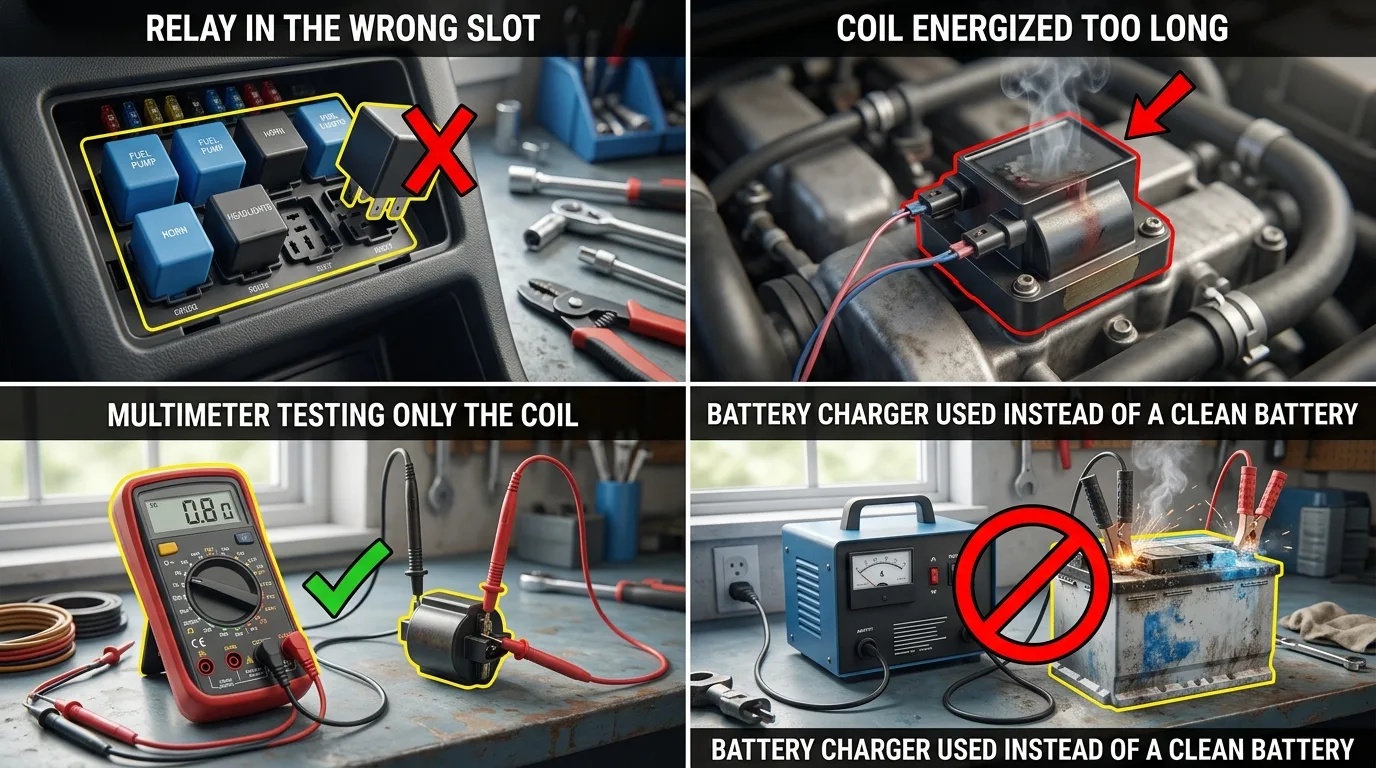
- Testing only the coil. The coil is the easy half. A relay that clicks but does not pass current through 30 and 87 is still junk.
- Forgetting to note which slot the relay came from. Label it with tape or take the photo. A relay in the wrong socket can backfeed a circuit and cause real damage.
- Leaving the coil energized too long during the bench test. You will cook it and then blame the relay for failing when you killed it.
- Assuming the relay is at fault because the circuit is dead. Fuses, grounds, switches and control modules all sit in the same path. Test the whole chain, not just the relay.
- Testing with a battery charger instead of a battery. Some chargers put out dirty voltage that makes the coil chatter and gives you a reading you cannot trust. Use a real battery or a clean bench supply.
Useful resources
- Your owner's manual for fuse and relay box layouts
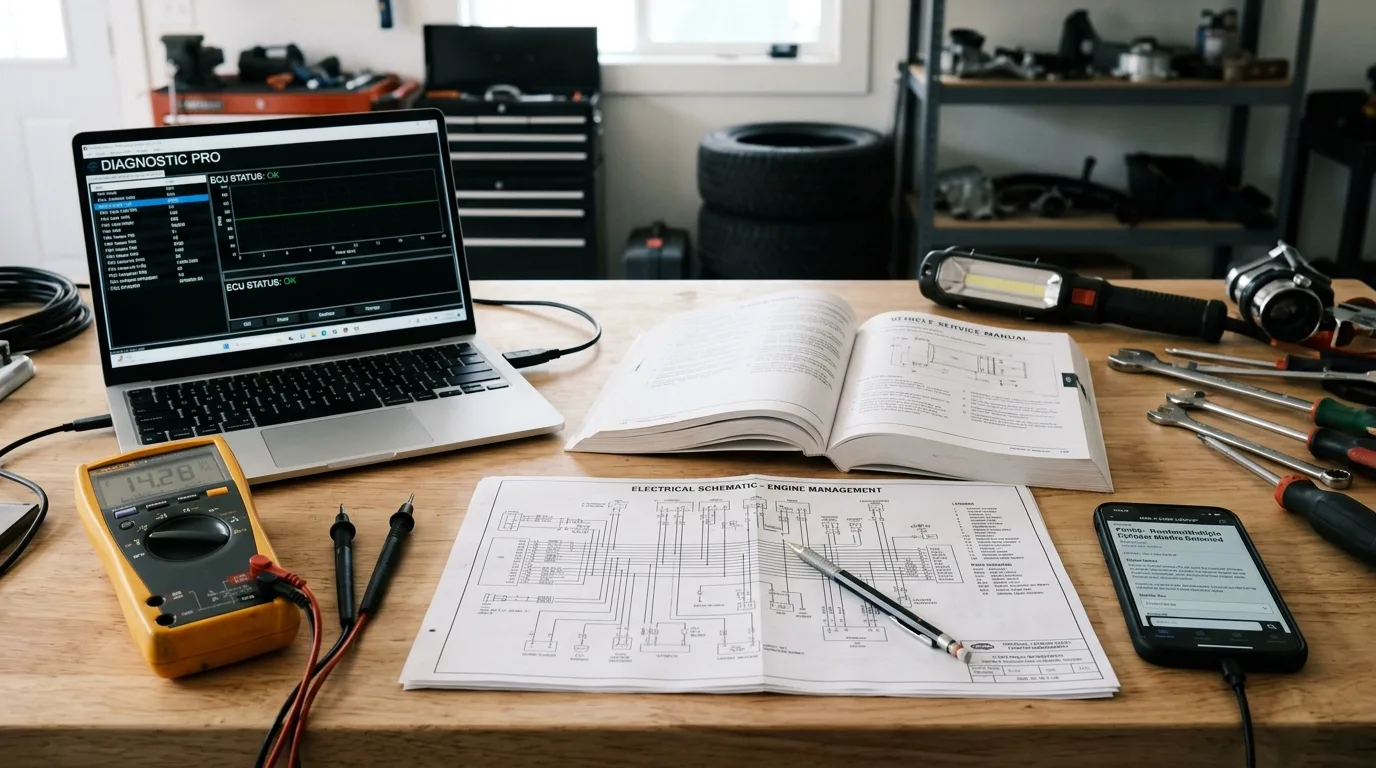
- A factory service manual or a reputable online wiring diagram for your model
- The free OBD code lookup for translating stored codes
- The free car tools collection for electrical and diagnostic helpers
- A basic multimeter guide from any reputable tool brand, if you want a refresher on the ohm and continuity settings
FAQ
Can I test a relay without a multimeter? You can swap in a known-good relay and see if the circuit comes back. That confirms a bad relay but tells you nothing about why. A multimeter gives you the actual reading and lets you catch a marginal relay before it leaves you stranded.
How many ohms should a car relay coil read? Most automotive relays sit somewhere around 50 to 120 ohms on the coil. Treat that as a rough guide, not a spec. The bigger clue is whether the reading is stable and sensible rather than zero or infinite.
Why does my relay click but the circuit still does not work? The click only proves the coil moved the armature. If the contacts are burned, pitted or not closing fully, the circuit stays dead. Test 30 to 87 with the coil energized and look for near-zero resistance.
Can a bad relay drain my battery? Yes. A relay stuck closed keeps a load powered, like a cooling fan or a light, and that will flatten a battery overnight. If you find a relay reading zero ohms between 30 and 87 with no power applied, replace it.
Should I replace all the relays at once? No. Relays are generally reliable and cheap, but replacing good parts hides the real fault. Test first, replace what fails, and keep one spare of each common type.
Testing a relay is one of the most satisfying jobs on a car. It is small, it is clean, and the answer is usually a clear yes or no. Grab your meter, pull the suspect, and you will know in five minutes whether you are buying a $10 part or chasing a wiring fault. Either way, you are ahead of where you started.
Related articles

Best Multimeters for Automotive Diagnostics in 2026
Discover the best multimeters for automotive diagnostics in 2026. From budget picks to professional-grade tools, learn which features matter and how to choose the right meter for your garage.
Read the article →
Top 10 Must-Have Car Diagnostic Tools in 2026
Discover the 10 best car diagnostic tools for 2026 — from Bluetooth OBD2 scanners to professional bi-directional tablets. Learn which tool matches your budget and skill level, and stop guessing when your check engine light appears.
Read the article →
The check engine light: the complete guide
What the check engine light means, what to do first, how to read codes and what each common code says — the complete walkthrough.
Read the article →Understanding OBD-II: codes, ports and live data
What OBD-II is, how to read codes, where the port is and how live data turns a guess into a diagnosis.
Read the article →
10 Diesel Engine Maintenance Tips Every Owner Should Know
Diesel engines reward owners who pay attention. Treat yours well and it can run for hundreds of thousands of miles; neglect a few basics and you will be funding a very expensive repair.
Read the article →
Automotive Fuses Explained: Types, Functions, Sizes, and How to Test Them
A blown fuse is one of the few car problems you can diagnose completely on your own, with a tool that costs less than a coffee. By the end of this guide you will know what fuses actually do, how to tell the different types and sizes apart, how to test one in under a minute, and how to replace it sa…
Read the article →