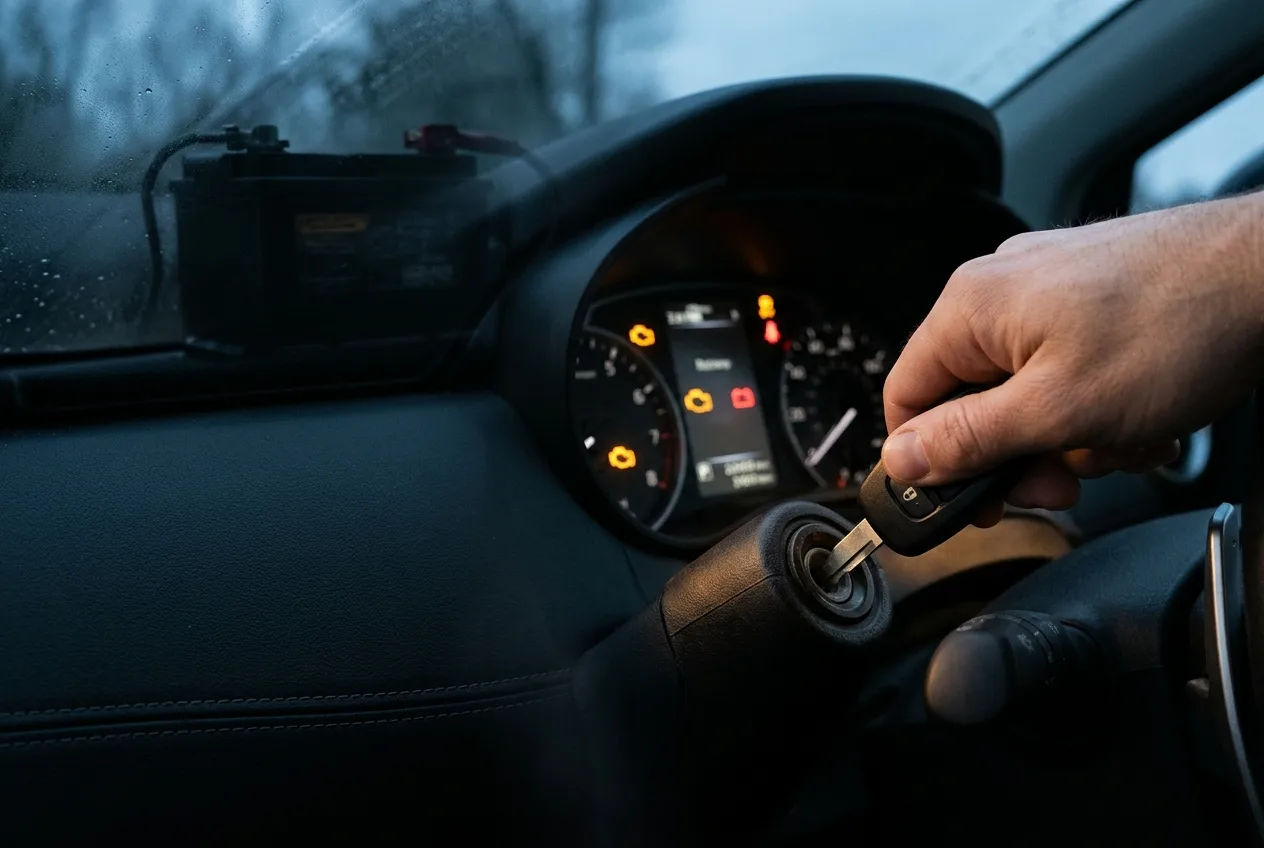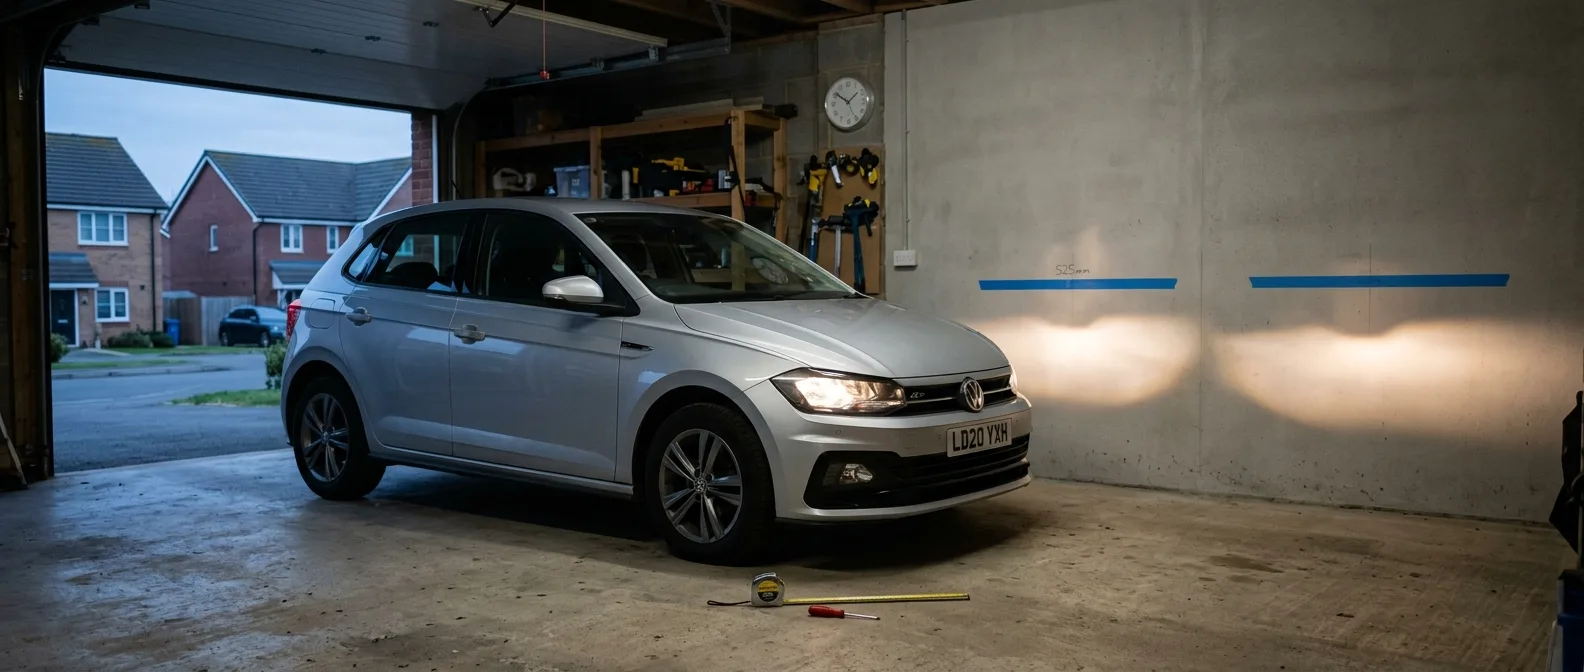
By the time you finish this guide, you will have aimed both headlights properly, without paying a shop. It takes most people 20 to 40 minutes with a wall, a tape measure and the right adjustment screws. You will also know when a bad beam is a symptom of something bigger, like a failing bulb or a sagging suspension.
Aim matters more than people think. A beam that sits too high blinds oncoming traffic and fails inspection. A beam that sits too low cuts your stopping margin on a dark road. And if your car uses LED or projector housings, a sloppy aim is even more obvious to everyone else.
What you need before you start
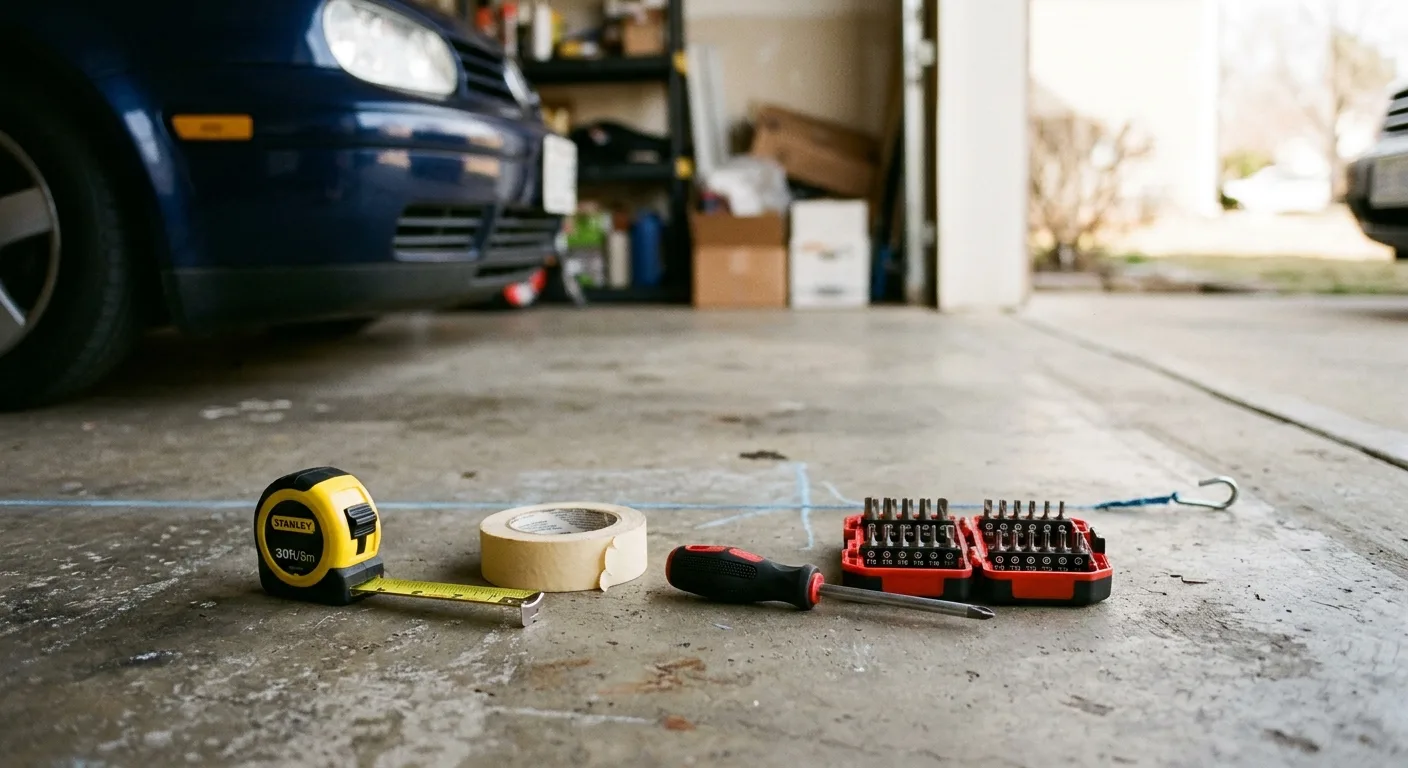
- A flat, level surface facing a plain wall, ideally 25 feet (about 7.5 meters) away
- A tape measure
- Masking tape or chalk to mark the wall
- A Phillips screwdriver, plus a Torx or hex bit set for most modern adjusters
- A helper, or a way to block the beam on one side at a time
- Your owner's manual, which often lists the adjuster location and any special procedure
- A full tank of fuel and normal tire pressure, or as close to it as you can get
That last point sounds fussy, but it matters. Fuel weight and a soft tire change how the car sits, and how the car sits changes where the beam lands.
Step 1: Park on level ground facing a wall
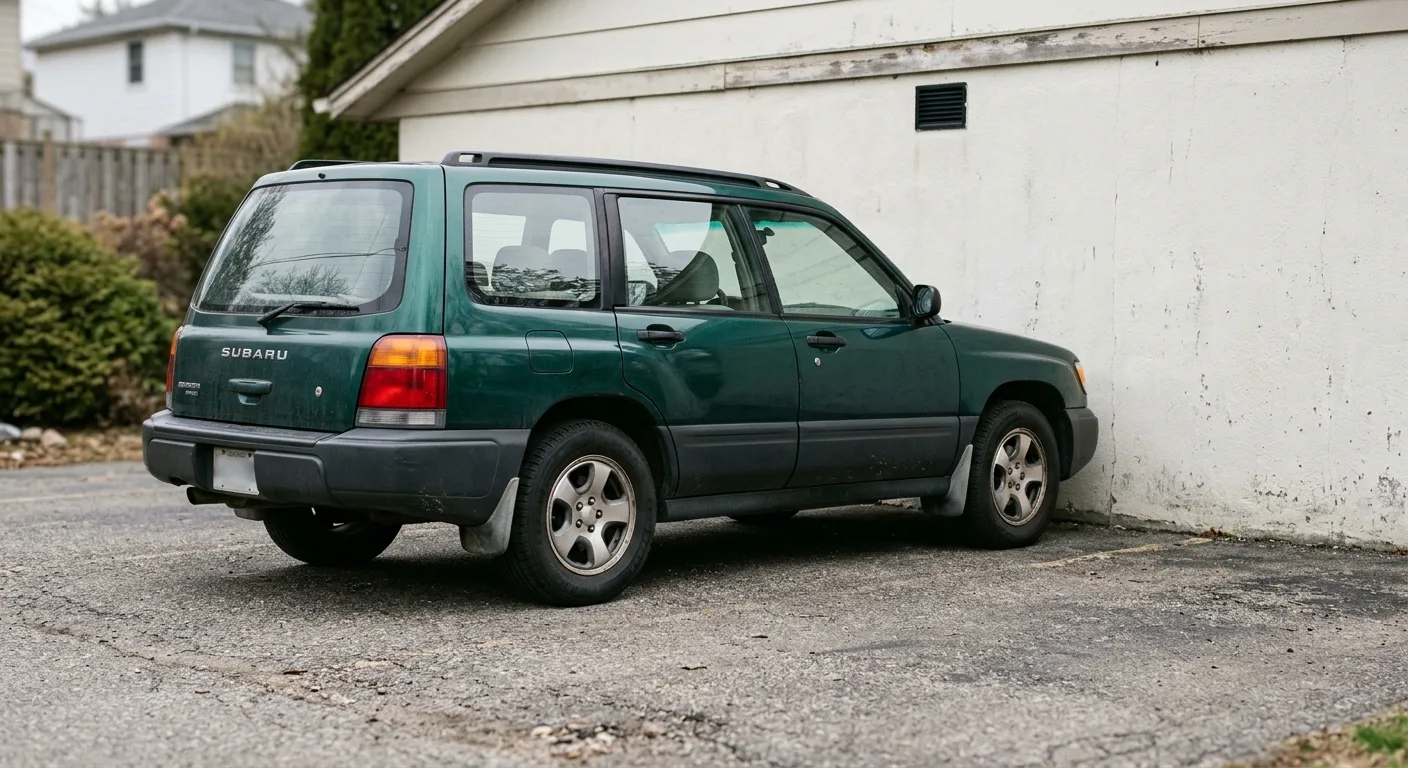
Drive up to a wall on flat pavement, 25 feet away, with the car pointing straight at it. Turn the wheels straight and check that you are square with the wall, not angled. If you are lazy about this, every measurement below is wrong.
A garage door or a plain painted wall works well. Avoid a wall with a slope or a curb in front of it, because you cannot trust the reference line. If the only flat spot you have is a parking lot, use a wall at the far end and bring a helper.
Tip: Measure the distance from your headlight lens to the wall, not from the bumper. You want 25 feet from the light source.
Step 2: Prepare the car's load and tire pressure
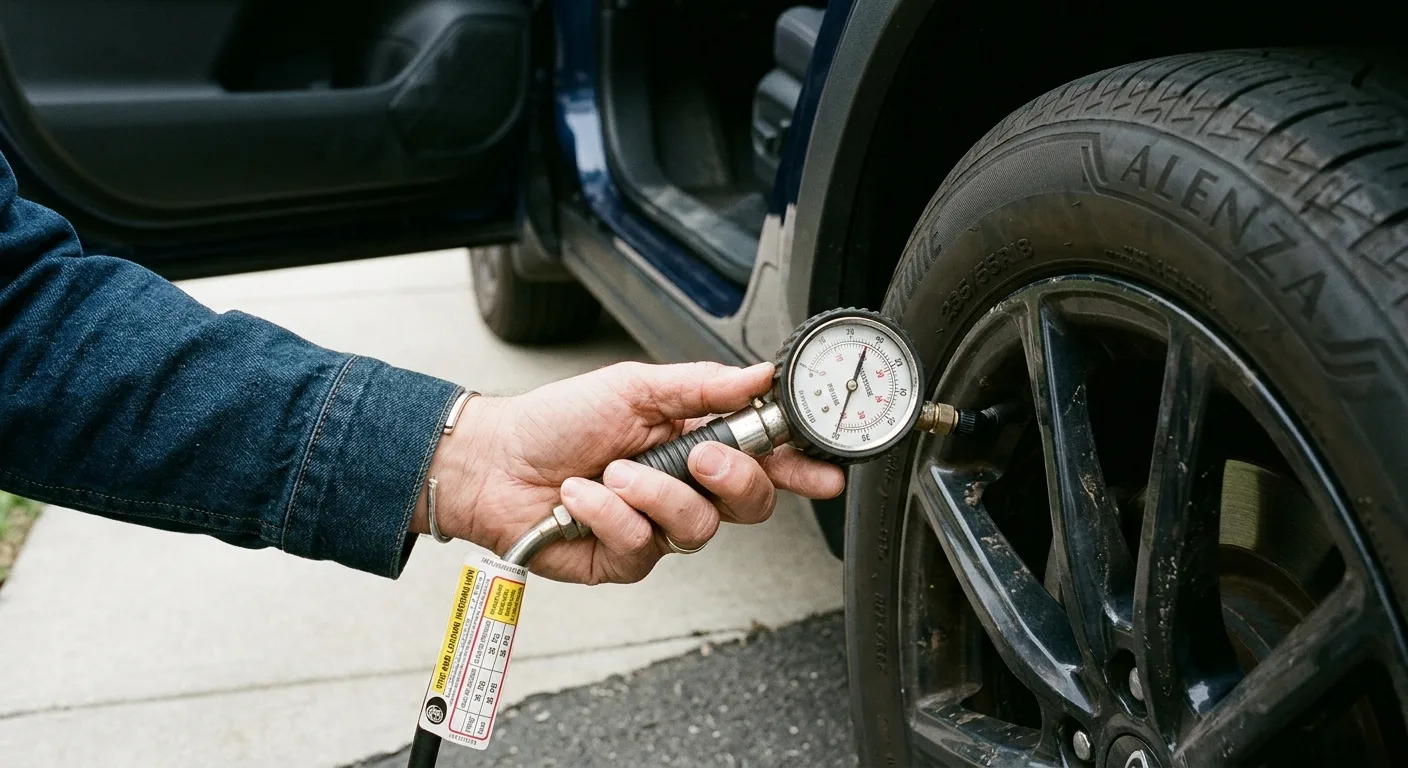
Inflate the tires to the pressure listed on the door jamb sticker, not the number on the tire sidewall. Fill the tank, or at least note how much fuel you have. Put nothing heavy in the trunk unless you normally carry it there.
Why bother? The aim is set against the car's normal attitude. If you adjust with an empty tank and a light trunk, the beam will climb when you load up. A loaded car nose-up means a beam that climbs into oncoming eyes.
Tip: If your car has a manual headlight leveling dial inside the cabin (common on some imports and SUVs), set it to the normal driving position, usually "0", before you start. Check the manual.
Step 3: Find the vertical and horizontal reference points on the wall
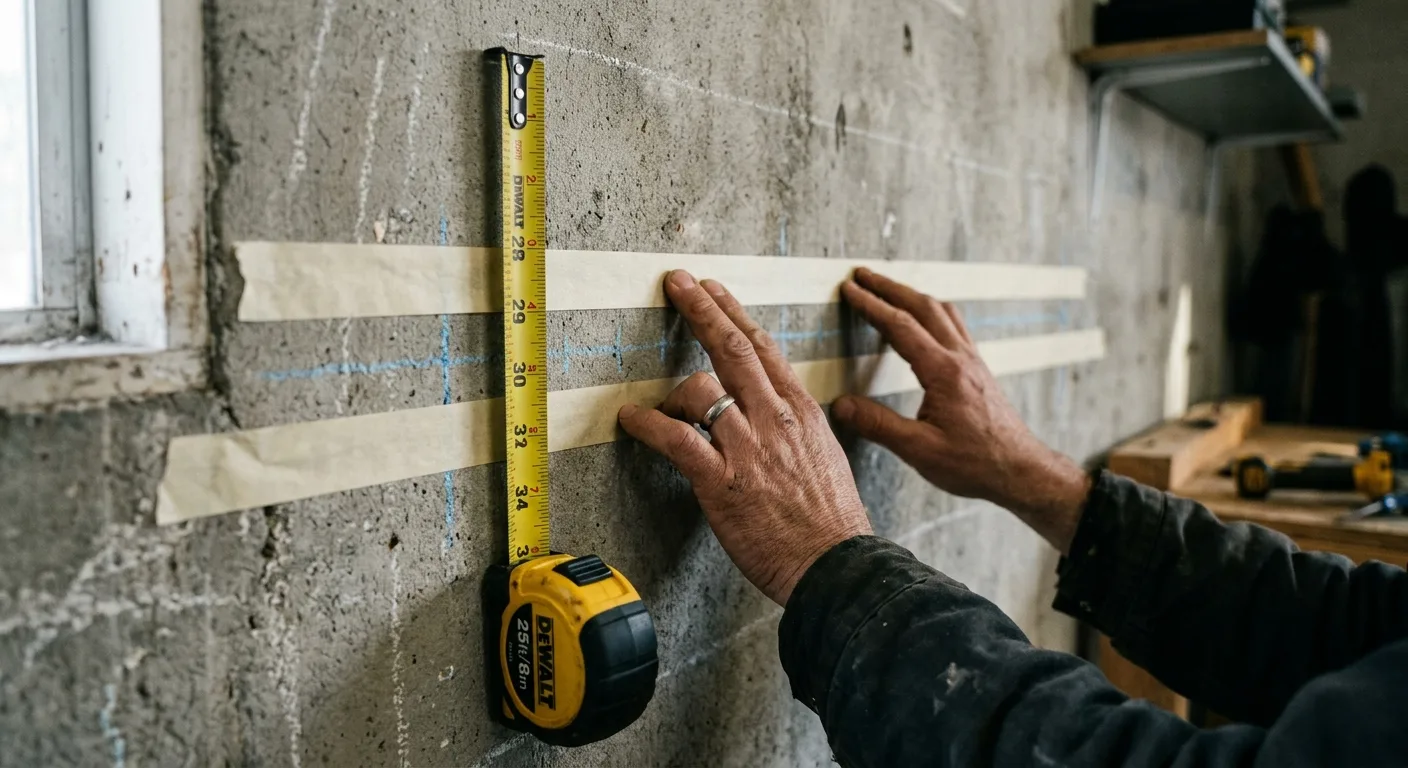
Measure from the ground up to the center of each headlight lens. Write down both numbers, because they can differ slightly on some cars. Now measure the distance between the two headlight centers and note it.
Mark the wall with tape at the height of each headlight center, and at the same horizontal spacing as the lights. These marks are your baseline. The beam cutoff should sit slightly below the mark, never above it.
Tip: Use two strips of tape per side: one for the vertical center height and one for the horizontal center. You will adjust until the bright edge of the beam lines up with the lower edge of the tape.
Step 4: Turn on the low beams and note the cutoff
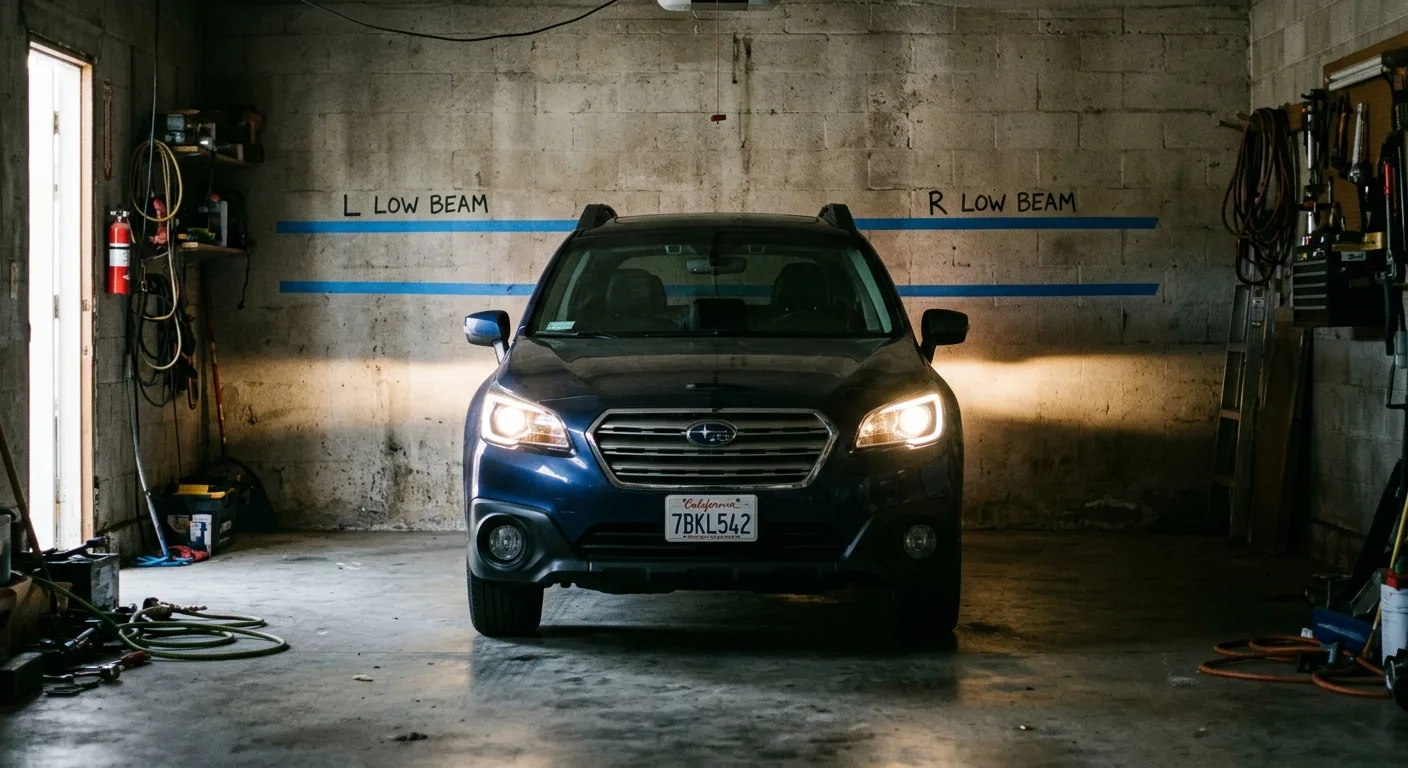
Switch on the low beams, not the high beams. Stand behind the car or off to the side, and look at the pattern on the wall. You want the sharp horizontal edge (the cutoff) of each beam sitting just under its tape line.
Most beams are deliberately aimed slightly down and slightly toward the passenger side in right-hand-drive countries. The left edge of the driver's beam is often stepped down to avoid glare. Do not try to make both beams perfectly level with each other if the factory pattern differs, just match the shape.
Tip: If the beam has no clear cutoff, you may have a reflector housing with a softer pattern, or a bulb that is not seated. Check seating first. A bulb that is slightly crooked throws the beam off by a lot, and that is a five-minute fix compared to an aim job.
Step 5: Locate the adjuster screws
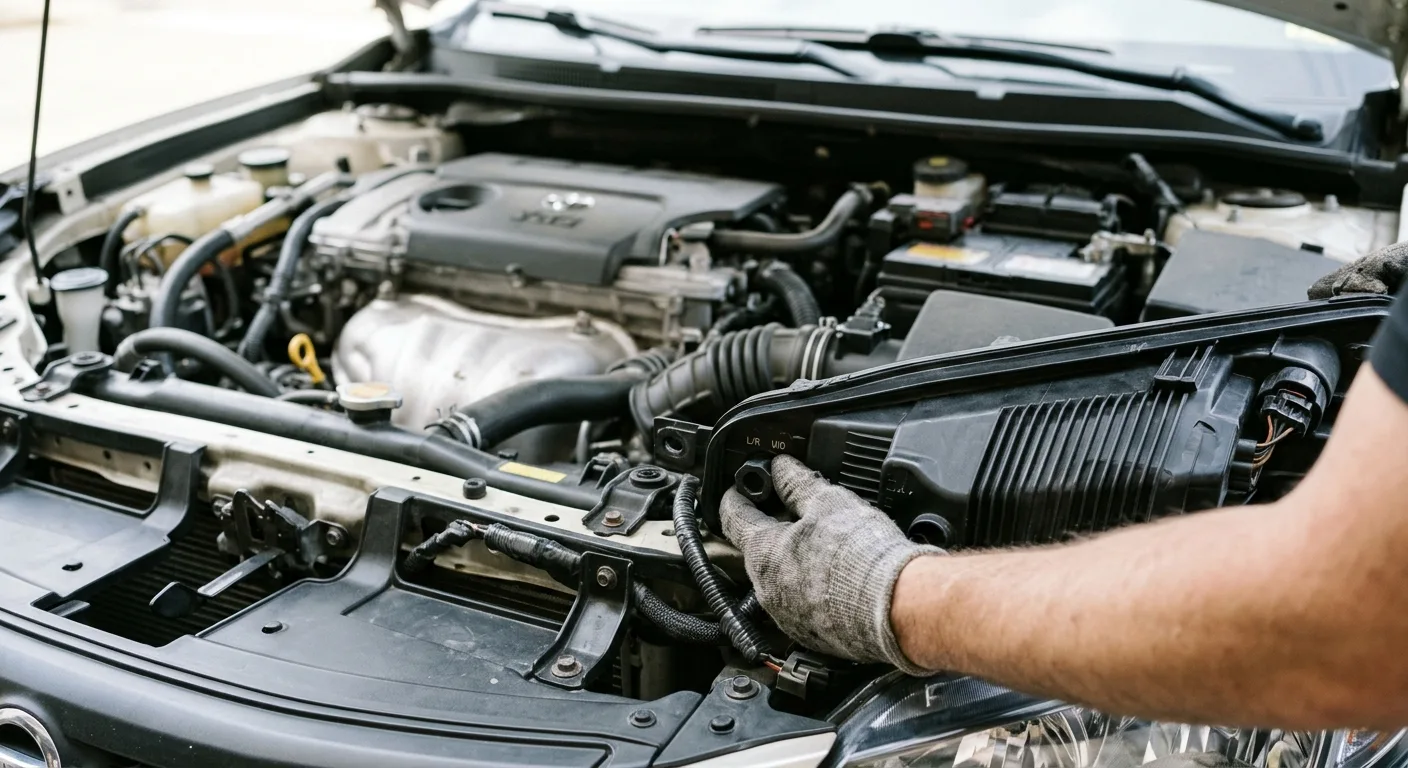
Open the hood and look behind each headlight housing. You are looking for two adjusters per side, one for vertical aim and one for horizontal aim. They are usually a white or black plastic screw, a Torx head, or a small hex socket. Some cars only offer vertical adjustment, and horizontal is fixed.
The owner's manual often shows the adjuster locations. If yours does not, a quick look with a flashlight behind the housing will usually reveal them. Do not force anything that does not turn freely.
Tip: If you cannot find the adjusters, or the housing looks sealed, check the manual before you start poking. On some newer cars the aim is set at the factory and requires a scan tool or a dealer procedure to change. That is a genuine reason to stop and book a shop.
Step 6: Adjust one side at a time, in small turns
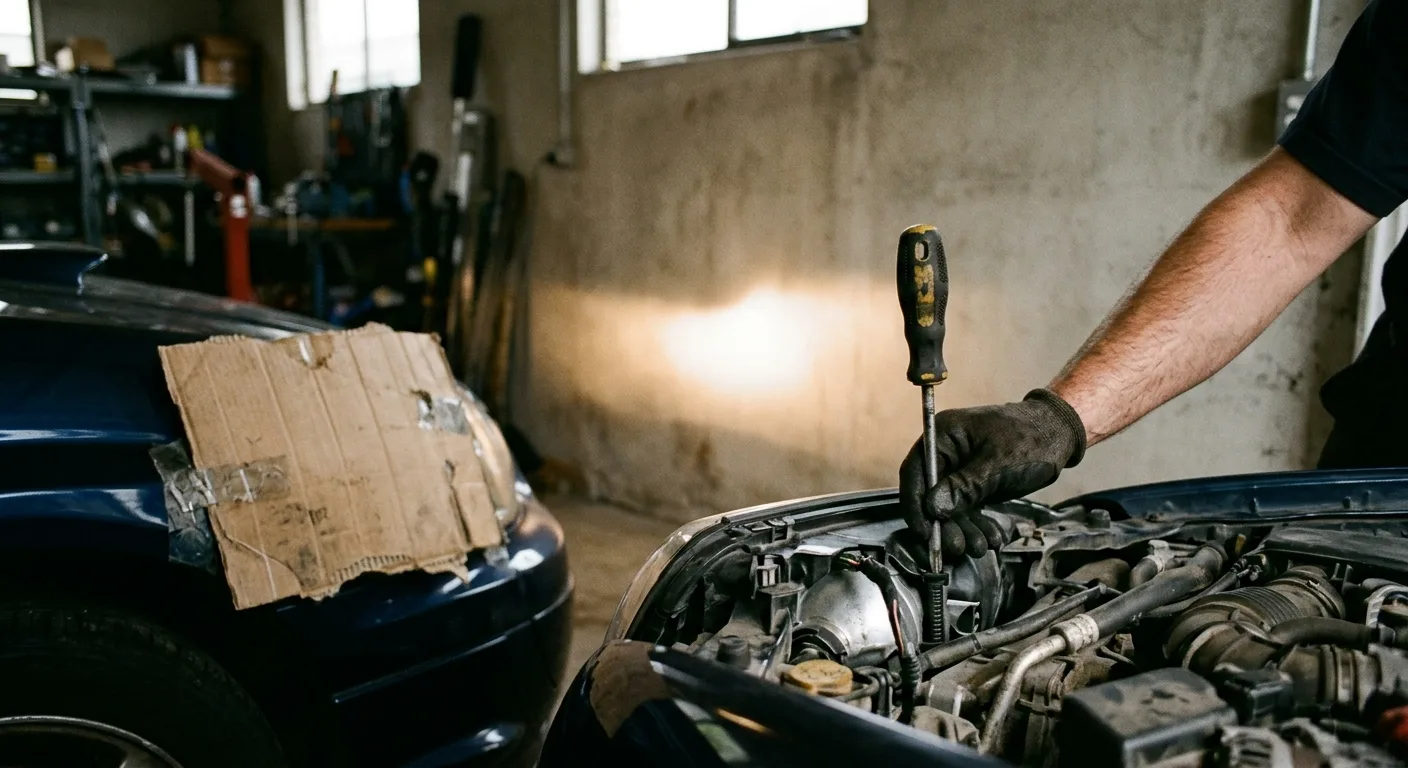
Cover or block the opposite headlight with a piece of cardboard or a towel, then adjust the exposed side. Turn the vertical adjuster in small increments, a quarter turn at a time, and watch the cutoff move on the wall.
Bring the cutoff down until its upper edge sits just below your tape mark, roughly two to three inches below at 25 feet is a common starting point. Verify with your manual or a shop, because the exact figure varies by model. Then adjust the horizontal aim so the beam center is close to the horizontal tape mark.
Warning: Do not touch the adjuster while the engine is running if you are working near the belts or fan. Turn the engine off, keep the lights on battery power, and be aware that some cars keep the fan running after shutdown. Keep hands, sleeves and tools clear of the fan and belts.
Tip: Count your turns as you go. If you get lost, you can return to the starting point.
Step 7: Repeat for the other side
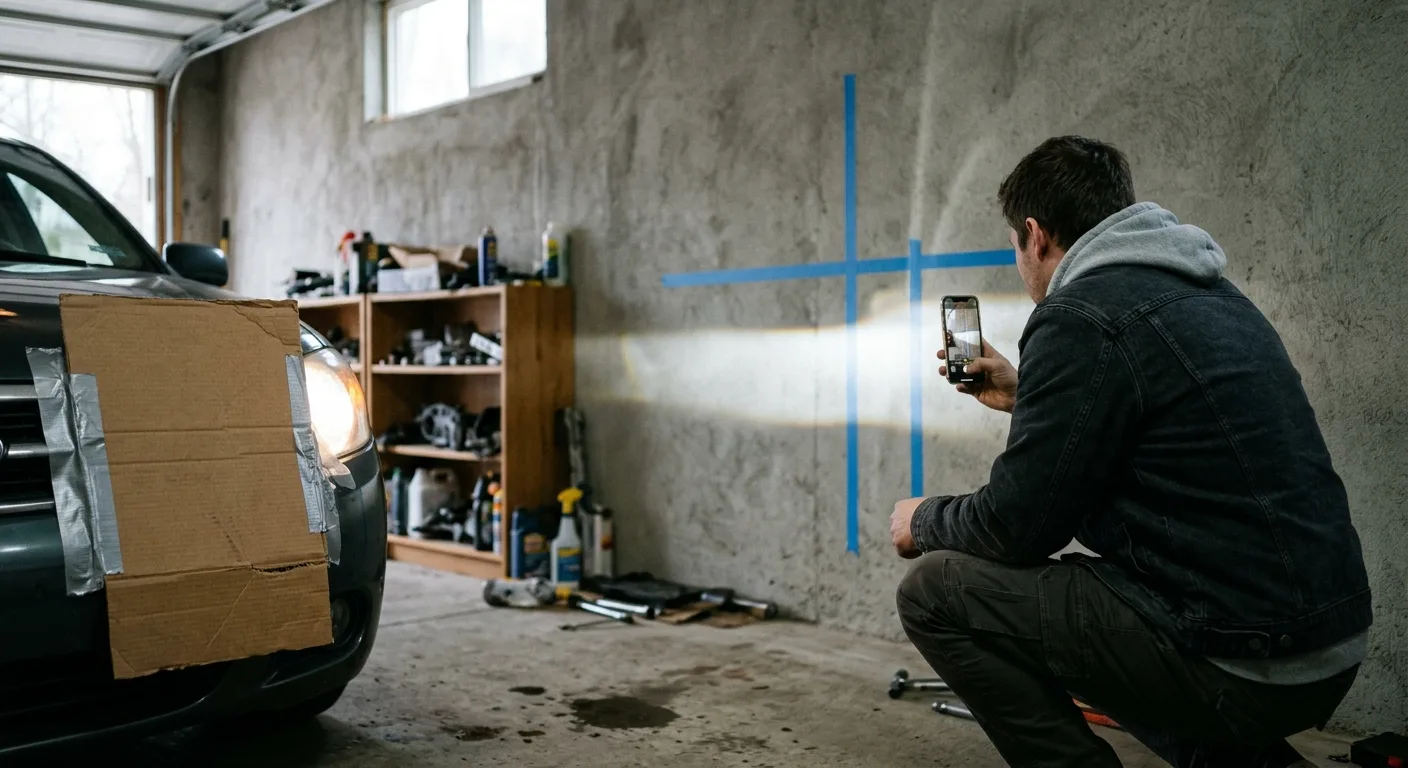
Uncover the second light, cover the first, and repeat the process. Match the height of the two cutoffs so they sit at the same level on the wall. If the factory pattern has a step, keep the step shape intact.
Tip: Have a helper stand at the wall with a phone camera and take a photo of the pattern. It is easier to judge the cutoff from a picture than from squinting at a bright wall.
Step 8: Check the result on a dark road

Take the car out on a quiet road at night. You want to see the road clearly ahead, with the beam cutting off below the eyes of oncoming drivers. If you get flashed by other drivers, your aim is probably too high on that side.
Warning: Never test your aim by driving with high beams on in traffic. Use low beams only, and find an empty stretch of road or a parking lot.
Tip: If you cannot find a safe dark road, a large empty parking lot at night with a wall at the far end gives you a decent second check. Look for the cutoff line against distant objects.
Step 9: Know when to stop and get help
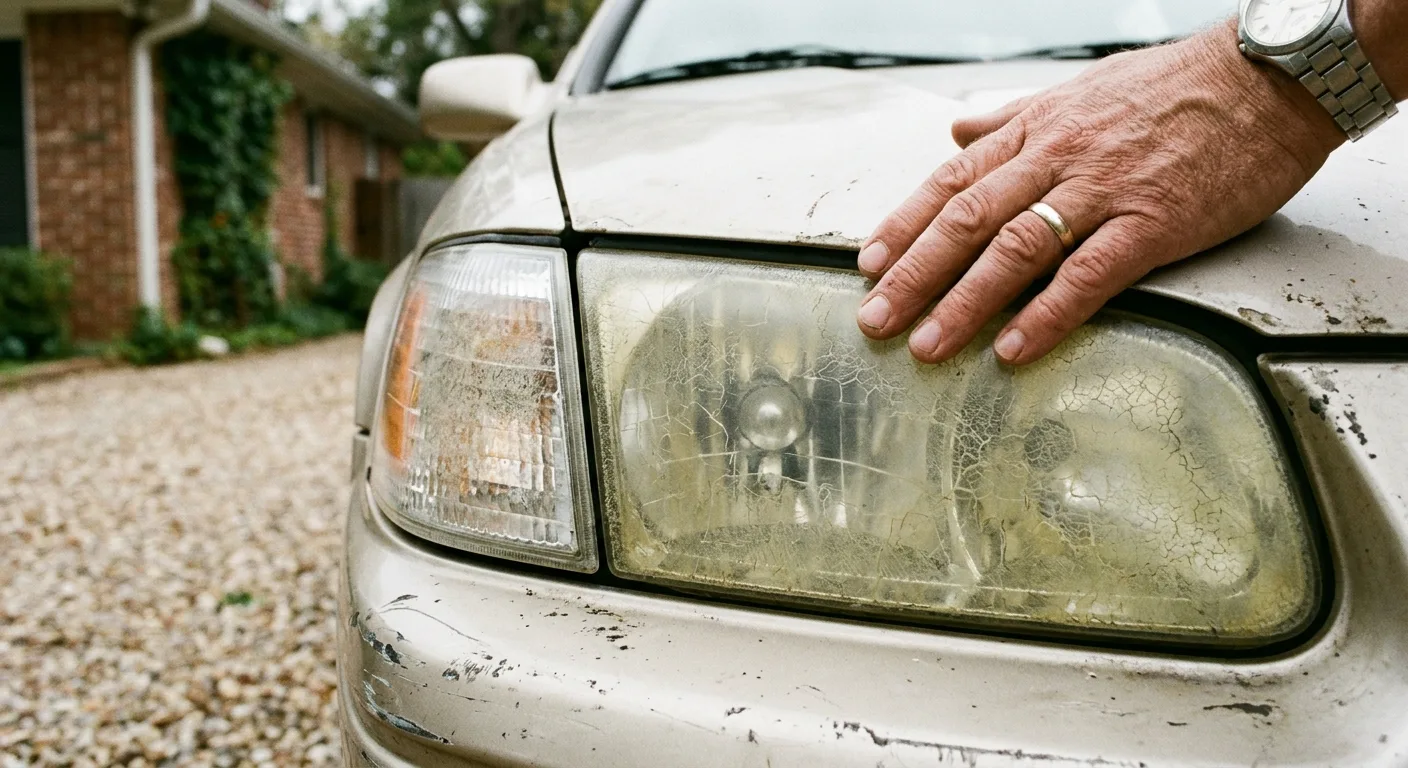
Some beam problems are not an adjustment issue. A cloudy, yellowed lens scatters light and no amount of turning the screw fixes it. A broken or loose housing mount changes aim every time you hit a bump. A car that sits noticeably lower on one side may have a suspension problem.
If your beam wanders, flickers, or one side is much dimmer, scan for fault codes before you spend time on aim. The free OBD code lookup at /obd can tell you whether a lighting fault is logged. And if you want a second opinion on a symptom, the AI mechanic assistant at /tools/ai-assistant is a fast way to sanity-check your diagnosis.
Approximate cost note: A DIY aim job costs almost nothing beyond the tape and a screwdriver. A shop alignment of the headlights often runs in the range of a small diagnostic fee, but prices vary widely, so ask before you book.
Pro tips
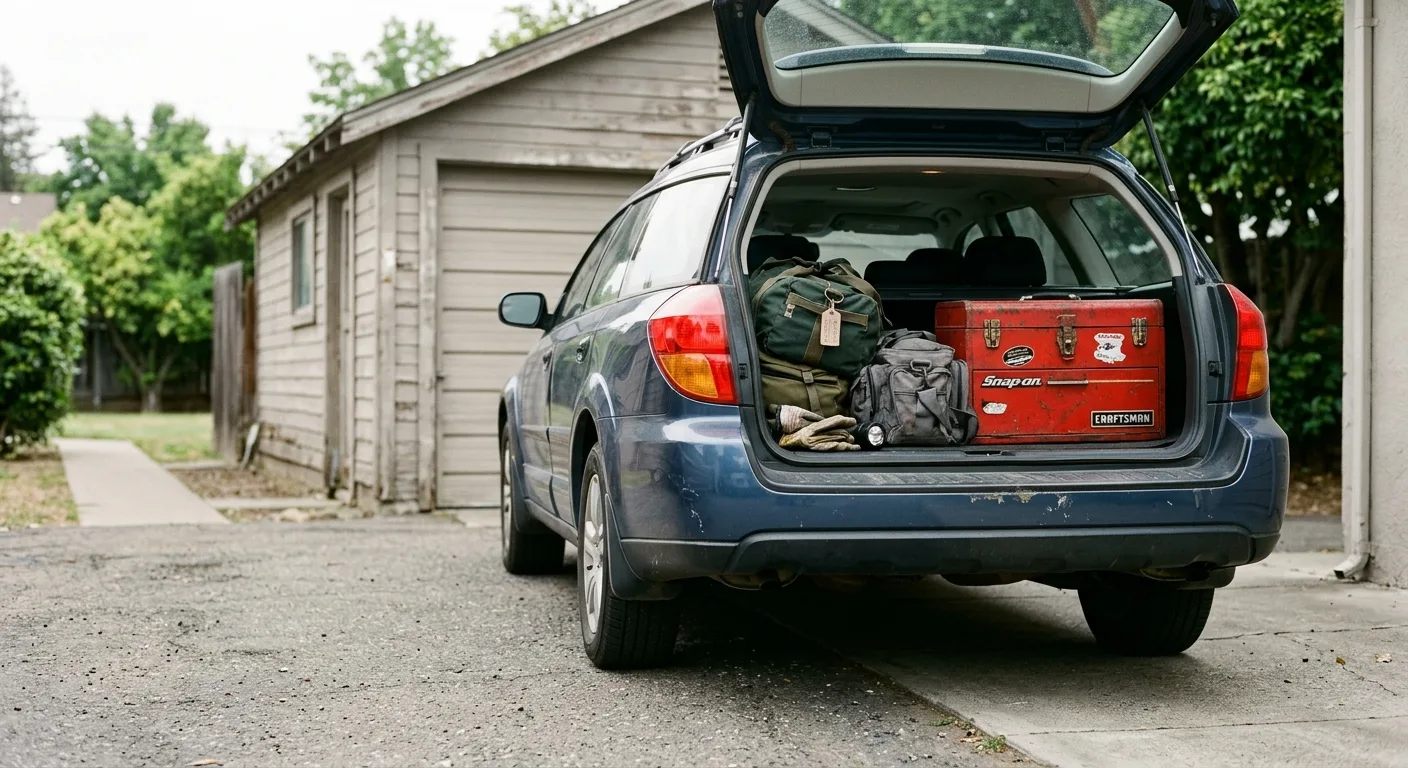
- Aim with the car loaded the way you usually drive it. If you regularly carry tools or passengers in the back, set the aim with that weight in place.
- Mark the wall before you touch anything. The original marks show you how far you have moved and protect you from a bad guess.
- Clean the lenses first. Dirt and film make the cutoff look fuzzy and tempt you to aim too high to "see better".
- Replace both bulbs at the same time if one is failing. A new bulb against an old one gives a mismatched pattern that no aim job fixes.
- Recheck aim after any front-end work, tire change, or suspension repair. Small geometry changes move the beam.
- If your car has an automatic leveling system, do not fight it by cranking the manual adjusters. Let the system work, and aim only within its normal range.
Common pitfalls
Aiming too high to "see further". It feels like more light, but it blinds other drivers and fails inspection. Aim so the cutoff sits below your tape line, not at or above it.
Adjusting on a slope or with low tires. The car sits wrong, so the aim is wrong. Fix the surface and pressure first, then adjust.
Turning the wrong screw. Some housings have a screw that looks like an adjuster but holds the trim or the housing itself. Check the manual or move it a quarter turn and watch for movement before committing.
Ignoring a cloudy lens or a loose housing. No adjustment fixes a scattered beam from a hazy lens or a mount that shifts. Address the cause first.
Forgetting to recheck after loading the car. A beam that was perfect empty can climb when the trunk is full. If you routinely carry weight, aim for that condition.
Useful resources
- Your owner's manual, for adjuster locations, bulb types and any factory aim procedure
- The step-by-step car guides at /guides for related maintenance walkthroughs
- The free car tools at /tools for quick calculators and checklists
- The mechanical encyclopedia at /encyclopedia when you need to understand how a housing or leveling system works
- The AutoTools blog at /blog for more practical owner write-ups
FAQ
How often should I check my headlight aim? Once a year is a reasonable habit, and again after any front-end repair, tire change, or if you notice oncoming drivers flashing you. It takes less time than an oil change.
Can I aim headlights without a wall? You can get close, but a wall and a tape measure give you a reference you can repeat. A flat wall at 25 feet is the simplest reliable setup for most DIYers.
Do LED and projector headlights aim the same way? The principle is the same, but the cutoff is usually sharper, so mistakes are more visible. Some modern systems require a scan tool to reset the aim, so check the manual before turning any screw.
Why does one beam look brighter than the other? A failing bulb, a poor ground, or a dirty lens can cause it. Check the bulb seating and the lens first, then look for fault codes. If it persists, a shop can test the circuit.
Will adjusting my headlights fix a failed inspection? Only if aim was the problem. If the failure is for a cloudy lens, a broken housing, or a bulb that does not meet the local standard, fix that first. Ask the inspector what failed before you start turning screws.
You do not need a lift or a fancy tool to get this right. A wall, a tape measure, and 30 minutes of patience will put your beams where they belong. Do it once properly, and you will notice the difference on the next dark drive home.
Ready to act on what you just read? Decode that warning light with the free OBD code lookup, run the matching car tools to check the numbers yourself, or browse more practical car articles for ideas.