A failed firmware update can turn a running car into a no-start brick. Ask anyone who has watched a BCM go to sleep mid-flash. This guide walks you through a safe update from start to finish: checking the battery, confirming the software is right for the VIN, keeping the vehicle awake, and verifying the result afterward. Most jobs run 45 minutes to 2 hours depending on how many modules you touch. Read it once before you touch a scan tool.
What you need before you start
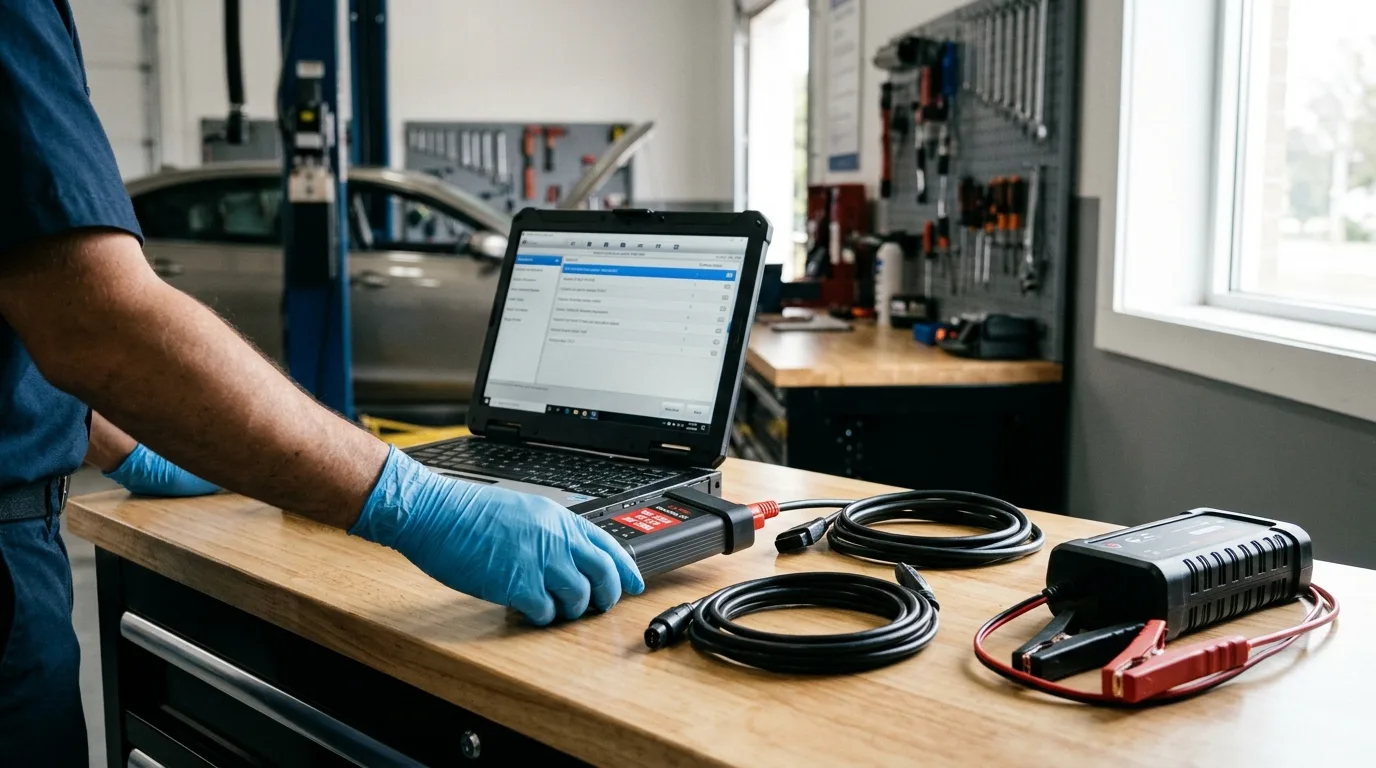
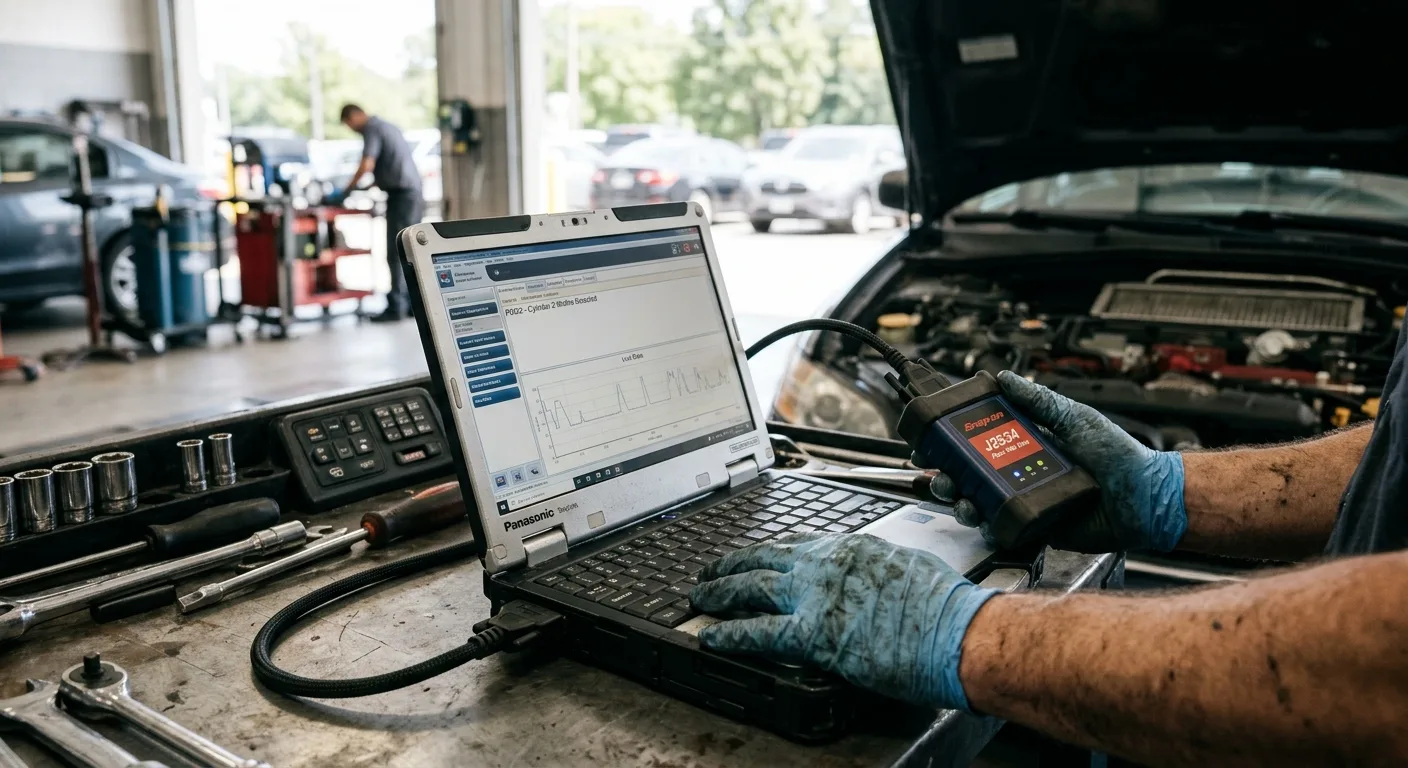
- A J2534 pass-thru device or the factory scan tool your brand requires
- A laptop with the OEM programming software installed and a stable internet connection
- A quality battery maintainer or charger rated for programming (not a trickle charger)
- The vehicle's VIN and current software part numbers, pulled from a scan tool
- The owner's manual or the OEM service information for that model
- A quiet bay with no chance of someone opening a door or hitting the key
Step 1: Pull the current software version and save it
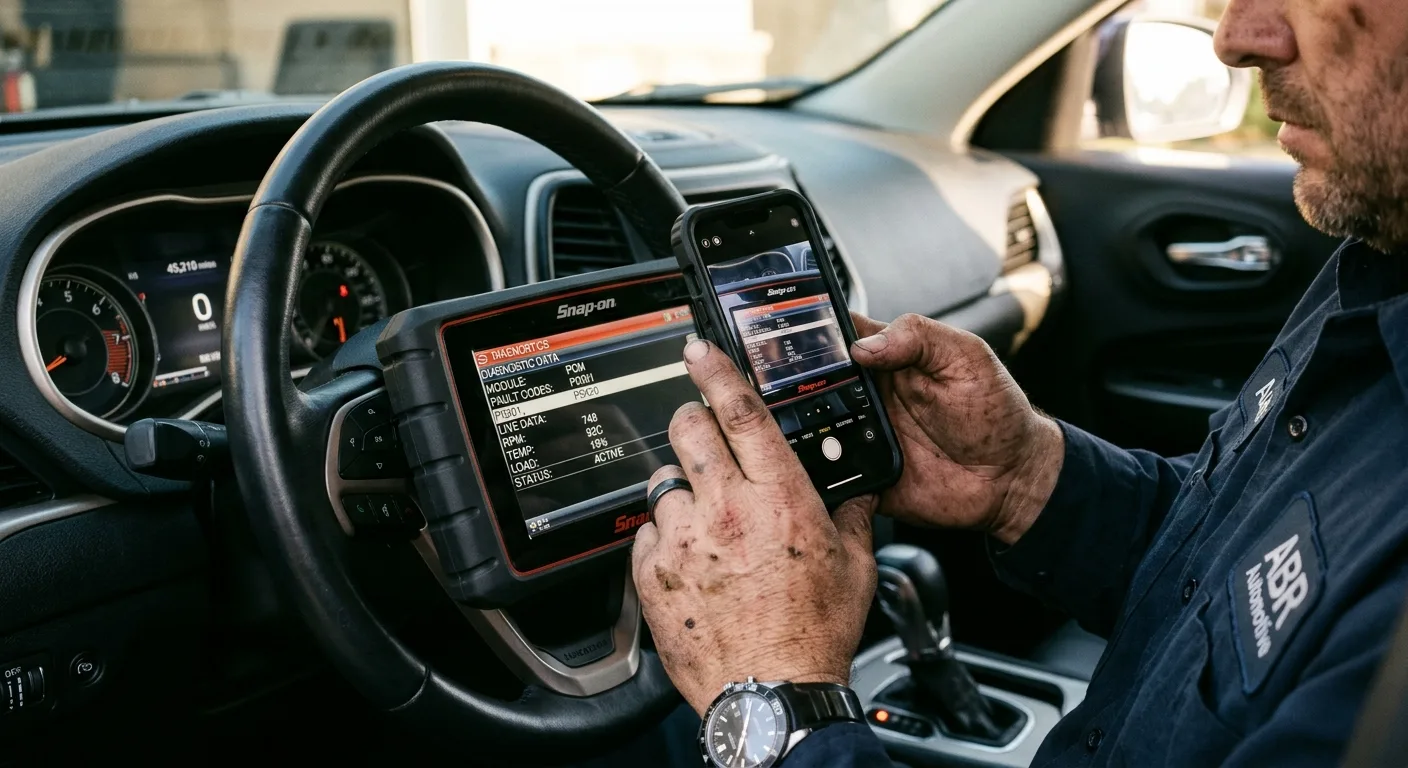
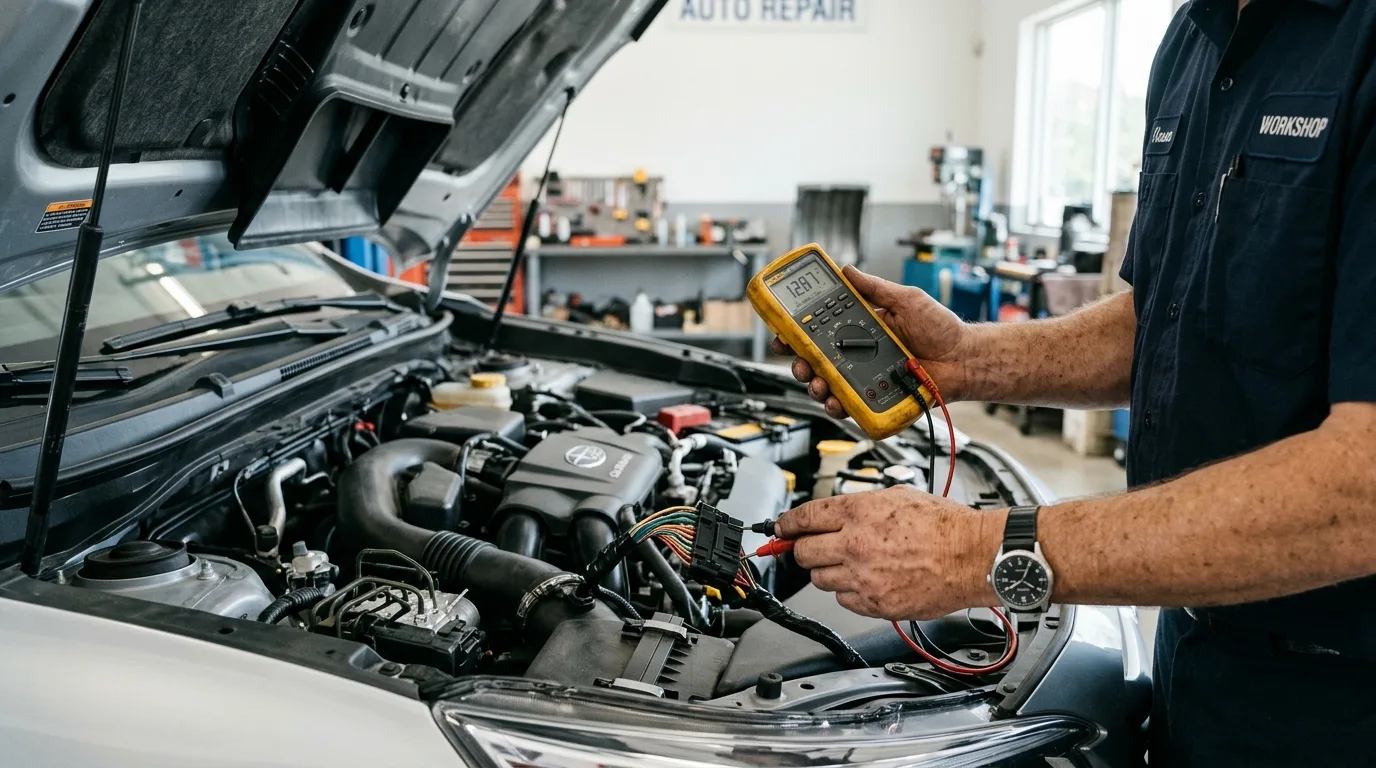
Connect your scan tool and read every module's part number and software level before you change anything. Write it down or screenshot it.
Why it matters: if the update fails, you need to know what was there before. You also need this to confirm the OEM server is actually offering a newer file, not the same one.
Tip: a free OBD code lookup at /obd helps you interpret any stored fault codes you find during this scan, so you know whether a module is already unhappy before you flash it.
Step 2: Fix any active faults first
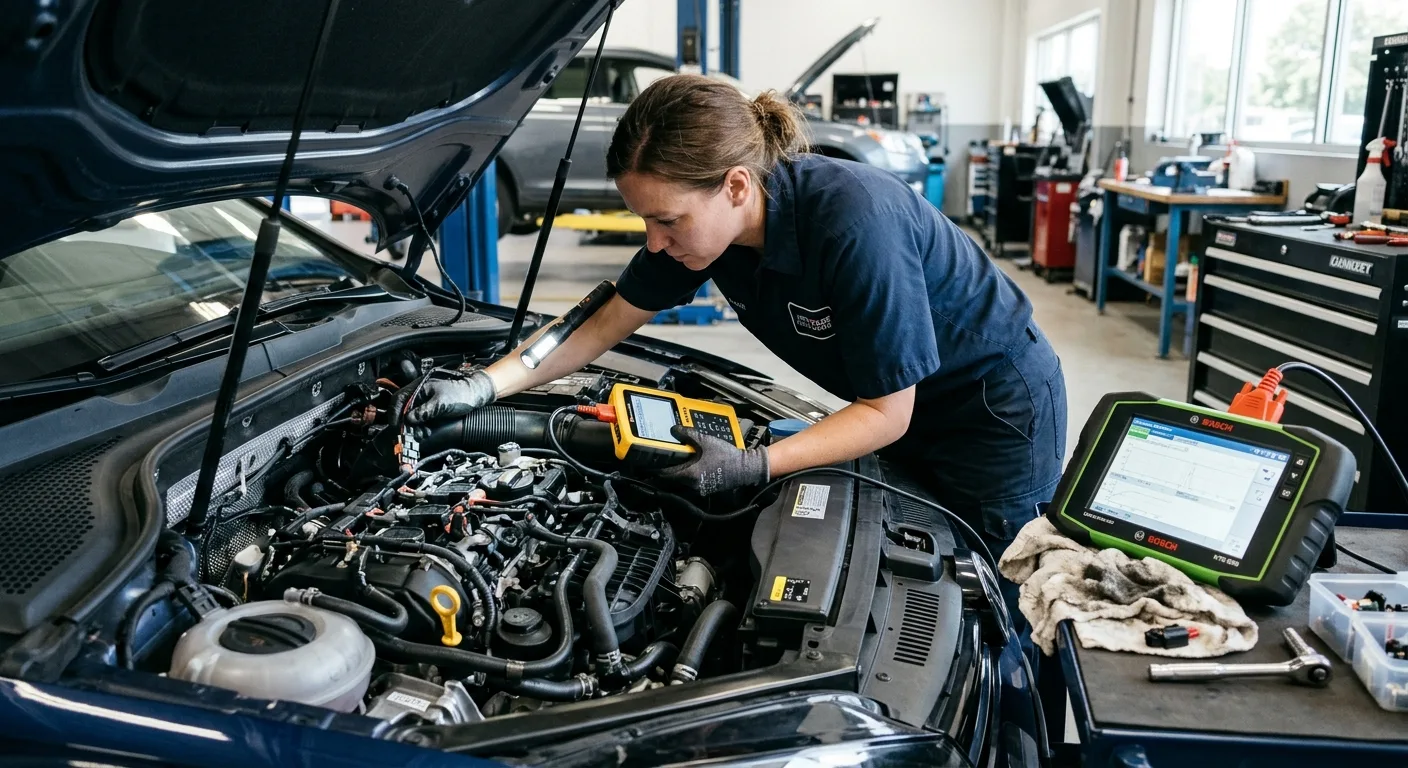
Clear nothing blindly. Read the codes, diagnose them, and repair real faults before programming.
Why it matters: flashing a module that already has a low-voltage or communication fault is how you create a dead module. The update often won't complete, and recovery can mean a dealer visit.
Tip: this is the point where a live-data session pays off. Watch battery voltage and module communication on the OBD live-data tool at /tools/obd-live-data while you crank and idle. If voltage sags, stop and fix that first.
Step 3: Put the battery on a maintainer
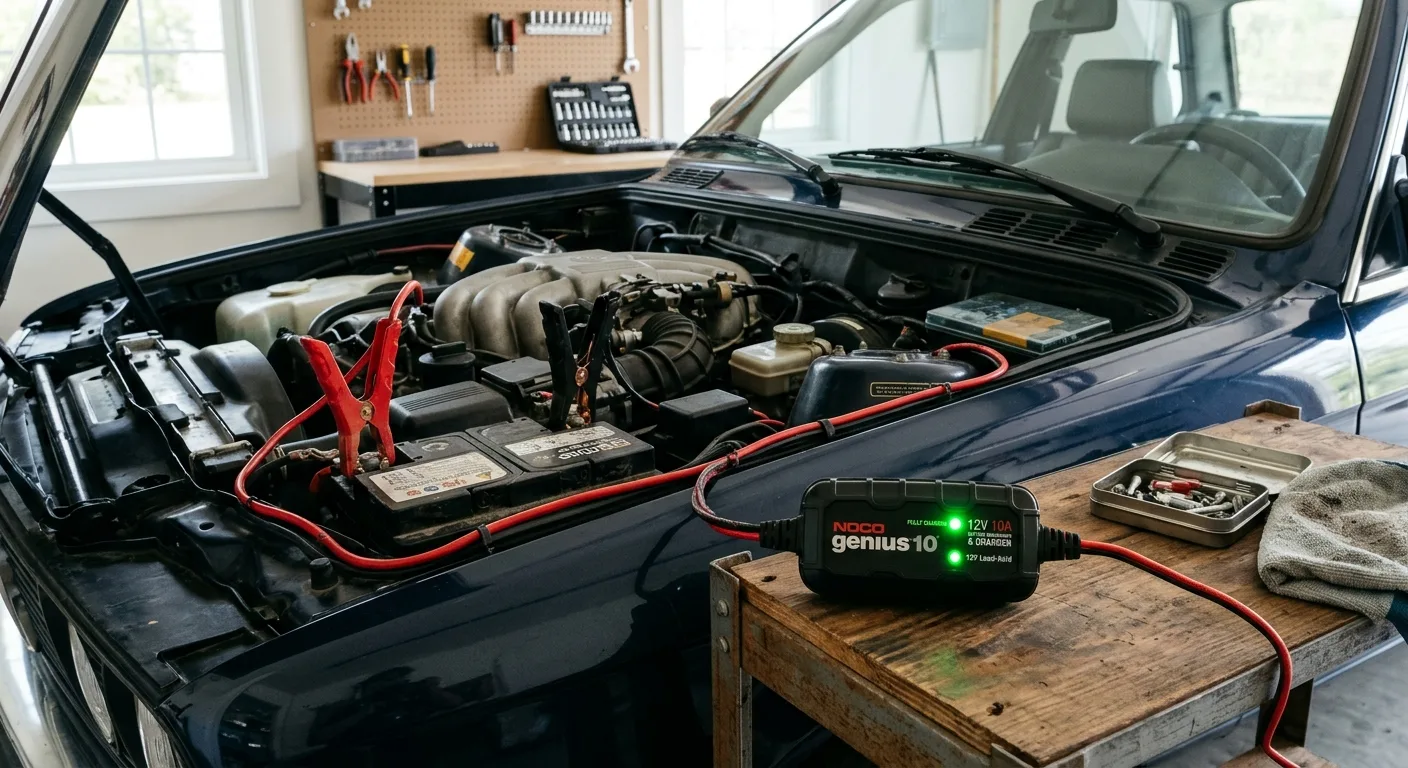
Connect a charger rated for programming support and confirm it holds a steady voltage throughout. Most OEM procedures specify a minimum system voltage, but check your service information for the exact figure.
Why it matters: a voltage dip during a flash is the single most common cause of a bricked module. The update writes to memory, and losing power mid-write corrupts it.
Safety warning: do not run a programming session on a battery that is weak or old. A charger can mask a failing battery for twenty minutes and then let you down. Load-test it first.
Tip: approximate cost for a decent programming-grade maintainer runs a few hundred dollars. Cheap trickle chargers are not enough.
Step 4: Confirm the file matches the VIN and hardware
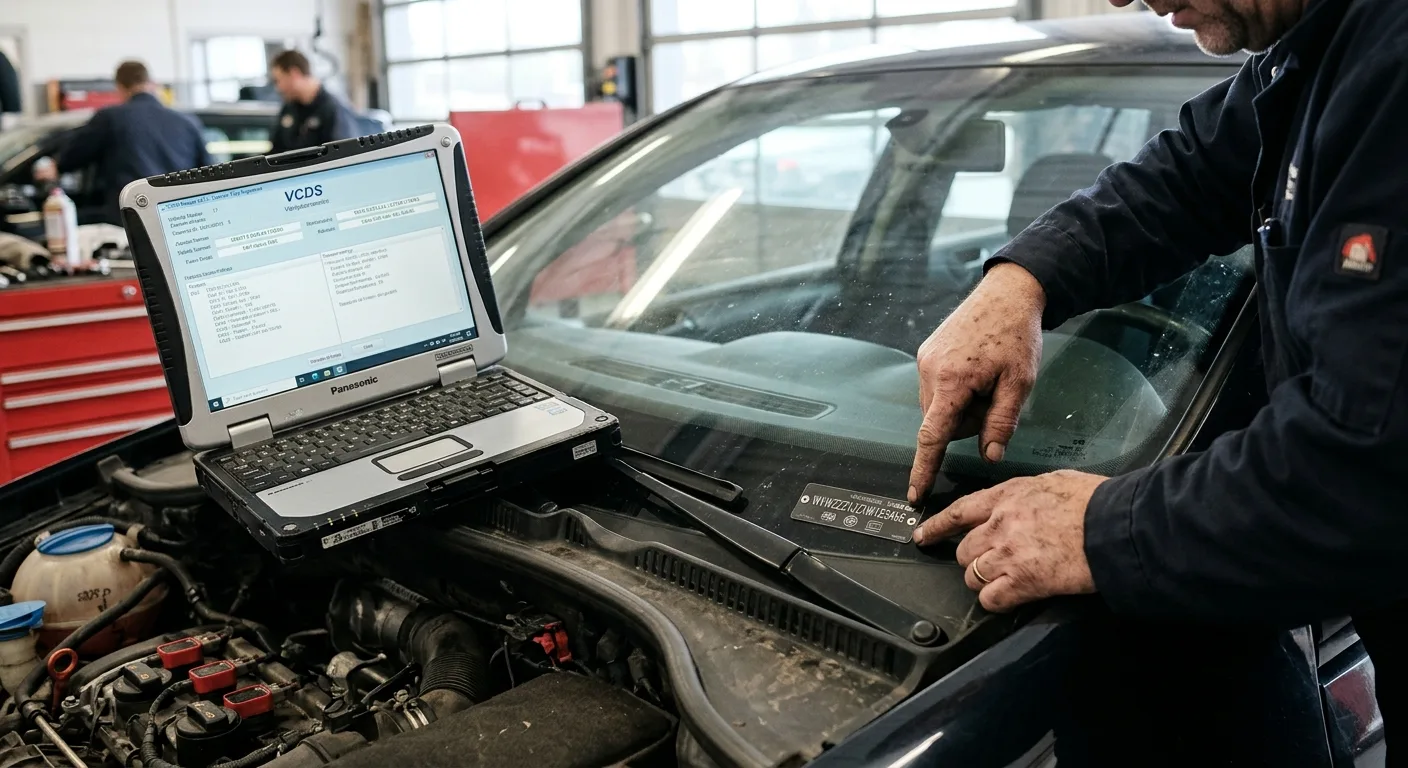
Enter the VIN in the OEM software and let the server return the correct calibration. Never force a file from a similar model or a forum download.
Why it matters: wrong software can disable safety systems, cause a no-start, or brick the module outright. The VIN check exists for a reason.
Tip: if the software offers several calibrations, read the descriptions. The one labeled for your exact trim and emissions package is the one you want.
Step 5: Stabilize the environment

Close the doors, turn off accessories, disable any auto-lock or welcome-light features, and keep the key fob away from the vehicle unless the procedure needs it.
Why it matters: a door opening or a module waking up can interrupt communication mid-flash. Some vehicles time out and go to sleep if they sense no activity.
Tip: tell everyone in the shop to leave the car alone. A sign on the windshield is not overkill.
Step 6: Run the update and do not touch anything
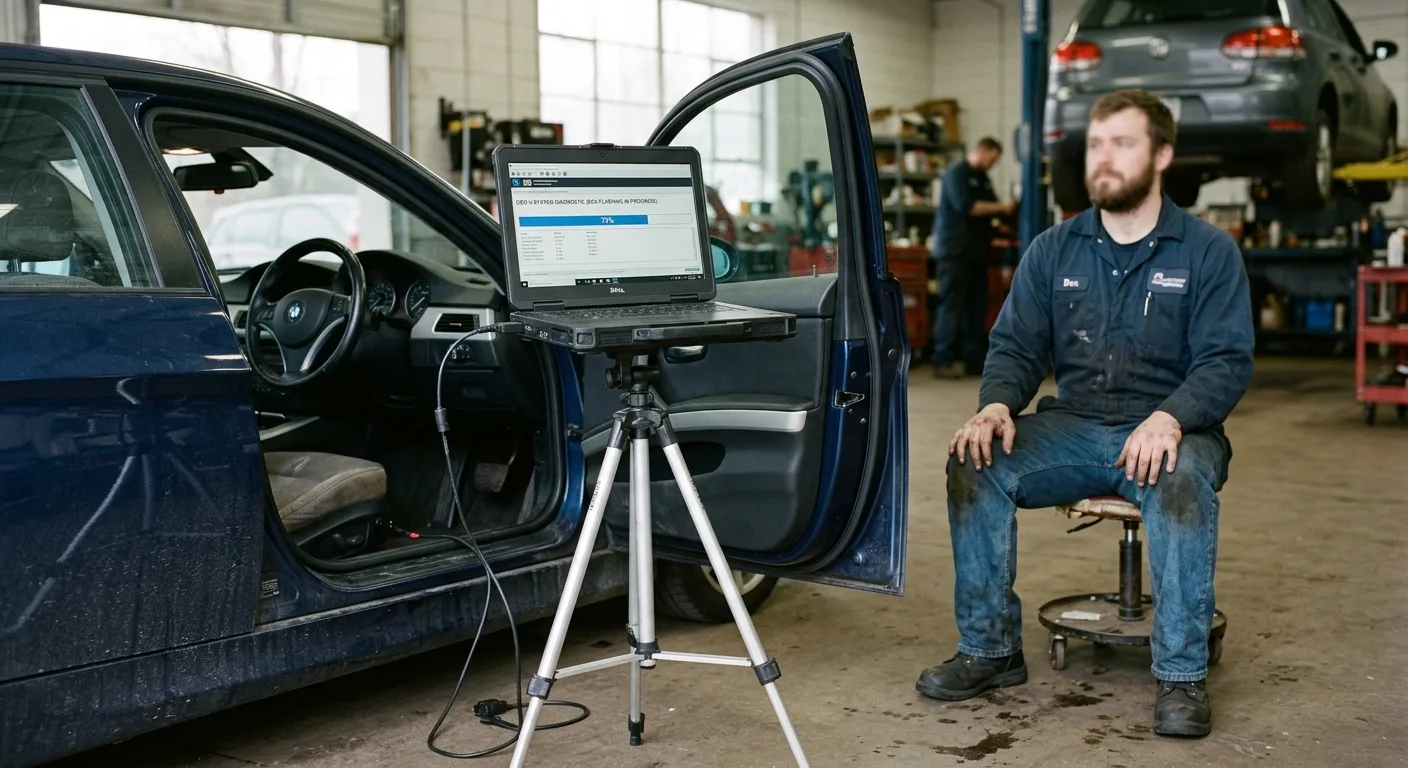
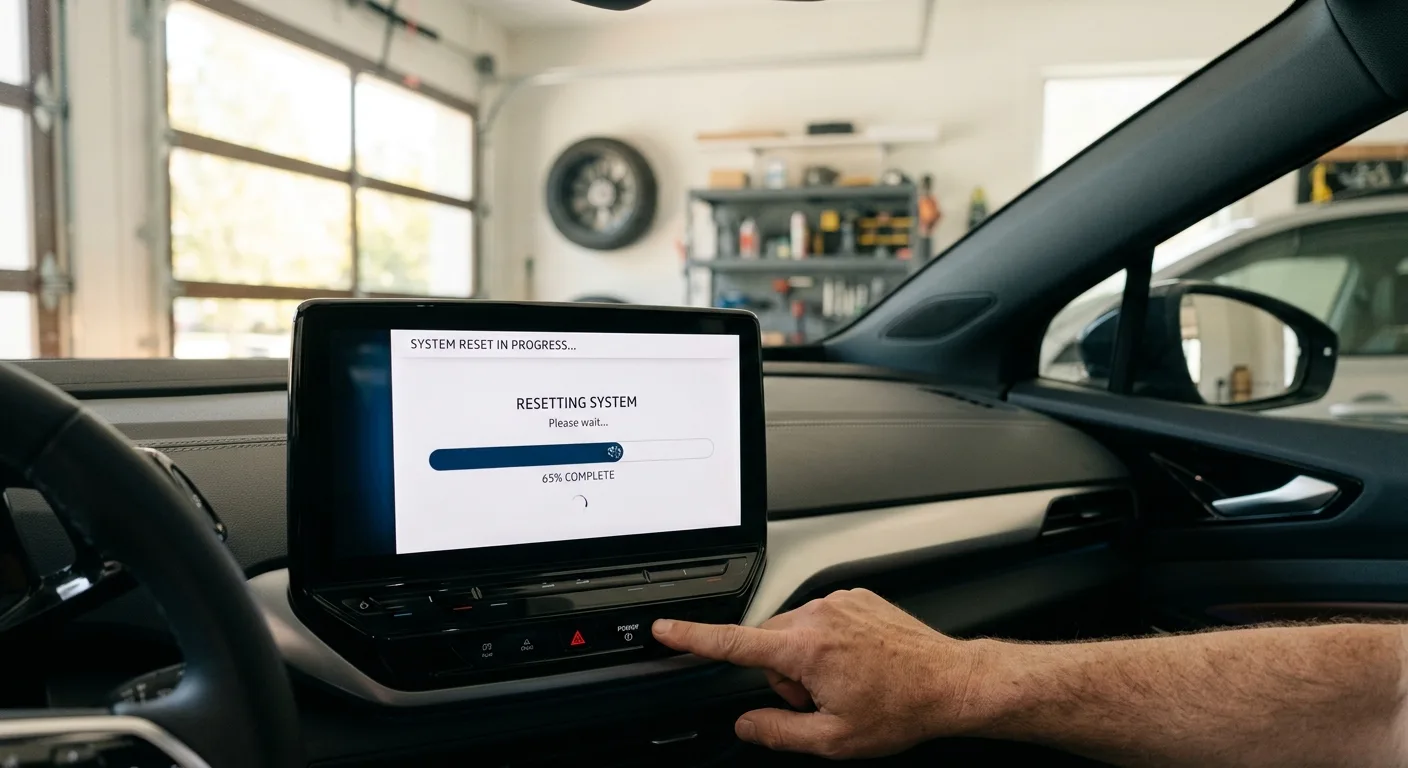
Start the programming session and let it finish. Do not cycle the key, open a door, or unplug the cable until the software tells you it is done.
Why it matters: most updates fail because someone got impatient. The progress bar can sit still for several minutes while a large block writes.
Tip: approximate time for a single module is 15 to 45 minutes. A full-vehicle sweep can take much longer. Plan your bay time accordingly.
Step 7: Follow the post-flash relearn exactly
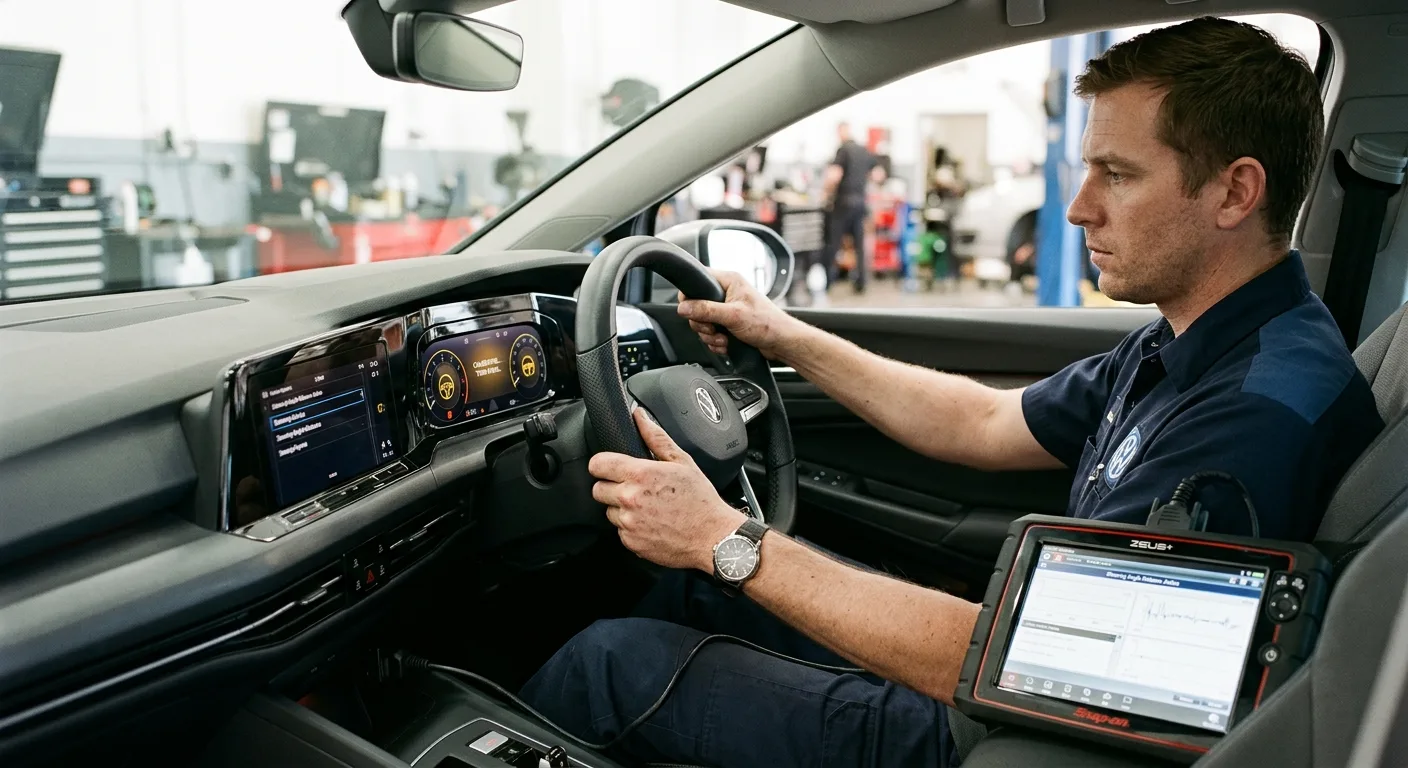
Many modules need a calibration relearn after flashing: steering angle, throttle, transmission adaptives, or a security handshake. Do every step the OEM procedure lists.
Why it matters: a module with fresh software but no relearn can set codes, run rough, or leave a warning light on. Skipping this step makes the update look like a failure.
Safety warning: if the procedure calls for a road test, check brakes and steering before you leave the bay. If it involves jacking the car for a sensor relearn, use rated stands, never just a jack.
Tip: the step-by-step car guides at /guides cover common relearn and reset routines if you need a refresher on the order of operations.
Step 8: Verify and document
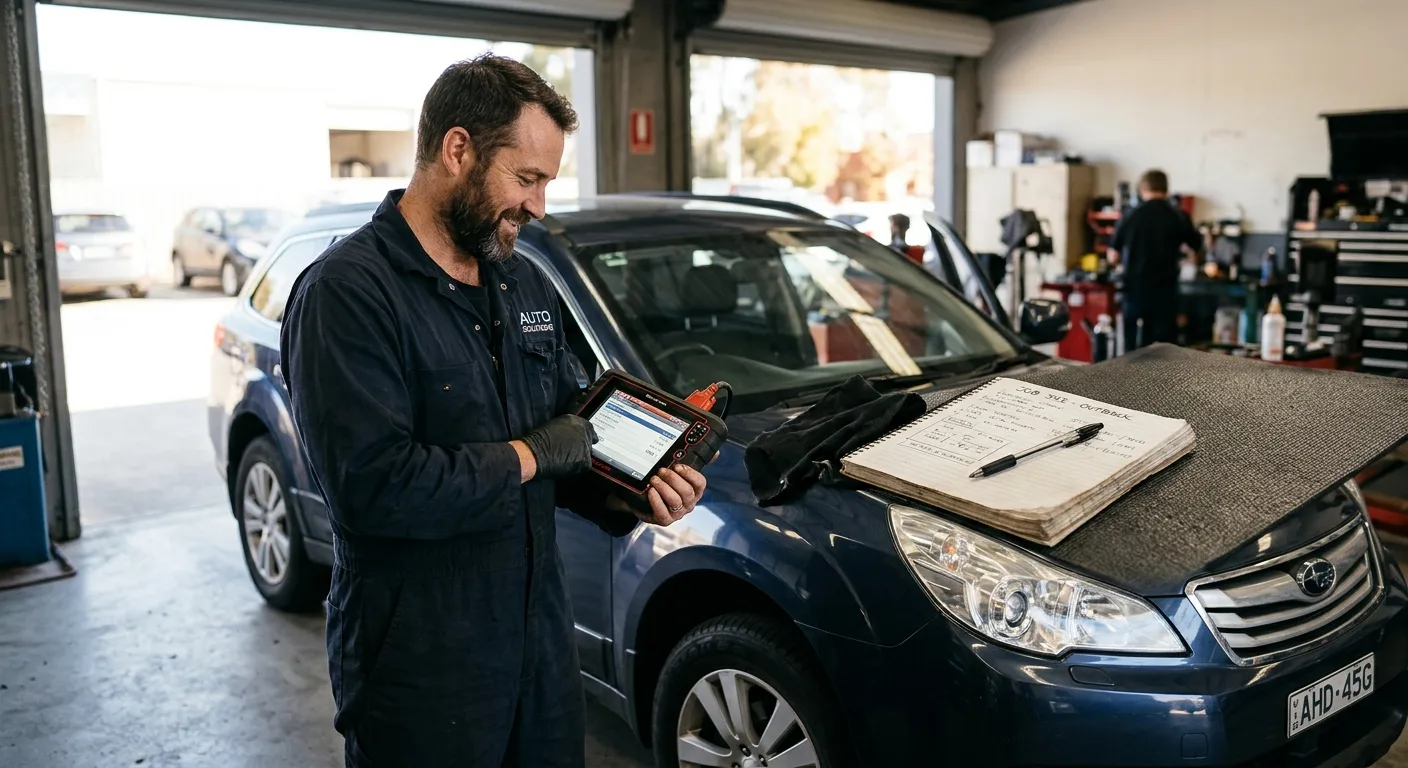
Re-scan every module. Confirm the new software part number matches what the server offered, clear only the codes the procedure allows, and take a test drive.
Why it matters: the job isn't done until you can prove the new calibration is live and the car behaves.
Tip: record the VIN, module, old part number, new part number, and date. It saves hours the next time the car comes in.
Pro tips
- Batch related modules in one session so you only stabilize the battery once.
- Photograph the pre-update screen. Screenshots beat memory every time.
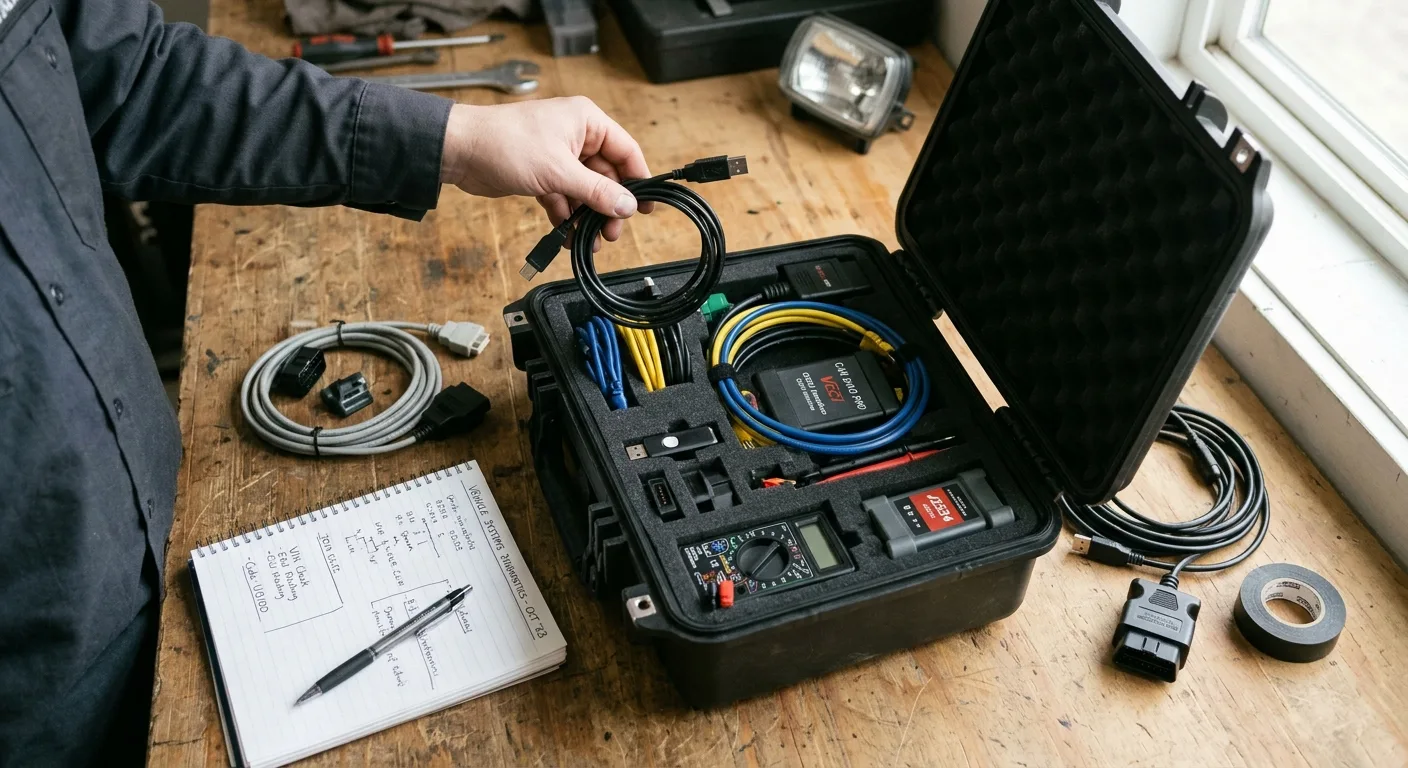
- Keep a known-good charger cable and a spare USB or Ethernet adapter in your programming kit. Cable faults cause more failed flashes than software does.
- If the OEM server is slow, wait it out. Aborting to "try later" mid-download is asking for trouble.
- Lean on the AI mechanic assistant at /tools/ai-assistant to sanity-check a procedure or decode a confusing module description before you commit.
- Log your results in a shop notebook. Patterns show up fast, like a certain model that always needs a steering angle relearn.
Common pitfalls
- Skipping the battery maintainer. You get away with it nine times, then the tenth bricks a module. Always connect one.
- Flashing over an active fault. Fix the fault first. A module with a communication problem won't program cleanly.
- Using the wrong calibration. VIN and hardware match is not optional. A file from a similar car is not a shortcut.
- Interrupting the session. No key cycles, no door openings, no cable wiggling. Let it run.
- Forgetting the relearn. Fresh software without calibration can set codes and drive poorly. Finish the whole procedure.
Useful resources

- The free car tools at /tools for quick calculators and reference lookups
- The mechanical encyclopedia at /encyclopedia for module and system background
- The symptom finder at /symptom when a post-update complaint needs narrowing down
- The AutoTools blog at /blog for ongoing programming and diagnostic notes
- Your OEM service information site, which is the final word on any procedure
FAQ
How long does a firmware update take? Roughly 15 to 45 minutes per module, plus relearn and test drive. Budget more for a full sweep.
Can I update firmware with a generic OBD2 scanner? Usually no. Most updates need a J2534 pass-thru or the factory tool. Check your OEM requirements.
What happens if the battery dies mid-update? The module can be left in an incomplete state. Recovery may require a dealer or a bench flash. This is why the maintainer matters.
Do I need to update every module? No. Update only what the OEM procedure or a specific fault calls for. Fewer flashes, fewer risks.
Will an update void my warranty? Factory-approved updates generally don't. Aftermarket or mismatched files can create problems. Verify with the dealer if unsure.
Final word
Firmware updates reward patience and preparation. Stabilize the battery, confirm the file, keep your hands off the car while it writes, and finish the relearn. Do that and you'll walk away with a clean flash and a customer who trusts your bay.