
A no-start, a random stall, a dash lit up like a Christmas tree: these often point at the engine computer losing its power or ground. By the end of this guide you will be able to check whether the ECU is actually getting battery voltage and a clean ground, with a multimeter and a wiring diagram. Budget roughly one to two hours for a first pass, more if you have to remove trim to reach the ECU.
You are not diagnosing the ECU itself here. You are proving the basics first, because a computer with a bad ground will throw codes and act broken while being perfectly fine.
What you need before you start
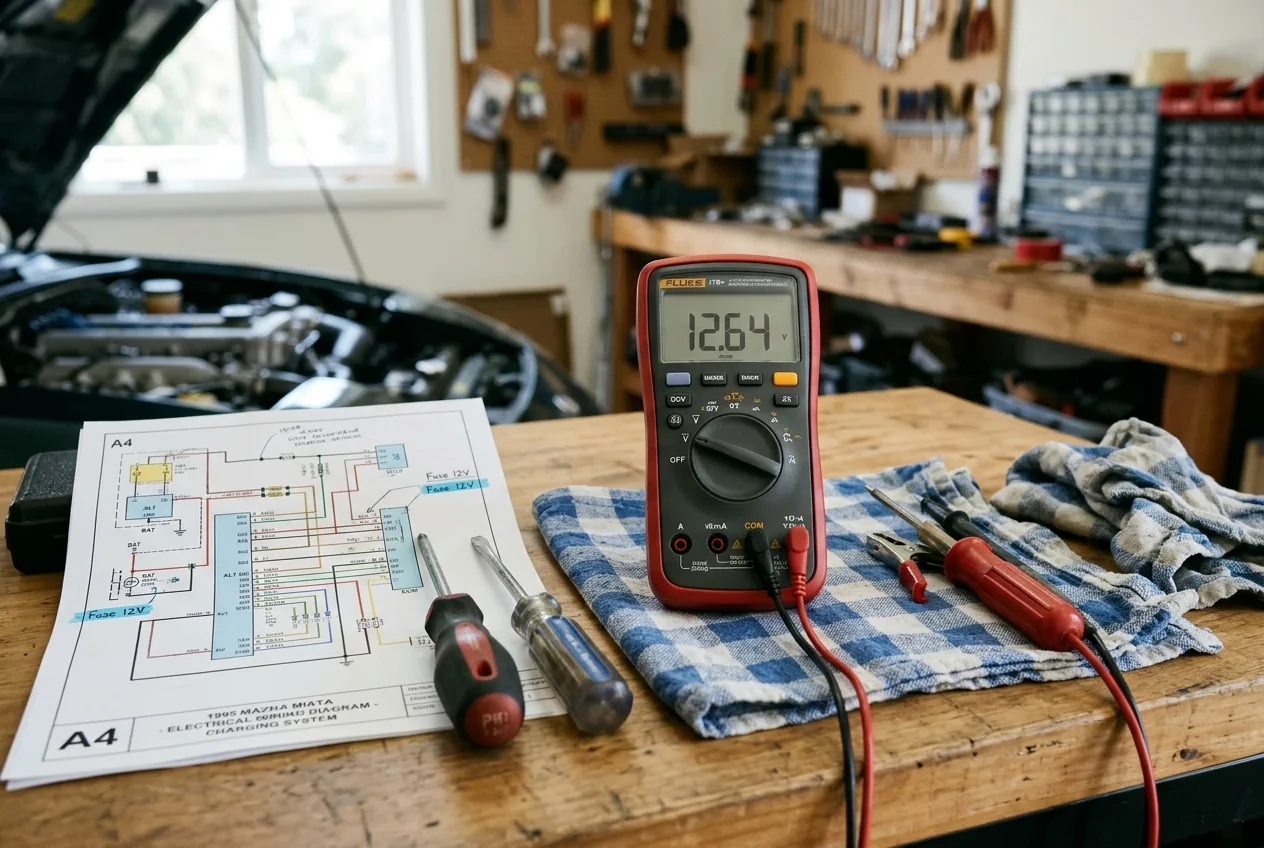
- A digital multimeter with a DC voltage setting and a continuity or resistance setting. A basic one is fine.
- A wiring diagram for your exact model, year and engine. Factory service information is best; a reputable online subscription is the next best.
- Basic hand tools, plus plastic trim tools if the ECU is behind a kick panel or under the dash.
- A known-good battery or a jump pack, and a battery charger if the car has been sitting.
- A test light (optional but handy for load-testing a circuit).
- Gloves and safety glasses.
Before touching anything electrical, disconnect the battery negative terminal unless the test you are doing specifically requires power. Keep a note of your radio code if your car needs one.
Step 1: Find the ECU and its wiring diagram

Locate the engine control unit. It is usually under the hood near the firewall, behind a kick panel in the passenger footwell, or under a seat. The wiring diagram will tell you which connector pins carry constant power (often called B+ or memory), switched ignition power, and ground.
Why it matters: guessing which pin is which is how people back-probe the wrong wire and blow a fuse or a driver inside the ECU. The diagram is not optional.
Tip: photograph the connectors before you unplug anything. Those photos have saved more than one reassembly.
Step 2: Check the battery first
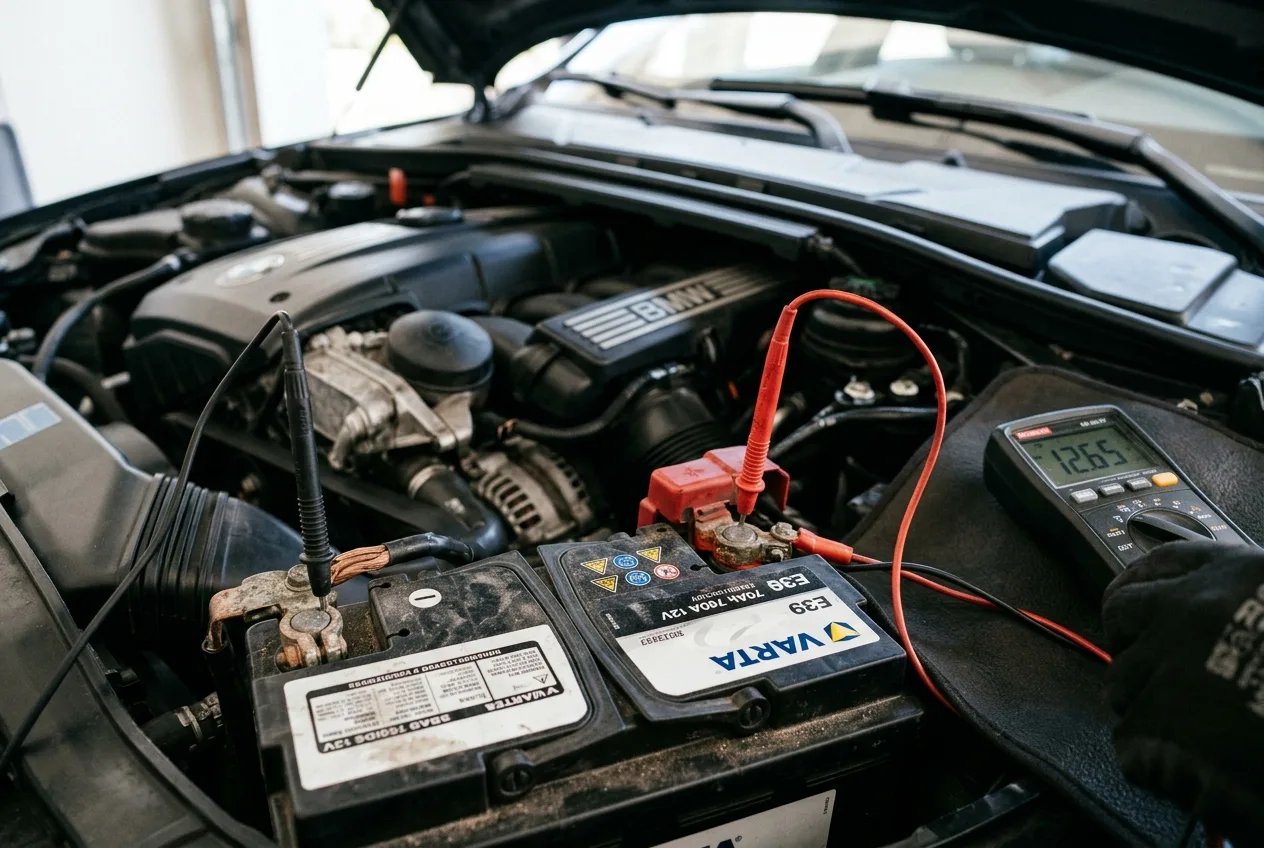
Set your multimeter to DC volts and measure across the battery posts with the engine off. A healthy, charged battery reads around 12.6 volts. Much lower and you are chasing a battery problem, not an ECU problem. Charge or replace it before you go further.
This is the single most common wasted afternoon in electrical diagnosis: testing a computer on a tired battery. Every reading downstream will lie to you.
Step 3: Check the main fuses and relays

Find the fuse box, check the fuses that feed the ECU and the main relay, and swap the main relay with an identical one if you have a spare. A relay that clicks does not prove it is passing current.
Why it matters: a blown fuse or a lazy relay mimics a dead ECU perfectly. It costs almost nothing to check and takes five minutes.
Tip: use the fuse diagram on the lid or in the owner's manual. Do not pull random fuses and hope.
Step 4: Measure constant power at the ECU connector
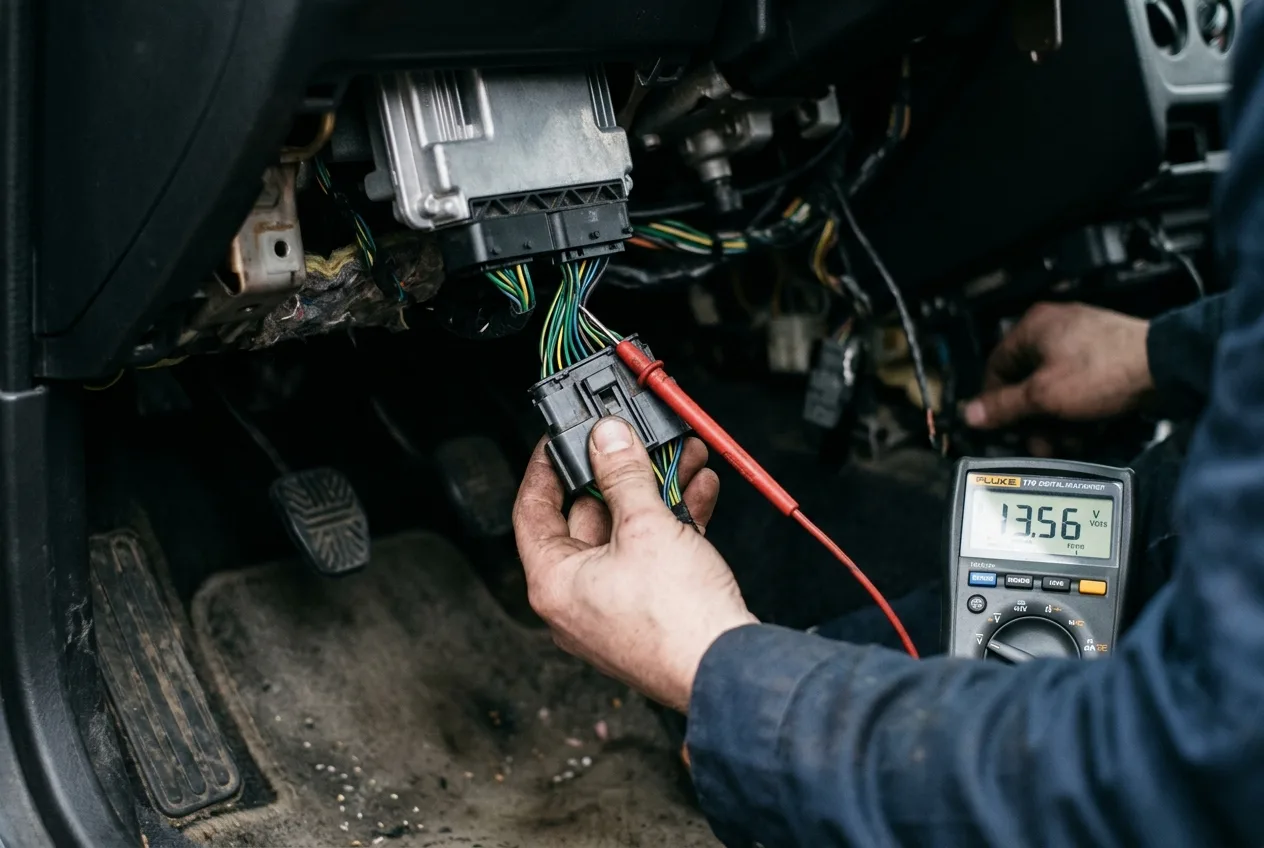
With the battery reconnected and the key off, back-probe the constant power pin at the ECU connector. You should see close to battery voltage, roughly 12.4 to 12.6 volts on a good battery. If you see nothing or a big drop, work backward along that circuit to the fuse and relay.
Why it matters: the memory circuit keeps the adaptions and codes alive. If it is missing, the ECU may not power up at all.
Safety note: back-probing means touching the meter probe to the metal terminal from behind the connector, not stabbing through the insulation. A pin that pierces the wire invites corrosion and a future mystery fault. Never short two pins together with the probe.
Tip: write down every reading as you go. Patterns emerge when you see the numbers side by side.
Step 5: Measure switched ignition power

Turn the key to the run position, or press the start button without the brake, and measure the switched power pin. You should see battery voltage again. Turn the key off and it should fall away.
Why it matters: this circuit tells the ECU the driver wants the engine to run. If it is missing, you get a crank-no-start with no injector pulse or spark.
If the reading is low, suspect a voltage drop through the ignition switch or a corroded connector rather than the ECU.
Step 6: Load-test the power circuit

A multimeter can show 12 volts on a circuit that cannot carry any current. That is why a test light earns its place. Clip the light to a good ground and touch the power circuit. It should glow bright.
Why it matters: a corroded wire can pass enough voltage for a meter to read but not enough current to run the ECU. The test light loads the circuit and exposes the weak point.
Tip: if the light is dim, chase the wiring, not the computer.
Step 7: Measure the grounds

Switch the meter to DC volts and put the black probe on the battery negative post. With the key on, measure each ECU ground pin with the red probe. You want to see very close to zero volts, ideally under about 0.1 volt. Anything much higher means resistance in that ground path.
Why it matters: a bad ground is the most common cause of an ECU that behaves erratically. Grounds corrode, bolts loosen, and engine ground straps fail.
Safety note: never work under a car supported only by a jack. Use proper stands on firm, level ground. If you need to reach an engine block ground, let the engine cool first, exhaust manifolds stay hot for a long time.
Tip: clean the ground point with a wire brush, tighten the bolt, and re-measure before replacing anything.
Step 8: Check continuity to the battery negative

With the battery disconnected, set the meter to continuity or ohms and check from the ECU ground pin to the battery negative terminal or a known clean chassis point. You want a beep or very low resistance.
Why it matters: this proves the wire itself is intact, not just that the bolt looks tight.
If you get no continuity, inspect the harness for chafing and the ground strap for corrosion or a break.
Step 9: Read codes and live data

Plug in a scan tool and read the codes. Cross-check them against the free OBD code lookup at /obd to see whether the pattern points at a power or ground fault. Then watch live data while you crank: battery voltage and sensor readings will show whether the ECU is alive and communicating.
If you only have a basic code reader, the OBD live-data tool at /tools/obd-live-data helps you watch voltage and sensor behavior in real time, which is exactly what you need here.
Step 10: Decide what to do next

If power and ground are both good, the fault is likely elsewhere: the ECU itself, a sensor, or a communication problem. If power or ground is missing, repair the circuit, then clear the codes and retest.
Approximate costs: a multimeter runs from a budget model to a professional one, and a used ECU for many cars can range from modest to expensive depending on the model. Always verify pricing for your car rather than trusting a general figure.
If you are stuck, describe the readings to the AI mechanic assistant at /tools/ai-assistant and use the car symptom finder at /symptom to narrow down what the car is doing before you start buying parts.
Pro tips

- Test with the component loaded. A meter alone will tell you the circuit has voltage, not that it can do work.
- Wiggle the harness while watching the meter. An intermittent reading that jumps when you flex the loom points straight at the fault.
- Clean and retighten every ground you touch. It costs nothing and fixes more problems than you would expect.
- Keep a written log of readings and conditions. You will forget which pin read what by the afternoon.
- Compare a suspect circuit to an identical working one if your car has a parallel system.
- Do not replace the ECU until you have proven power and ground are good under load.
Common pitfalls
- Testing on a weak battery. Charge it first or every reading will be misleading.
- Stabbing through insulation. Use proper back-probes or terminal adapters to avoid future corrosion.
- Trusting a click from a relay. Swap it or load-test the circuit instead.
- Forgetting the engine ground strap. Many no-starts trace back to a corroded strap between the block and the chassis.
- Clearing codes before writing them down. Record everything first, then clear and retest.
Useful resources
- Your owner's manual and the factory service information for your model and year.
- A reputable online wiring diagram subscription if you do not have factory data.
- The free car tools at /tools for calculators and quick checks.
- The free OBD code lookup at /obd for decoding what your scanner reports.
FAQ
Can I test the ECU without a wiring diagram? You can, but I would not. Guessing pins risks damaging the ECU or a fuse. Get the diagram for your exact model.
How many volts should the ECU ground read? Ideally close to zero, under about 0.1 volt when measured against the battery negative. Higher means resistance in the ground path.
My meter shows 12 volts but the car still will not start. Why? Voltage can be present without current capacity. Load-test the circuit with a test light and check the grounds under load.
Do I need a professional scan tool? A basic reader gets you codes. For live data and voltage monitoring, a tool like the OBD live-data tool is more useful here.
Should I just replace the ECU if power and ground are fine? Not yet. Check sensors, communication wiring and the rest of the circuit first. ECUs fail, but they are rarely the first suspect.
Final word
You just did the diagnostic work a shop would charge for, and you did it in the right order. Prove the basics first, write down your numbers, and repair the circuit before you reach for the parts cannon. That habit will save you money and a lot of frustration on every electrical fault to come.
Ready to act on what you just read? Decode that warning light with the free OBD code lookup, run the matching car tools to check the numbers yourself, or browse more practical car articles for ideas.