At-Home Car Diagnostics: The Complete Step-by-Step Guide
You don't need a shop bay or a decade of experience to figure out why your car is acting up. With a decent code reader, a bit of patience, and about an hour on a Saturday morning, you can nail down most common problems yourself. This guide walks you through the whole process, from plugging in the s…
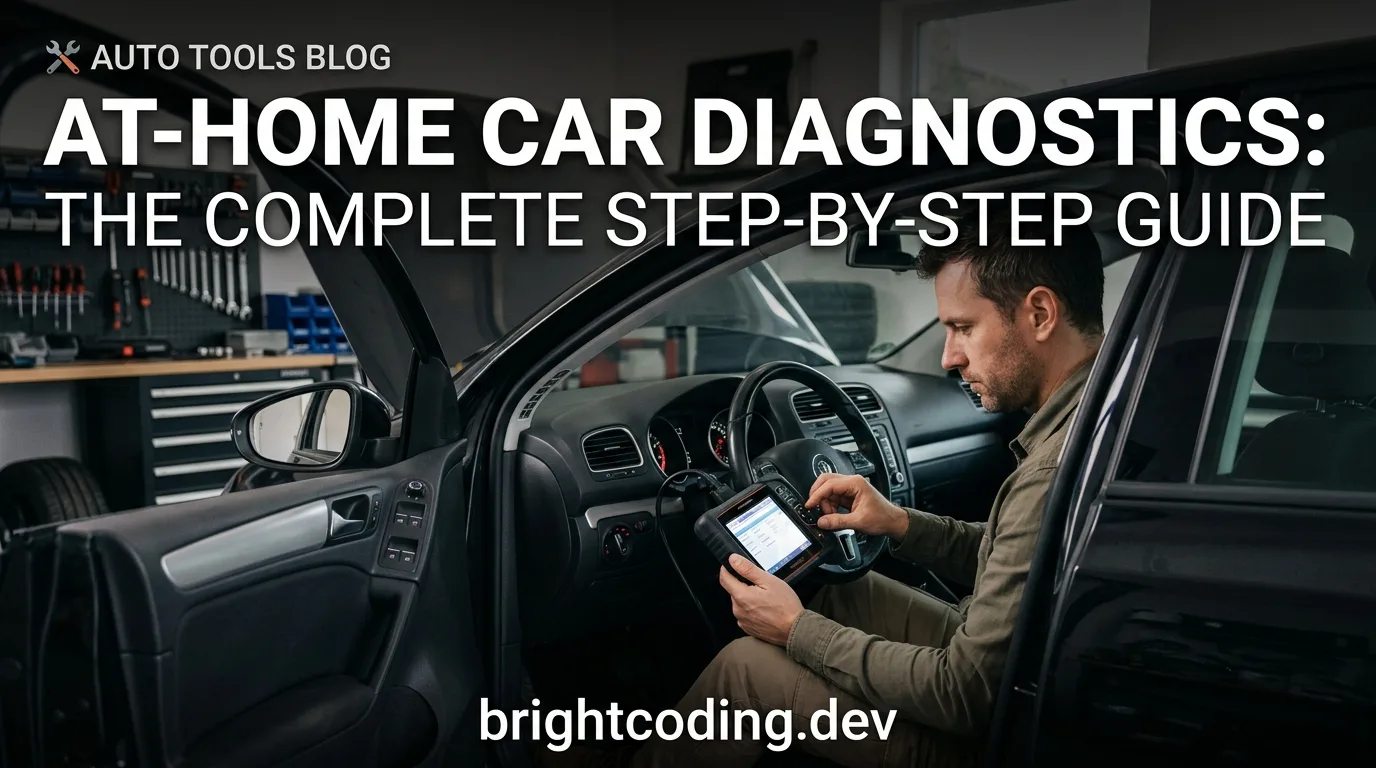
You don't need a shop bay or a decade of experience to figure out why your car is acting up. With a decent code reader, a bit of patience, and about an hour on a Saturday morning, you can nail down most common problems yourself. This guide walks you through the whole process, from plugging in the scanner to deciding whether the fix is a DIY job or a trip to a mechanic.
What you need before you start
Keep it simple. You don't need a $500 professional scanner, but the $15 Bluetooth dongle from the internet can be frustratingly slow. A mid-range OBD-II scanner that reads and clears codes will do 90% of the work. Along with that:
- A notepad or your phone for recording codes and symptoms.
- Basic hand tools: screwdrivers, a socket set, and pliers.
- A multimeter (for electrical checks) and a test light.
- Gloves and safety glasses.
- Your owner's manual — seriously, keep it in arm's reach.
If you want to check live sensor data while you drive, the OBD live-data tool on this site can show you what the engine computer sees in real time.
Step 1: Find the diagnostic port and connect the scanner
The OBD-II port is usually under the dashboard on the driver's side, near the hood release or the fuse box. If you can't find it, your owner's manual will show the exact spot. Plug the scanner in with the ignition off, then turn the key to the "ON" position without starting the engine. This powers up the car's computer so the scanner can talk to it.
Why it matters: The port is how you ask the car's brain what's wrong. Without a solid connection, you're guessing.
Practical tip: If the scanner doesn't power on, check the fuse for the cigarette lighter or OBD port. It's a common, cheap fix.
Step 2: Read and record the trouble codes
Turn on the scanner and select "Read Codes." You'll see a list of alphanumeric codes like P0301 or C1234. Write every single one down, even if you don't know what they mean. Don't clear them yet.
Why it matters: Codes tell you which system is failing, not always which part. A P0301 means cylinder 1 is misfiring, but the cause could be a spark plug, coil, or fuel injector.
Practical tip: Look up each code in a reliable database. The free OBD code lookup on this site explains what the code means and what usually causes it. Freeze frame data — a snapshot of conditions when the code set — can be gold. It tells you engine temperature, speed, and load at the exact moment the problem happened.
Step 3: Check for obvious physical problems
Before you replace anything, pop the hood and look. Are there loose vacuum hoses? A cracked belt? An oil leak that's been baking onto the engine block? Check the air filter — a filthy one can cause running issues that mimic sensor failures.
Why it matters: A code for a lean mixture (P0171) might just mean a torn intake boot, not a bad mass airflow sensor. Parts are expensive; your eyes are free.
Practical tip: Take a flashlight and inspect wiring harnesses near hot components like the exhaust manifold. Melted or chafed wires cause all sorts of intermittent nonsense.
Step 4: Check the basics — battery, fluids, and connections
A weak battery causes voltage drops that make computers act drunk. Use a multimeter to check the resting voltage — it should be around 12.6 volts with the car off and between 13.5 and 14.5 volts when running. Then check coolant, oil, and brake fluid levels. Look at the color and smell. Burnt-smelling transmission fluid is a bad sign.
Why it matters: Low voltage or low fluid can set codes that have nothing to do with the actual component. You don't want to replace an oxygen sensor when your real problem is a corroded battery terminal.
Safety warning: Never open the radiator cap while the engine is hot. Pressurized coolant at 200°F will cause serious burns. Wait until the engine is completely cool.
Step 5: Perform a visual test of the specific system
If you pulled a brake-related code, jack up the car and inspect the pads, rotors, and calipers. If it's a misfire code, pull the spark plug and examine it. A plug coated in black soot says "rich mixture." One that's white and blistered says "lean" or "too hot."
Why it matters: The code points you to the system, but the physical evidence tells you the root cause. A mechanic charges you to look at this stuff; you're doing it for free.
Safety warning: When jacking the car, always use jack stands. Never rely on the scissor jack alone. And if you're poking around the brakes, remember that brake dust can contain asbestos in older cars — wear a mask and don't blow it around.
Step 6: Test components with a multimeter
If you suspect a bad sensor, test it. For example, a coolant temperature sensor should show a specific resistance at a known temperature — your service manual will have the chart. A crankshaft position sensor should produce an AC voltage signal when you crank the engine.
Why it matters: This is where guessing stops. A $10 multimeter can confirm whether a sensor is dead before you spend $80 on a replacement.
Practical tip: If you're not sure how to test a specific component, look for a wiring diagram in your service manual. For detailed part-by-part explanations, the mechanical encyclopedia on this site breaks down how these systems work.
Step 7: Clear the codes and go for a test drive
After you've fixed what you found — or if everything looked fine — clear the codes with the scanner. Then drive the car under the same conditions that triggered the code in the first place. If it was a misfire under load, climb a hill. If it happened after a cold start, let it sit overnight and drive again in the morning.
Why it matters: Clearing codes resets the monitors. If the problem is fixed, the check engine light stays off. If it comes back, you've confirmed the issue and can dig deeper.
Practical tip: A quick 10-minute drive that includes city and highway speeds will let the computer run its self-tests. Watch the live data on your scanner to see if the fuel trims are within range (usually between -10% and +10%).
Step 8: Decide — fix it yourself or call a pro
Be honest with yourself here. If you found a cracked vacuum hose, replace it and save $150 in labor. If you're looking at a timing chain replacement or internal engine damage, that's a job for a shop. Somewhere in the middle? Alternator replacement is a good weekend project. An automatic transmission rebuild is not.
Why it matters: Knowing your limits saves you money. But so does not turning a $50 repair into a $500 one because you used a breaker bar on a plastic bolt.
Practical tip: If you're on the fence, get a quote from a shop and compare it to the cost of parts plus your time. If you're still not sure, the AI mechanic assistant can help you narrow down the issue based on your symptoms and code list.
Pro tips
- Take a photo of your dashboard before you clear codes. You'll thank yourself later when you can't remember the exact code.
- Buy a scanner that shows live data, not just codes. Watching the oxygen sensor voltage cycle from 0.1 to 0.9 volts tells you more than any single reading.
- Use the freeze frame data. It shows conditions like engine speed and coolant temp when the code set. Compare that to the live data to spot the difference.
- Spray carb cleaner around vacuum hoses while the engine idles. If the idle smooths out, you've found a vacuum leak.
- Keep a log of repairs and symptoms. You'll spot patterns that are invisible one trip at a time.
- When in doubt, check for technical service bulletins (TSBs) for your make and model. Manufacturers issue them for known problems, and the fix is often cheaper than the generic parts-store solution.
Common pitfalls
- Replacing parts based on the code alone. A P0420 (catalytic converter efficiency) often triggers when the real problem is a lazy oxygen sensor or an exhaust leak. Diagnose, don't shotgun parts.
- Clearing codes before writing them down. That's like deleting the error message before reading it.
- Ignoring pending codes. Your scanner may show codes that haven't triggered the check engine light yet. They're early warnings — listen to them.
- Forgetting to check the gas cap. It sounds dumb, but a loose gas cap triggers EVAP codes. Tighten it and drive for a few days before replacing anything.
- Assuming cheap parts are good parts. A $30 oxygen sensor from a bargain brand may fail in six months. Name-brand sensors cost more but last.
Useful resources
Your owner's manual and a factory service manual are the best references. For generic guidance, consult reputable auto parts stores' websites (they often have free diagnostic guides), YouTube channels from professional mechanics, and online forums specific to your make and model. For step-by-step instructions on common jobs, check the step-by-step car guides on this site. You can also use the free car tools to check things like tire fitment or symptom patterns.
FAQ
How much does an OBD-II scanner cost? A basic Bluetooth dongle runs around $20–$40. A standalone unit with a screen and live data costs $50–$150. Professional-grade scanners start at several hundred dollars — skip those unless you're building a shop.
Can I diagnose a problem without a scanner? Partially. Visual inspection, fluid checks, and listening for unusual noises catch many issues. But modern cars need a scanner for most electronic problems. Borrow one from an auto parts store if you don't want to buy.
Why does my check engine light flash? A flashing light means a severe misfire that's dumping fuel into the catalytic converter. Stop driving immediately — you're doing real damage. Pull over and call a tow truck.
Will disconnecting the battery reset the codes? Yes, but it also resets your radio presets, clock, and fuel trims. The car will relearn its settings over a few days of driving, but use a scanner instead to clear codes cleanly.
How often should I run a diagnostic check? Once a month takes five minutes and can catch problems early. Do it more often if you notice rough idling, poor fuel economy, or strange smells.
A final word
Diagnosing your own car is a skill, not a magic trick. The first time you'll fumble with the scanner and second-guess yourself. That's normal. Every time you do it, you get faster and more confident. And when you do hand it to a mechanic, you'll walk in knowing exactly what's wrong — which means you'll walk out paying for a repair, not a mystery.
Related articles

The Best Way to Keep Your Car Cool During Extreme Summer Heat
Your steering wheel is hot enough to brand cattle, the air conditioning is blowing lukewarm air, and the temperature gauge is creeping past where it usually sits. If that sounds like your July commute, you are not imagining things. Extreme heat is genuinely hard on cars, and the ways to keep yours…
Read the article →
How to Save Money on Car Repairs Without Taking Risks
Here's the honest version up front: most common repairs land somewhere between $150 and $1,200 when you pay a shop, and a few big-ticket jobs (timing belts, clutches, head gaskets) can run past $2,000. That range is wide on purpose. Your make and model, where you live, and whether you walk into a d…
Read the article →
15 Easy Ways to Improve Your Car's Fuel Efficiency
The needle on my fuel gauge dropped a full eighth of a tank between my driveway and the grocery store six miles away. That's not right. I stood in the parking lot with my hand still on the pump handle from the day before, doing math in my head, and the math was bad. My aging sedan had been drinking…
Read the article →
What Happens If You Ignore Your Check Engine Light?
That amber engine icon is the most ignored warning in motoring. It comes on, nothing explodes, so you keep driving. A week later it's still there. A month later you've stopped seeing it.
Read the article →
10 Dashboard Warning Lights You Should Never Ignore
Your dashboard isn't trying to annoy you. It's the only part of the car that talks to you in plain language — and it's often the cheapest warning you'll ever get. Ignore the wrong one and a $150 repair becomes a $2,000 repair, or a breakdown on the shoulder of a highway at 11 p.m.
Read the article →
20 Hidden Features in Your Car You Probably Never Use
Most cars built in the last fifteen years are quietly packing a couple dozen conveniences the owner's manual buries on page 147. This article answers the questions people actually type into Google about those features — what they are, how to turn them on, and which ones are worth the trouble — so y…
Read the article →