Best Multimeters for Automotive Diagnostics in 2026
Discover the best multimeters for automotive diagnostics in 2026. From budget picks to professional-grade tools, learn which features matter and how to choose the right meter for your garage.
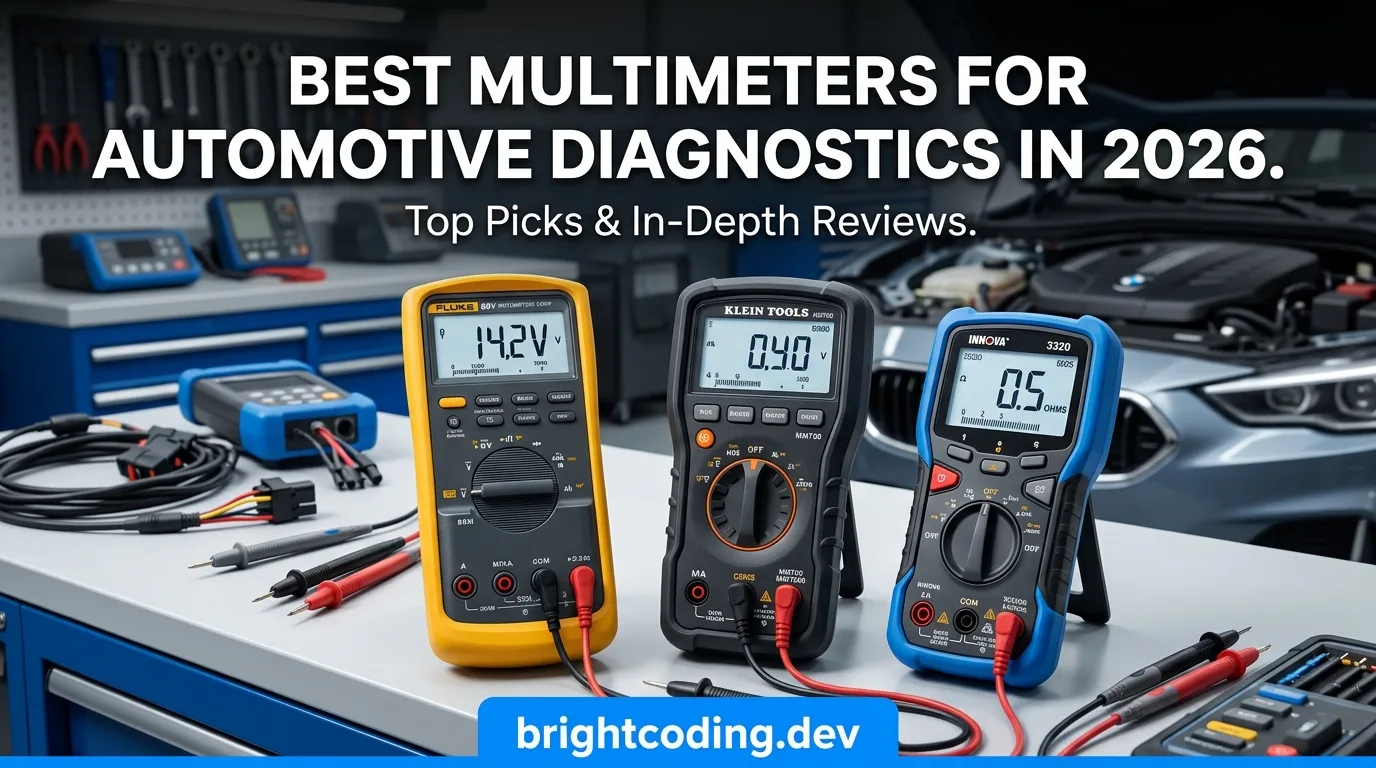
Opening: The Frustration of an Electrical Gremlin That Won't Talk
Your car won't start. The battery's new, the starter clicks, but something between them is failing. Or worse — your battery dies every third morning for no obvious reason. You could keep throwing parts at it, or you could spend five minutes with the right tool and know exactly what's wrong.
That tool is an automotive multimeter. Not the cheapest one in the bargain bin, and not necessarily the $500 professional kit either. The right multimeter for your garage, your skill level, and the cars you actually work on.
In this guide, you'll learn why electrical faults are so hard to pin down, what separates a basic meter from a true diagnostic tool, and how to choose one that turns guesswork into certainty. Whether you're a weekend DIYer maintaining a daily driver or a mobile technician covering multiple vehicles, there's a clear path forward.
The Problem: Why Electrical Diagnostics Feel Impossible Without the Right Tool
Modern vehicles are rolling computer networks. A typical car today has 30 to 50 electronic control modules, hundreds of sensors, and miles of wiring packed into tight engine bays. When something electrical fails, the symptom rarely points directly to the cause.
What is happening? You're seeing dead batteries, flickering lights, erratic sensor readings, or complete no-start conditions. The check engine light might be on, or it might not. Standard OBD-II scanners tell you what the computer thinks is wrong, but they can't measure whether a wire is corroded, a ground is weak, or an alternator is producing dirty voltage.
Why does it matter? Misdiagnosing an electrical fault is expensive. Replacing a battery when the real culprit is a 200-milliamp parasitic drain wastes money and leaves you stranded again next week. Swapping an oxygen sensor when the heater circuit has a voltage drop costs you parts and time you don't have.
Who is affected? Anyone who works on cars built after 1990. If you do your own maintenance, troubleshoot fleet vehicles, or run a small repair shop, you need more than a test light. You need quantifiable data.
What mistakes do people commonly make? They rely on visual inspection alone. They swap parts based on forum guesses. They buy a $15 multimeter that can't measure milliamps or duty cycle, then wonder why the "fixed" problem returns. Or they overspend on a professional-grade Fluke 88V when a $60 auto-ranging meter would handle 90% of their needs.
Why It Happens: The Hidden Complexity of Automotive Electrics
Car electrical systems aren't just "on or off." They operate in narrow windows that change with temperature, vibration, and age.
Voltage isn't static. A healthy battery reads 12.4 to 12.6 volts with the engine off. With the engine running, the alternator should push that to 13.7 to 14.7 volts. But a meter that only reads whole volts might show "12" when the actual reading is 12.3 — the difference between "needs a charge" and "needs replacement."
Modern sensors use pulsed signals. Fuel injectors, oxygen sensors, and mass airflow sensors don't just send steady voltage. They send rapid on/off pulses. A basic multimeter averages these into a single number, which can hide a failing component. This is why True RMS (Root Mean Square) capability matters — it calculates accurate readings from fluctuating signals instead of guessing.
Parasitic drains are invisible. A glove box light or a failing body control module can pull 200 milliamps while you sleep. Over a weekend, that kills the battery. But measuring milliamps requires a meter that can read small current precisely, and safely, without blowing its internal fuse.
Ground paths corrode invisibly. A ground wire can look fine but have resistance high enough to drop voltage across a sensor circuit. Only a multimeter measuring resistance and voltage drop can reveal this.
The Solutions: Four Types of Automotive Multimeters That Actually Work
Not every multimeter suits every job. Here are the realistic categories, what they offer, and where they fall short.
1. Budget Digital Multimeters ($15–$40)
What it is: A basic auto-ranging or manual-ranging meter that measures DC voltage, resistance, continuity, and usually DC current up to 10 amps. Models like the AstroAI AM33D or entry-level ANENG units fit here.
How it works: You select the function, connect the probes, and read the display. Auto-ranging models pick the scale for you; manual ones require you to dial in the approximate range.
Advantages: Extremely affordable. Covers battery testing, fuse checks, and simple continuity. Good enough for occasional home use.
Disadvantages: Usually lacks True RMS, so pulsed sensor readings are unreliable. Probe quality is often poor. No temperature probe. Limited to 10 amps through the probes, which rules out starter motor testing.
When it makes sense: If you only test batteries and fuses a few times per year.
Cost consideration: Expect to replace it within two to three years if used regularly. The low upfront cost often hides the cost of inaccurate readings leading to wrong parts.
2. Mid-Range Automotive Multimeters ($40–$100)
What it is: A more capable meter with auto-ranging, backlit display, True RMS, temperature measurement, duty cycle, frequency, and often a non-contact voltage (NCV) detector. The Innova 3340, KAIWEETS digital multimeters, and ZOYI ZT-Y2 fall into this bracket.
How it works: True RMS calculates accurate voltage from pulsed signals. The temperature probe lets you check coolant or intake air sensors against resistance specs. Duty cycle measures how long fuel injectors stay open.
Advantages: Handles most sensor diagnostics. Backlit displays are essential for under-dash or under-hood work. Temperature probes verify sensor accuracy. True RMS gives trustworthy readings on modern PWM-controlled circuits.
Disadvantages: Still limited to roughly 10 amps through the probes. Cannot measure starter draw or alternator output current without a separate clamp meter.
When it makes sense: For the serious DIY mechanic or part-time mobile technician who works on multiple systems.
Cost consideration: This is the sweet spot for value. Spending $60–$80 here typically gets you 80% of professional capability at 20% of the price.
3. Clamp-Style Multimeters ($25–$80)
What it is: A meter with a hinged jaw that clamps around a wire to measure current without breaking the circuit. The ANENG ST211 and similar models handle up to 400 amps.
How it works: The clamp detects the magnetic field generated by current flow. You don't need to disconnect battery cables to measure starter draw or alternator output.
Advantages: Measures high current safely. Essential for finding parasitic drains without disturbing connections. Fast diagnostics on charging systems.
Disadvantages: Most budget clamp meters cannot measure DC current through the clamp — only AC. You must verify DC clamp capability if you're buying specifically for automotive use.
When it makes sense: If you diagnose charging systems, starter circuits, or battery drains regularly.
Cost consideration: A dedicated clamp meter plus a standard multimeter is a powerful combination that still costs less than one professional-grade unit.
4. Professional Automotive Multimeters ($200–$500+)
What it is: A purpose-built tool like the Fluke 88V/A Automotive Combo Kit or Fluke 115/117 series. These include specialized probes, inductive RPM pickups, insulation-piercing probes, and CAT III safety ratings for hybrid and electric vehicles.
How it works: Higher accuracy (often down to 1/1000 of a unit), faster continuity response, durable silicone leads, and magnetic hanging kits for hands-free use under the hood.
Advantages: Built for daily shop use. Safety rated for high-voltage hybrid systems. Includes every probe you'll need. Will last decades with proper care.
Disadvantages: Significant upfront investment. Feature overload for someone who only diagnoses their own car twice a year.
When it makes sense: Professional technicians, shop owners, or anyone working on hybrid/electric vehicles where CAT III 1000V safety ratings are non-negotiable.
Cost consideration: At $400–$500, this is a business expense, not a hobby purchase. But amortized over 15 years, it costs less than replacing three budget meters.
The Best Choice: Matching the Tool to Your Situation
There is no single "best" multimeter. The right choice depends on what you actually do under the hood.
| Your Situation | Best Fit | Why |
|---|---|---|
| Occasional battery/fuse testing | Budget digital ($15–$40) | You don't need True RMS or temperature probes for basic voltage checks. |
| Regular DIY maintenance on modern cars | Mid-range automotive ($50–$100) | True RMS, temperature, and duty cycle handle sensors, injectors, and charging systems. |
| Charging system & starter diagnostics | Clamp meter + mid-range combo ($60–$120 total) | Measures high current without breaking circuits. |
| Daily professional use or hybrid/EV work | Professional grade ($200–$500) | Accuracy, durability, and safety ratings that protect you and your livelihood. |
If you own one gasoline-powered daily driver and do your own brakes, oil changes, and occasional electrical troubleshooting, a mid-range meter with True RMS is your best value. If you're running a mobile diagnostic service, the professional tier pays for itself in reliability and safety.
Step-by-Step Action Plan: From Purchase to First Diagnosis
Follow this sequence to get from "no tool" to "confident diagnosis."
-
Define your primary use. Write down the last three electrical problems you faced. Were they battery-related, sensor-related, or wiring-related? This tells you whether you need basic voltage testing or advanced sensor diagnostics.
-
Set your budget realistically. $40 gets you started. $80 gets you capable. $300+ gets you professional. Don't spend professional money on occasional use.
-
Verify these five features before buying:
- Auto-ranging (saves time and blown fuses)
- True RMS (essential for modern sensor signals)
- Backlit display (you will work in shadows)
- DC current measurement to at least 10A
- CAT II or CAT III safety rating
-
Add a clamp meter if you test charging systems. Even a basic DC clamp meter removes the guesswork from alternator and starter testing.
-
Test your meter on a known good battery first. Set it to DC volts. A healthy battery should read 12.4–12.6V. If your new meter reads 11.8V on a battery that starts the car fine, the meter is faulty — return it.
-
Practice on a simple circuit. Test a fuse for continuity. Measure the voltage drop across a ground connection. Build confidence before tackling intermittent faults.
-
Log your readings. Keep a notebook or phone note with baseline readings: battery voltage cold, alternator voltage at idle, parasitic drain with everything off. When a problem appears, compare against your baseline.
Common Mistakes to Avoid
-
Testing resistance or continuity on a live circuit. This will damage your multimeter and potentially blow the internal fuse. Always disconnect power first.
-
Using the 10-amp probe port for starter current. Starter motors pull 100–400 amps. Putting that through your meter's probe ports destroys the meter and creates a fire risk. Use a clamp meter for high current.
-
Ignoring millivolt drops. A ground connection that "looks fine" can have 0.5V of drop — enough to make a sensor lie to the engine computer. Always measure voltage drop across grounds under load.
-
Buying manual-ranging to save $10. If you select the wrong range, you get no reading or a damaged meter. Auto-ranging removes this risk entirely for beginners.
-
Skipping the backlit display. Engine bays are dark. Under-dash work is darker. You'll regret saving $5 when you're holding a flashlight in your teeth.
-
Forgetting about parasitic drain testing. If your battery dies repeatedly, test the drain before replacing the battery. A typical drain should be under 50 milliamps. Anything higher indicates a module or light staying awake.
Expert Takeaway
The most expensive mistake in automotive electrical work isn't buying the wrong multimeter — it's diagnosing without one. A $60 auto-ranging meter with True RMS will reveal more truth than a $500 scan tool when the problem is voltage, resistance, or current. Start with a tool that matches your actual work, learn three basic tests (battery voltage, voltage drop, and parasitic drain), and you'll stop guessing and start fixing.
FAQ
What is the best multimeter for car diagnostics for beginners?
A mid-range auto-ranging digital multimeter with True RMS, a backlit display, and a temperature probe. It covers batteries, sensors, and charging systems without overwhelming you with features you'll never use.
Can I use a regular multimeter for automotive work?
Yes, provided it measures DC voltage accurately, has a continuity beeper, and can handle at least 10 amps. However, automotive-specific features like duty cycle, temperature measurement, and True RMS make modern car diagnostics far easier.
How much should I spend on an automotive multimeter?
Budget models start around $20–$40 and handle basics. Capable DIY meters run $50–$100. Professional-grade tools for daily shop use range from $200 to $500. Match the price to your frequency of use and the complexity of vehicles you service.
What is True RMS and do I need it?
True RMS (Root Mean Square) measures fluctuating voltages accurately instead of averaging them. You need it if you work on fuel injectors, oxygen sensors, MAF sensors, or any PWM-controlled component in a modern vehicle.
Is a clamp meter necessary for automotive work?
If you only test batteries and fuses, no. If you diagnose alternators, starter motors, or parasitic drains, yes. A clamp meter measures high current safely without disconnecting wires.
Related articles

Top 10 Must-Have Car Diagnostic Tools in 2026
Discover the 10 best car diagnostic tools for 2026 — from Bluetooth OBD2 scanners to professional bi-directional tablets. Learn which tool matches your budget and skill level, and stop guessing when your check engine light appears.
Read the article →
ضوء فحص المحرك: الدليل الكامل
ماذا يعني ضوء فحص المحرك، وماذا تفعل أولاً، وكيف تقرأ الرموز.
Read the article →فهم OBD-II: الرموز والمنفذ والبيانات المباشرة
ما هو OBD-II وكيف تقرأ الرموز وأين المنفذ.
Read the article →
The Best Way to Keep Your Car Cool During Extreme Summer Heat
Your steering wheel is hot enough to brand cattle, the air conditioning is blowing lukewarm air, and the temperature gauge is creeping past where it usually sits. If that sounds like your July commute, you are not imagining things. Extreme heat is genuinely hard on cars, and the ways to keep yours…
Read the article →
10 Signs It's Time to Replace Your Car Battery
Your battery rarely dies with a dramatic announcement. Usually it whispers first — a slow crank on a cold morning, lights that dim at idle, a clock that resets itself. This article walks through the ten signs that actually matter, answers the questions people ask most about car batteries, and tells…
Read the article →
How to Save Money on Car Repairs Without Taking Risks
Here's the honest version up front: most common repairs land somewhere between $150 and $1,200 when you pay a shop, and a few big-ticket jobs (timing belts, clutches, head gaskets) can run past $2,000. That range is wide on purpose. Your make and model, where you live, and whether you walk into a d…
Read the article →